This Upside Down Ice Cream Cone Cake is a vanilla cake with buttercream frosting and what looks like an upside down ice cream cone melting on top. Impress your guests with this show stopping cake!
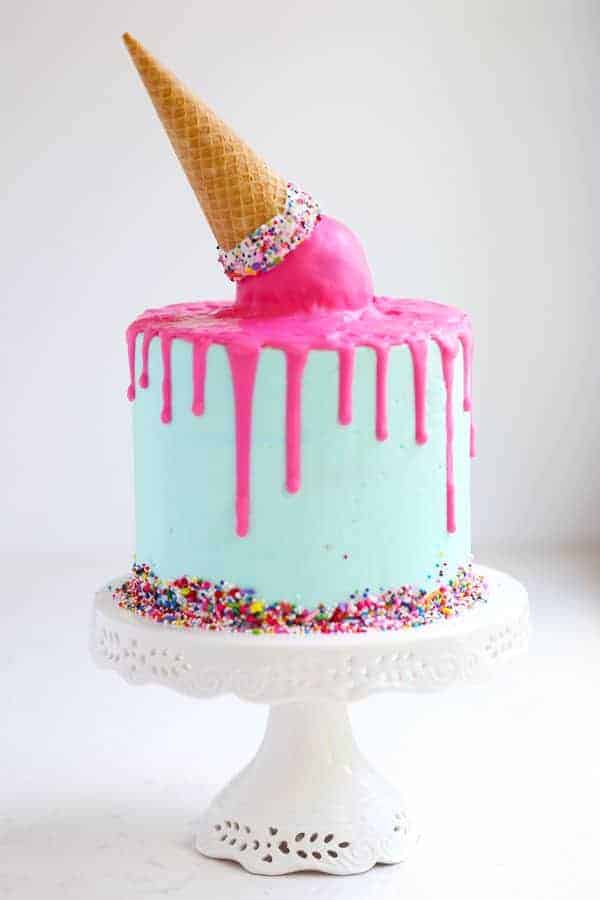
The Story Behind the Cake
I made this cake for a photo shoot, but wasn't the photographer. Why? Because I needed pics of me for my new blog design. So I wanted a really colorful, fun cake to be in the pictures, so this is what I made with some inspiration from a very talented cake designer - Katherine Sabbath. Isn't it cute?! (Check out her website, it's VERY colorful and she even has a "pop-up" recipe book.)
Scroll down to see the recipe I came up with to recreate this fun cake!
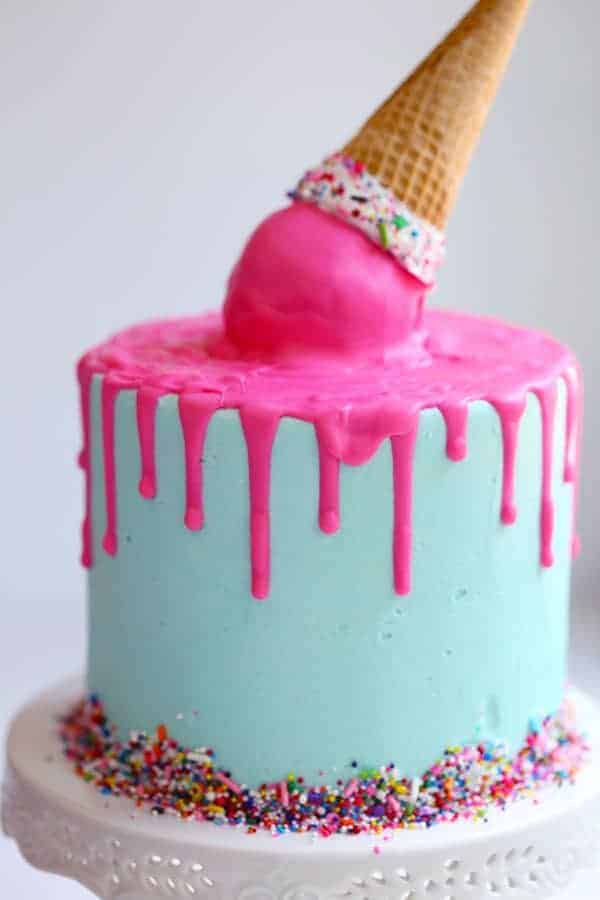
Picture Perfect Cake
I've had this blog for over four years now and thought it was time for a new look. I'm really excited about it. This cake was the perfect prop to have in the background of my main website photo! My friend, Andrea, was the photographer that took the fun photograph of me and this cake on my kitchen island and she did a fantastic job. Here's the photo I'm talking about...

Keep scrolling for DIY step-by-step instructions for making the above cake.
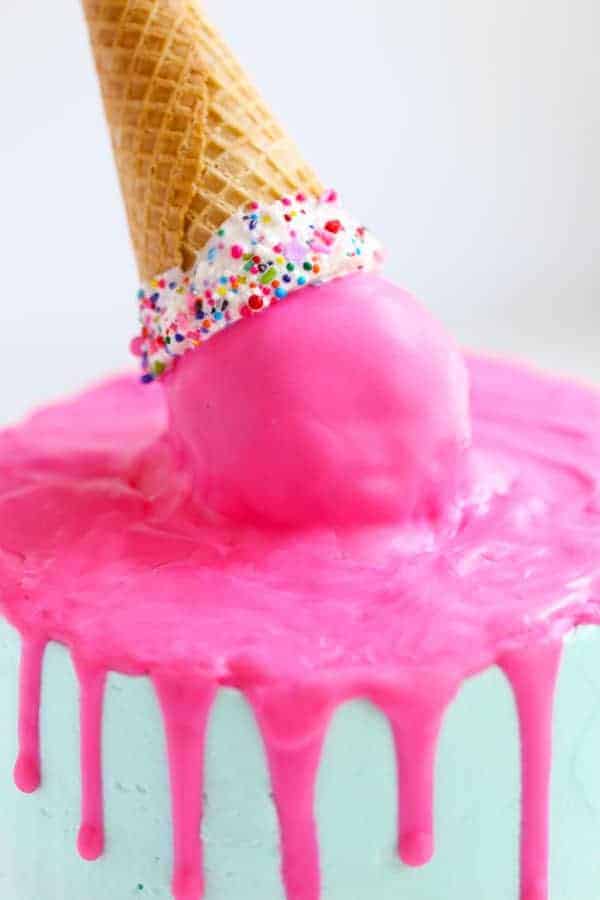
DIY: How to make the Upside Down Ice Cream Cone Cake
This is just an overview, the full recipe is towards the bottom of this post.
1) Bake the cake in 3 (6-inch round) cake pans.
2) Level cakes and reserve tops.
3) Create the "ice cream cone" and refrigerate (full recipe below).
4) Fill and frost the cake with the blue tinted frosting using an offset spatula and bench scraper, add sprinkles and refrigerate.
5) Add pink drizzles and upside down ice cream cone.
Now it's your turn. I hope you will make this super cool cake! It would be perfect for a kid's birthday or maybe your favorite adult! It's also delicious. Enjoy!
Tools for success
6-Inch Round Cake Pans (Set of 4)
Stainless Steel Bench Scraper for Smoothing Icing on Cake (Set of 2)
Revolving Cake Stand Turn Table (12-Inch)
10-Inch Cake Boards (Pack of 25)
Note: The above items are affiliate links.
Want even more? Subscribe to Mom Loves Baking to get new recipes and a newsletter delivered to your inbox. And stay in touch on Facebook, Pinterest, Twitter, and Instagram for all my latest updates. If you make this recipe, share a photo on social media tagging @momlovesbaking and using the hashtag #momlovesbaking.

Upside Down Ice Cream Cone Cake
Ingredients
For the CAKE
- 1 white cake mix I used Pillsbury Moist Supreme Classic White
- 1 cup all-purpose flour
- 1 cup granulated sugar
- ¾ teaspoon salt
- 3 large eggs room temperature
- 1 ⅓ cups water
- 2 tablespoons vegetable oil
- 8 ounces sour cream room temperature
- 2 teaspoons pure vanilla extract
- ½-1 teaspoon almond extract depending how much almond flavor you want
For the FROSTING
- 1 cup unsalted butter, softened to room temperature 2 sticks
- 16 ounces powdered sugar about 4 cups
- ¼ cup heavy cream
- 1 teaspoon vanilla
- Blue and green food coloring
For the DECORATION
- 2 cups pink candy melts
- 2-3 tablespoons vegetable oil
- ½ cup white chocolate chips or white candy melts
- ½ cup sprinkles
- 1 ice cream cone (plus 3 lollipop sticks)
Instructions
For the CAKE
- Preheat oven to 350°F. Grease 3 (6-inch) round cake pans and line with parchment paper. Grease again or spray with non-stick cooking spray. Set aside. Place all of the CAKE ingredients (including cake mix) in a large bowl. With an electric mixer, stir on low speed to combine (30 seconds). Then turn mixer up to medium and beat for 2 minutes. Divide batter evenly into the 3 prepared cake pans. Bake in preheated oven for 40-50 minutes or until a toothpick stuck in the middle of the cake comes out clean. Let cool. Level the cakes by cutting horizontally to remove the domed tops. Reserve the cut pieces of cake and crumble into a bowl. Add about ½ cup of frosting. Stir into crumbs until combined. Form into 2-3 large cake balls (about the size of a scoop of ice cream). Place in refrigerator to chill for about an hour.
For the FROSTING
- Beat softened butter on medium speed with an electric or stand mixer. Beat for 3 minutes until smooth and creamy. Add powdered sugar, cream, and vanilla extract with the mixer running on low. Increase to high speed and beat for 3 minutes. Note: If the frosting is too thick, you can add a little more cream. Just add one tablespoon at a time, then mix thoroughly until you get the consistency you like. Add a little bit of blue and green food coloring to achieve a pale blue-green color. Stir well.
To assemble CAKE
- Fill and frost cake with a crumb coat. Refrigerate for one hour. Frost the cake with a smooth finish. Add sprinkles to the bottom sides of the cake. Refrigerate again for 30 minutes.
- Melt the white chocolate according to package instructions. I did it in the microwave. Be careful not to overheat. Microwave for 20 seconds. Stir. Then microwave for 10 seconds. Stir until smooth. Add a teaspoon of oil. Stir. Dip the ice cream cone in the melted white chocolate then add sprinkles. Put on a parchment lined cookie sheet and put in refrigerator to harden. Dip a lollipop stick into melted chocolate, about ¼ inch down. Stick in middle of cake ball. Repeat with remaining cake balls. Set aside. (Note: You only need one cake ball for the cake, but have extra in case you mess up or have taste testers that want to eat them.)
- Melt pink candy melts according to package instructions, being careful not to overheat. Add 2 tablespoons oil and stir until smooth. It should be soupy. You can add a little more oil, if needed. Stick a cake ball into the middle of the cake. Pour melted pink candy melts over the cake ball and stick the prepared cone on top. Working quickly, drizzle sides of cake, then fill in the top section. The cake is ready to serve.
Serving the CAKE
- A note about serving. You can either have 12 big slices of cake or 24 small slices of cake. To get 24 servings, slice the cake (like a pie) into 12 slices. Then cut each of the slices into 2 servings.
Nutrition
You might also like this Happy Birthday Polka Dot Cake
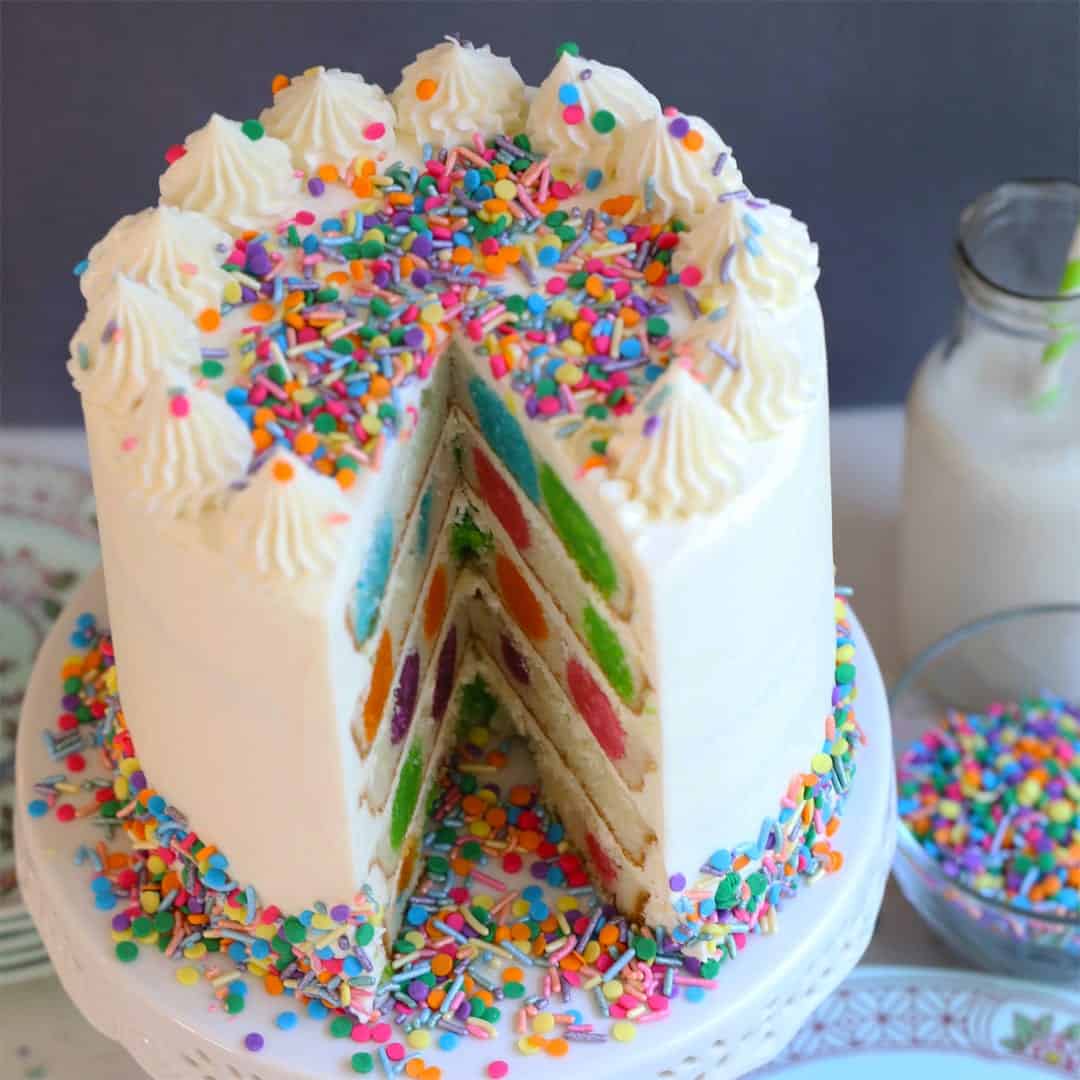
Don't Forget to Pin to Pinterest

If you like the chocolate drizzles, you might also like this Chocolate Drizzle Semi-Naked Rose Cake.

All text and images © Lise Ode for Mom Loves Baking. Please do not use my images without prior permission. If you want to republish this recipe, please re-write the recipe in your own words, or link back to this post for the recipe. Disclaimer: Nutrition information shown is not guaranteed to be accurate. This post contains affiliate links.

Kaitlin says
Hi! I would like to make this cake for a party on Saturday but wanted to make it on Friday (about 24 hours ahead of time). My daughter wants a blue buttercream and purple chocolate for the ice cream decor. I am not sure if I should make it on Friday and put in the refrigerator or leave it out. I do not want the purple to bleed onto the blue. What do you think? Will the fridge help to prevent the bleeding or will it make it worse?
Lise Ode says
Hi Kaitlin: How exciting! Your daughter will love it. I would fill and frost the cake the day before and store in the fridge. But don't put the purple candy melts on until the day of the party. It gets weird if it's in the fridge too long. The color can get cloudy. Does that make sense?
Julie says
How can I make this cake bigger? If I was going to double the recipe, what size cake pans should I use?
Kaitlin says
I am going to use my 9 inch cake pans. Do two cakes and I think it will be tall enough
Connie says
Thanks, I left it out over night and it was fine! I have to admit the melted pink chocolate that covered the ice cream scoop & top of the cake..I messed up on because I wasn’t really prepared to spread it out as quickly as it hardened! However it looked pretty cute & all thought it was a master piece lol It tasted delicious! The restaurant got a plateful of cake too!! My granddaughter wound up with the cone & scoop of cake!! We had a great time!! Thank’s so much!!! Connie
Lise Ode says
Yay! Happy Birthday to your granddaughter! xo
Connie says
Hi I love the cake & made it for my own birthday! 😁Anyway, I’m having to put it in the refrigerator so if the candy melts sweat then can I peeve you any unforeseen problems if I just take a cloth or paper towel & dab it lightly so it doesn’t run etc..., Thanks so much! You are so talented!!
Lise Ode says
I'm sorry I didn't see this in time. How did the cake turn out? I would recommend not using paper towels to dab lightly. I think it might ruin it.
Steve says
I made this cake, so simple and such a hit! Thanks
Lise Ode says
Awesome job! I'd love to see a photo! If you're on instagram, post a pic of your cake and tag @momlovesbaking then I'll share it!
Larissa says
This looks amazing and your step-by-step directions make it look so easy! I hope I'll be able to get it to turn out. One question: if I wanted to make this with chocolate cake instead of white, would all of the other "cake ingredients" remain the same?
Thanks in advance!
Lise Ode says
Yes, you could substitute chocolate cake and still use all the other ingredients. Good luck!
Larissa says
Great, I'll try it! Thanks so much!
Alison says
Two questions please 🙂
I see there is confusion about the box cake + the added cake ingredients. I am confused as well. So you make the box cake with the ingredients written on the box (mine has oil, eggs, milk) AND THEN add all the additional cake ingredients you've included as well? (Of course adding your wet ingredients to the wet ingredients called for on the box and adding your dry ingredients to the boxed dry ingredients. Or are we suppose to omit all the wet ingredients called for on the box. I live In Australia. I may not be able to access the same boxed cake so I would thing there might need measurement changes.
My second question...just wondering why you're using a box cake and adding to it?
Thanks in advance for your response 🙂
MARIEANNE Goodwin says
stick goes in the cake and the cone goes on the ball after you pour chocolate over the ball, when it hardens the cone sticks on, there is a video to watch above if you need to,