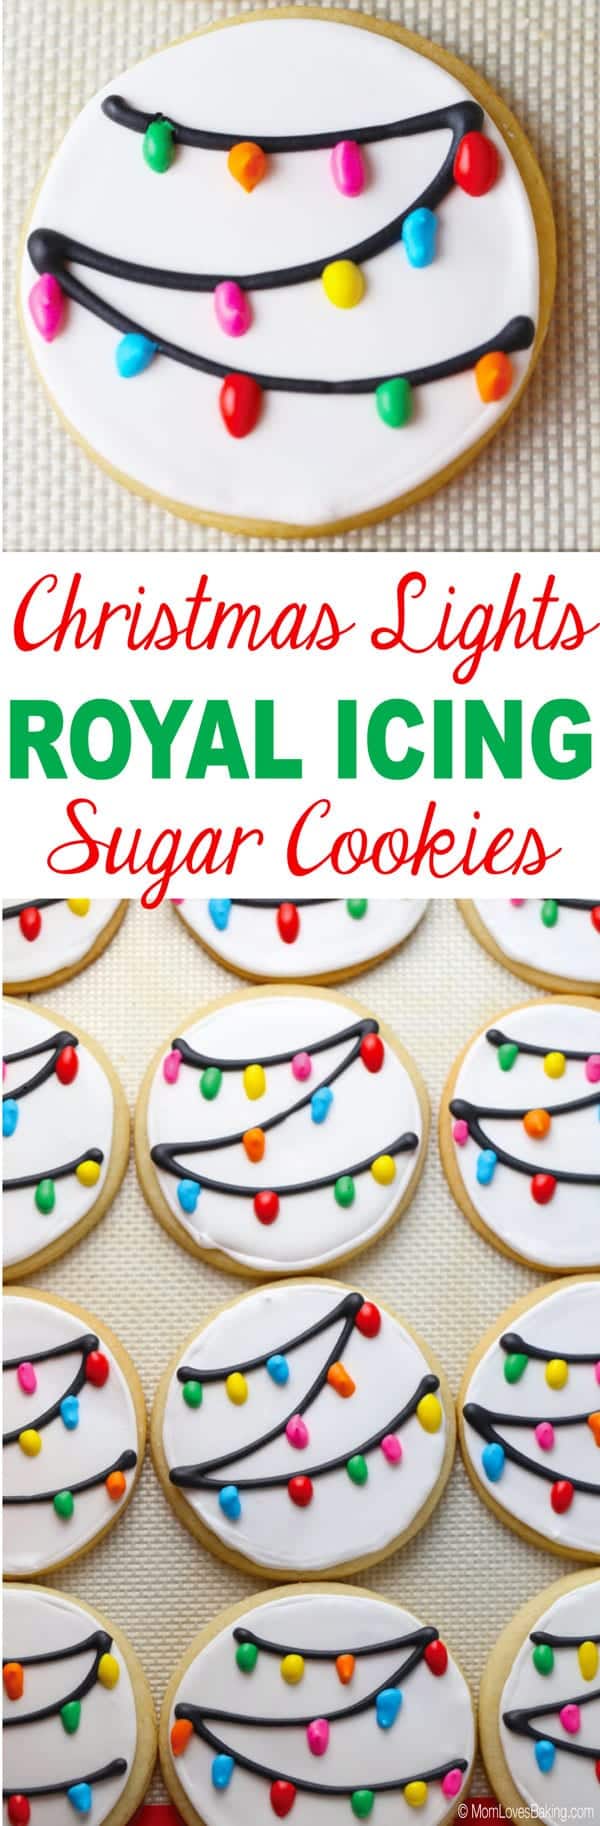
Christmas Lights Royal Icing Sugar Cookies
Christmas Lights Royal Icing Sugar Cookies – a tried and true recipe for sugar cookies decorated with a simple royal icing design to look like multi-colored Christmas tree lights.
Christmas Cookies for Church
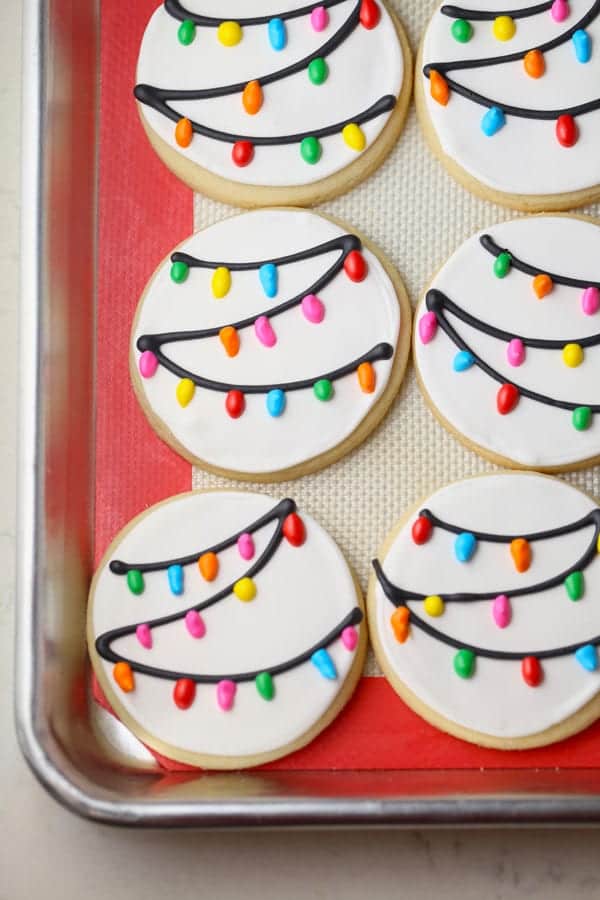
I made these Christmas Lights Sugar Cookies for my church (Alpharetta First United Methodist Church) and an organization called Homestretch in Roswell, GA. They help homeless families get back on their feet by providing temporary housing. They also teach a Life Skills class twice a month and that’s when my church donates the dessert. So these Christmas Lights Royal Icing Sugar Cookies were the dessert for today’s class. Holiday baking is so much fun. (Scroll for the recipe.)
The Inspiration for the Design
The design for these cute cookies was inspired by Christina Lane of the popular food blog, Dessert for Two. Christina came up with this simple idea to make Christmas cookies using just one round cutter, then adding royal icing lights. Very efficient and much quicker than making a bunch of different shapes and sizes with all different colors and decorations.
How to Make Christmas Lights Sugar Cookies
- Make cookie dough (recipe follows) and chill.
- Roll out between two pieces of parchment paper to about 1/4″ thickness (a little less than that).
- Cut using a 3-inch round cutter. Do not move cookie from parchment.
- Remove excess dough, then slide parchment paper onto a half sheet pan.
- The key to nicely shaped cookies is to NOT move them after they are cut!
- Bake for 10-13 minutes on 350°F and let cool.
- Make royal icing (recipe follows) and decorate cookies. See below for tips.
Decorating the Christmas Lights Sugar Cookies
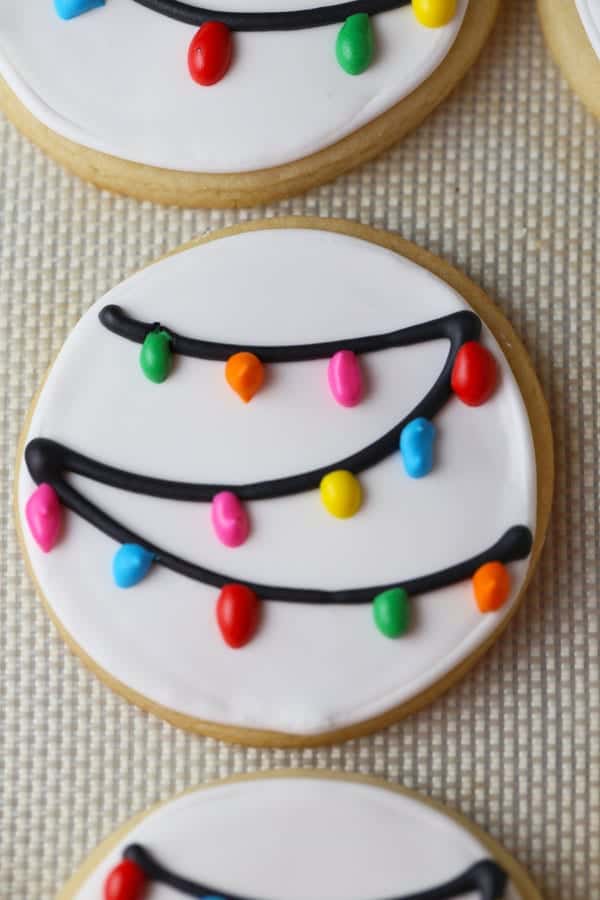
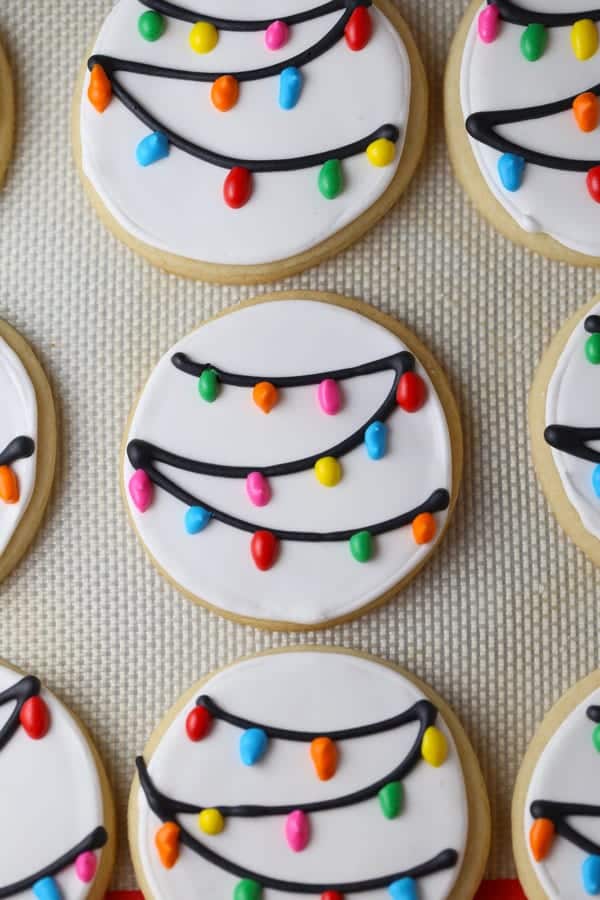
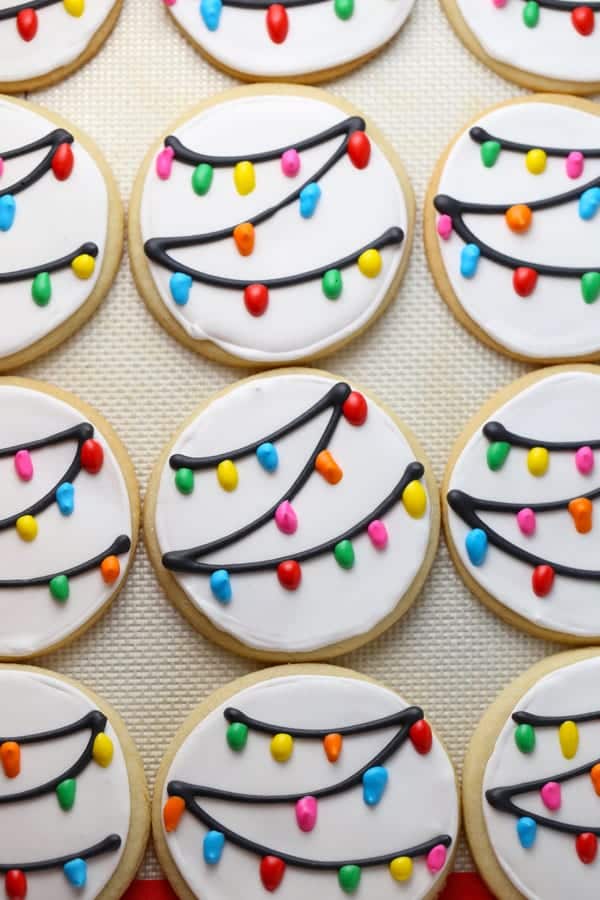
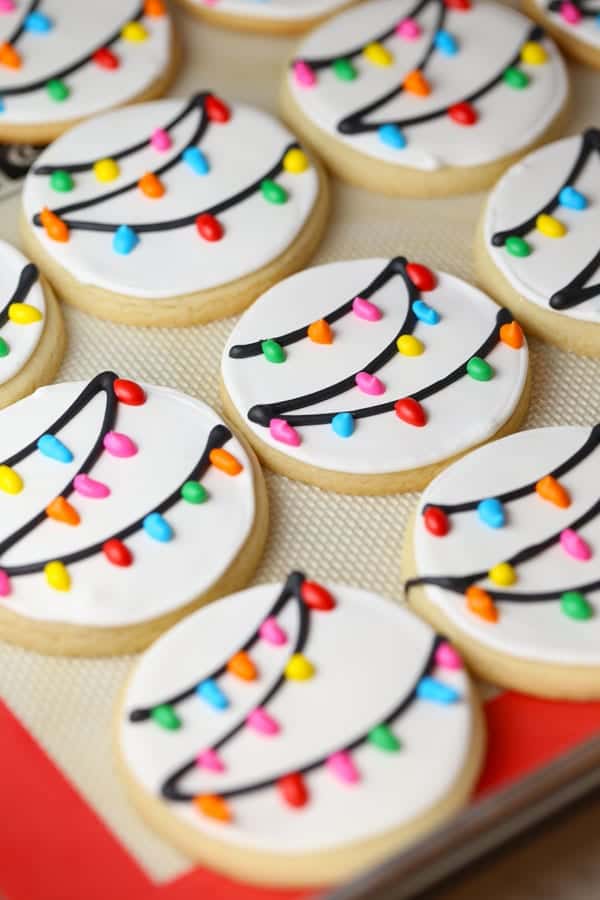
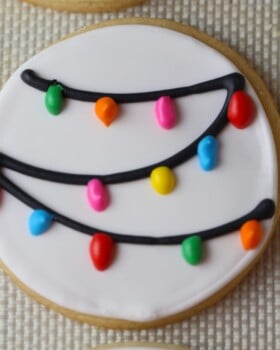
The decorations are all done with royal icing. I used tipless pastry bags filled with icing and cut a tiny bit off the end to get a small round hole to pipe from. The trick to getting a smooth finish is to use the royal icing in two consistencies. You use a medium consistency (like toothpaste) to make an outline around the outer edge of the cookie, then you fill it in with a thinner consistency (like Elmer’s glue) which is also called “flood” icing. Let it dry for an hour or so.
Frosting Consistency is the Key
After your flood icing dries, then decorate with medium consistency frosting. OR if you want to add decorations to the wet “flood” icing, then it will sink in and be flat. You might want to try that or you can decorate the Christmas Lights Sugar Cookies like I did. First I piped the black lines in a swooping motion back and forth creating almost a rounded Z. Then come back with elongated dots of color hanging from the black lines to create the colored lights. Super cute, right?
I hope you’ll make these adorable cookies, just in time for the annual cookie swap! Let the holiday baking games begin!
Enjoy and Merry Christmas!
Tools for success
Note: The above items are affiliate links. As an Amazon Associate I earn from qualifying purchases.
Want even more? Subscribe to Mom Loves Baking to get new recipes and a newsletter delivered to your inbox. And stay in touch on Facebook, Pinterest, Twitter, and Instagram for all my latest updates. If you make this recipe, share a photo on social media tagging @momlovesbaking and using the hashtag #momlovesbaking.
Christmas Lights Sugar Cookies
Ingredients
For the sugar cookies
- 6 cups all purpose flour, 2 pounds
- 2 teaspoons baking powder
- 2 teaspoons salt
- 4 sticks unsalted butter, room temperature, 1 pound
- 2 cups granulated sugar
- 2 large eggs, room temperature
- 2 teaspoons pure vanilla extract
For the royal icing
- 16 ounces powdered sugar, 1 pound
- 1/4 cup plus 1 tablespoon meringue powder
- 1/3 cup water, plus more if too thick, see below
- food coloring, I used Wilton icing gel
Instructions
For the cookies
- Preheat oven to 350°F. In a medium bowl, add flour, baking powder & salt (measuring the flour with a scale is the most accurate). Using a whisk, stir to combine and get the lumps out. Set aside.
- In a large bowl, add butter and sugar. Beat with an electric mixer for 3 minutes. Add the egg and vanilla and beat another minute. With the mixer on low, gradually add the flour mixture.
- Blend until the dough begins to pull away from the sides of the bowl. Take the dough out of the bowl and place on a large piece of parchment paper. Use your hands to knead the dough for a few minutes. Divide the dough into two sections and wrap with parchment paper. Let chill in the refrigerator for about 30 minutes.
- To roll dough, place another piece of parchment paper on top of dough and roll with a rolling pin until the dough is between 1/8" and 1/4" thick. Cut into shapes and remove the excess dough. Don't move the shapes, leave them where they are and place on a cookie sheet. Bake for 10-13 minutes or until slightly golden brown around the edges. Let them cool and decorate with royal icing (or you can freeze them before decorating and keep them for several months). Makes 20 (3" cookies).
For the royal icing
- Place all ingredients in a large bowl and beat with an electric mixer on low for 6 minutes. It will be very thick and fluffy. Add 4-5 tablespoons of water and mix to combine. That's your medium consistency (it should be like toothpaste). Take half the icing and put in another bowl. Add another 1-2 tablespoons of water to that to make the thinner consistency. It should run off the spoon like Elmer's glue. That is your flood consistency. Divide and color as desired to decorate the cookies. Add medium consistency icing to a piping bag, cut a tiny tip off and pipe an outline around the outer edge of the cookies. Then fill in with flood icing. I poured my flood icing into a plastic squeeze bottle to make it easier to distribute but you could also use a piping bag, if you wish. Let dry about an hour, then add decorations with the medium consistency icing.
Notes
Did you make this recipe?
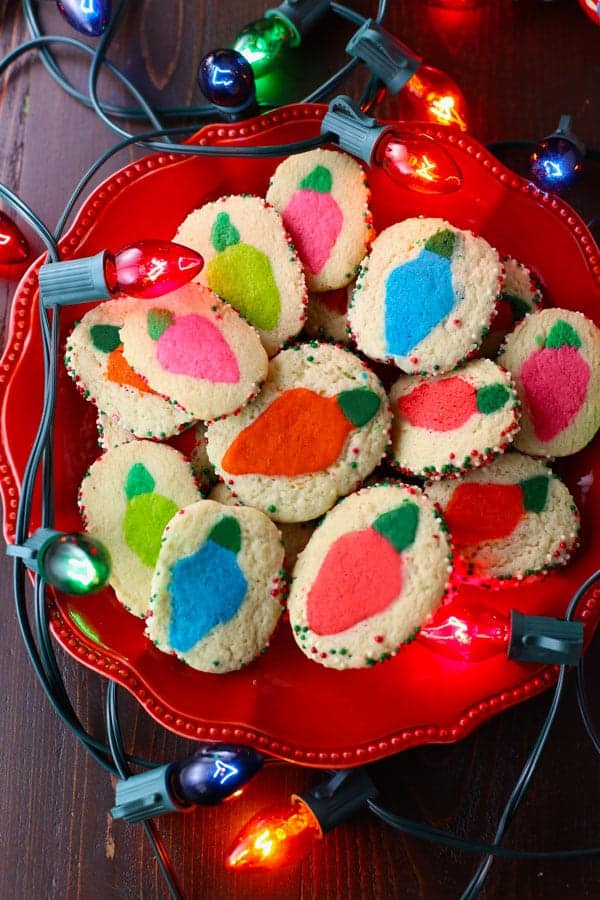
Please let us know by leaving a star rating and review!You might also like Ugly Sweater Christmas Cut-Out Sugar Cookies

Or these Christmas Lights Slice-N-Bake Cookies
Or Grandma’s Christmas Cut-Out Sugar Cookies…

All text and images © Lise Ode for Mom Loves Baking. Please do not use my images without prior permission. If you want to republish this recipe, please re-write the recipe in your own words, or link back to this post for the recipe. Disclaimer: Nutrition information shown is not guaranteed to be accurate. This post may contain affiliate links.
How do you make sure your black doesn’t bleed? I had that problem with black on white. Any help would be appreciated!
I really like using Americolor brand food coloring gel to color the royal icing. It doesn’t bleed.
These are really cute! How far ahead can you make these and how long will the cookies last? Can you freeze them decorated? Are you planning to do any zoom classes??
You can bake the cookies and freeze them in an airtight container (not decorated) up to a month ahead of time. Then take them out when you’re ready to decorate and let them come to room temperature. I would not freeze them decorated as it will change the colors once it’s frozen. Once you decorate the cookies and let the icing set, serve immediately or store covered at room temperature for up to 5 days.
I want to come to a class! Where can I follow you to see upcoming classes? Thank you
I’ll be posting the next class info on my instagram account soon. Instagram.com/momlovesbaking or find @momlovesbaking on instagram. 🙂
These are so cute! I wish I had this talent (and patience)?
Thanks, Kelley! You’ll have to come to my class in the new year. 🙂