Christmas Lights Slice-N-Bake Cookies are a homemade version of the store bought butter cookies with a cute design in the middle.

Christmas is less than ten days away! Can you believe it? Are you ready? Are you doing lots of baking like me? If you want to impress your friends and family, make these cute Christmas Lights Slice-N-Bake Cookies!

Aren't they cute?

I love that they have colorful Christmas lights in the center. Plus, they have a delicious buttery flavor with a hint of almond.

Instead of my usual step-by-step photo instructions, I made a video on How To Make Christmas Lights Slice-N-Bake Cookies. Check it out!
Here are the Mini Christmas Cookie Cutters I used to make these cookies , available on Amazon (affiliate):

Here are the cute Russian Nesting Doll Measuring Cups I used, available at Amazon (affiliate):
I made these Christmas Lights Slice-N-Bake Cookies for the teacher's cookie exchange at my son's school. Lots of moms volunteer to bring cookies and they are displayed in the teacher's lounge. The teachers can come by anytime during the day to make their plate of cookies to take home and enjoy. I think it's a wonderful thing to do as a thank you to are awesome teachers!
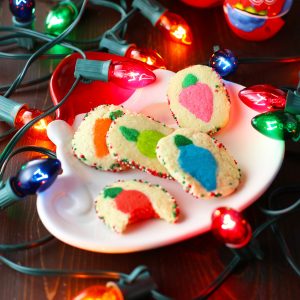
Christmas Lights Slice-N-Bake Cookies
Ingredients
- 3 cups all-purpose flour 415g
- 2 teaspoons baking powder 10g
- 1 cup granulated sugar 210g
- 8 ounces unsalted butter, softened (2 sticks - I used KerryGold) 226g
- 1 large egg
- 1 teaspoon vanilla extract
- 1 teaspoon almond extract
- 4 colors food coloring I used pink, blue, dark green and leaf green
- sprinkles
Instructions
- In a large bowl, stir together the flour and baking powder. Set aside. Place the butter and sugar in a large bowl. With an electric mixer, beat on medium for 3 minutes. Add egg, vanilla and almond. Mix until combined. With the mixer on low, gradually add the dry ingredients. Mix on medium until a dough forms. Divide dough into thirds. Keep two thirds plain. Use the remaining third for your colors. Divide it into 4 equals pieces of dough. I used dark green, leaf green, pink and blue. I found it easiest to incorporate the color by kneading the dough with my hands.
- Roll out a narrow piece of dark green dough and attach it to a large piece of rolled out pink. Using a 1-inch light bulb cookie cutter, cut as many lights as you can. (See my video for details.) Combine the scraps and roll again. Cut more lights. Repeat with the other colors, but use the dark green for the top part on all the light bulbs. Place them on a parchment lined cookie sheet and refrigerate for 30 minutes. Stack the chilled bulbs together according to color. Press gently together.
- Take the remaining plain dough and divide into thirds. Divide each third into smaller pieces that you roll out into narrow ropes of dough. Place the ropes around the bulbs. You will end up with 3 logs of dough. Or you can do smaller sections, if desired. Roll each log in sprinkles, wrap in plastic and refrigerate for two hours or overnight.
- Once chilled, slice ¼-inch thick cookies and place on ungreased cookie sheets. Bake at 350°F. for 8-10 minutes. Do not overbake. Let cool. Serve immediately or store covered for up to 1 week. They will also freeze well for longer life.
Nutrition
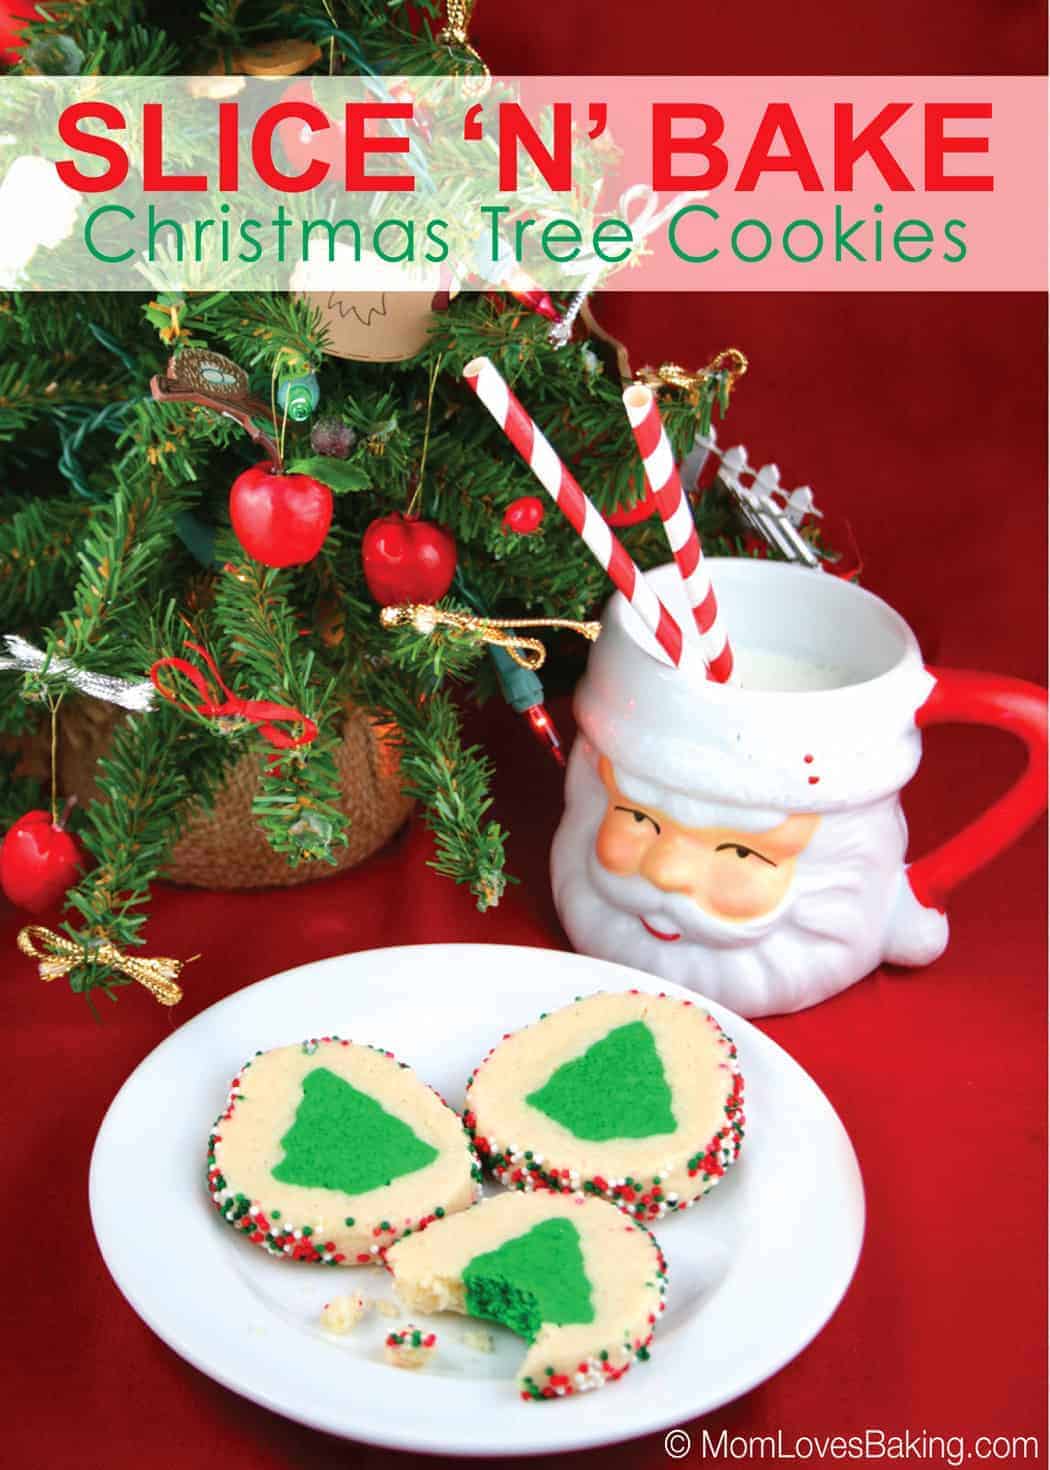
These cookies are very similar to my Slice-N-Bake Christmas Tree Cookies. If you want to see the step-by-step photos, take a look at those. Click here for my Slice-N-Bake Christmas Tree Cookies blog post.

This recipe is featured on SouthernPlate.com Meal Plan Monday #42.

Leave a Reply