


Impossible Pie

When I found this recipe in my grandmother’s collection, I just had to make it because of the name Impossible Pie. It almost felt like a dare. My mission, should I choose to accept it: find out if you really can pour one simple batter into a pie plate and have it magically form its own crust. Of course, I accepted! Her recipe card isn’t dated, but I believe this one goes back to sometime around the 1970s.
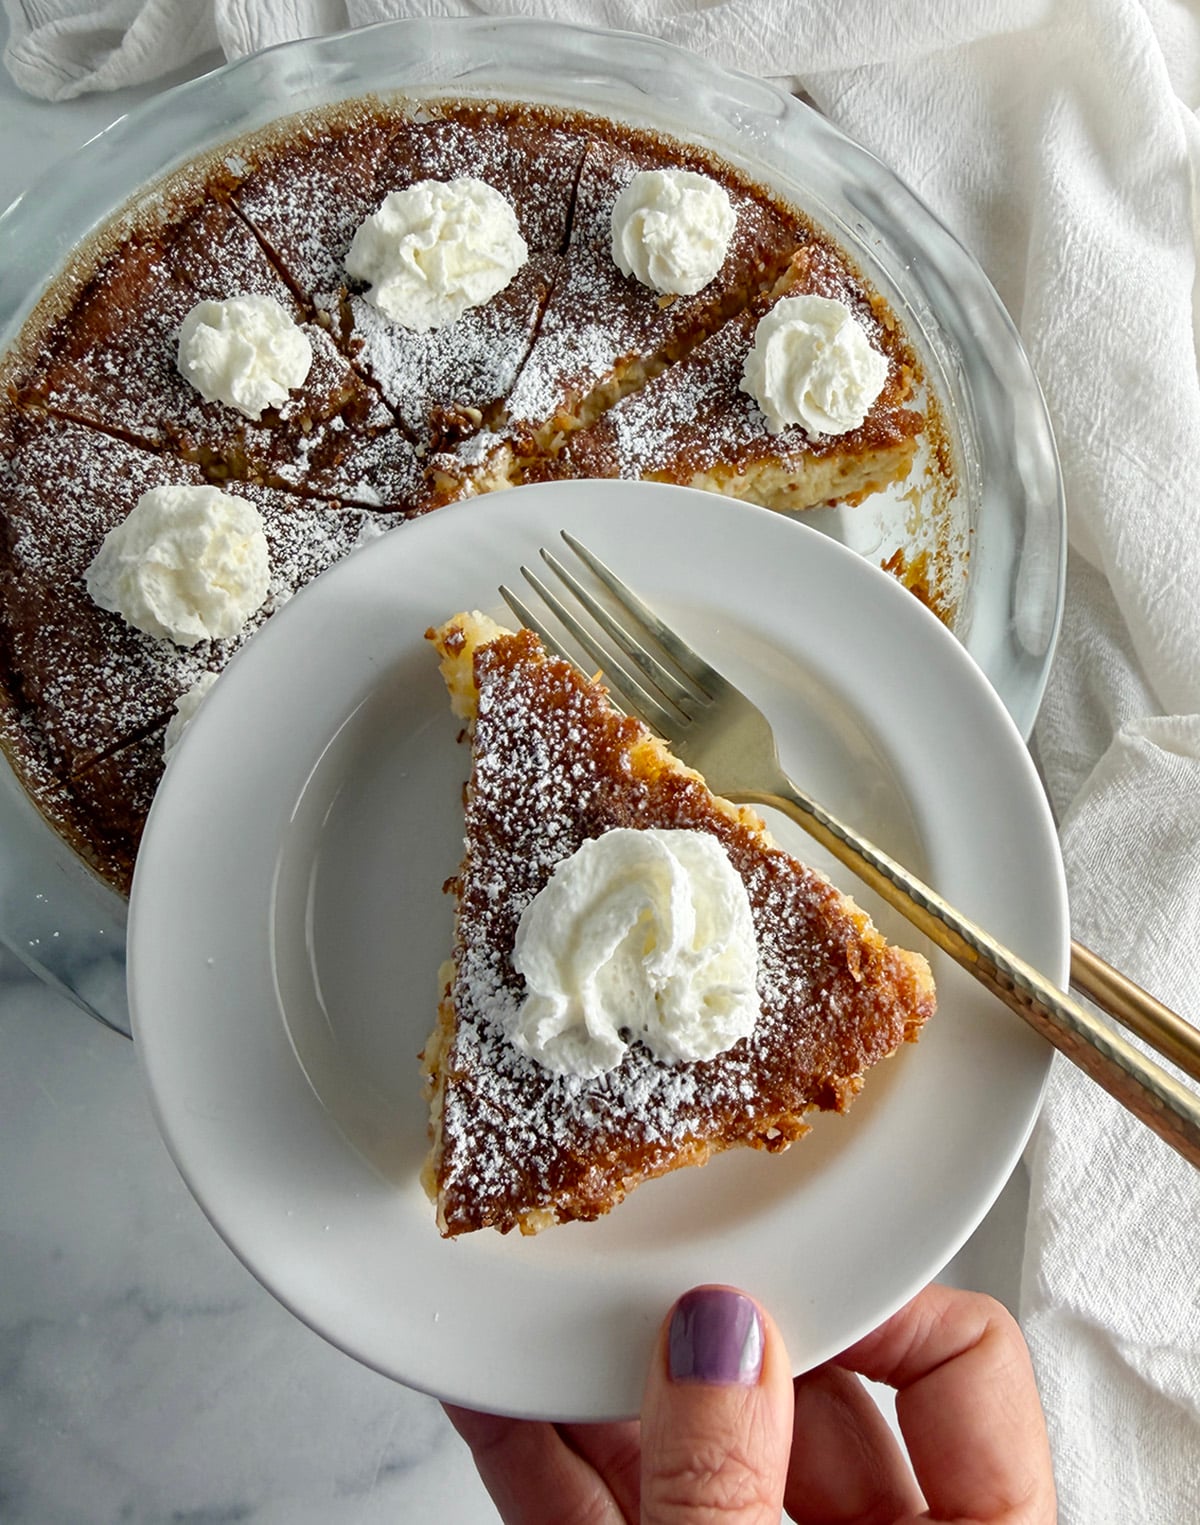
And guess what, it worked! The very thin batter bakes into a golden coconut pie with a soft, custardy middle and its own crust on the bottom. You can eat it warm if you prefer, but after making it, I found that I like it best refrigerated. The custardy middle firms up a bit when it’s chilled, and it slices beautifully too.
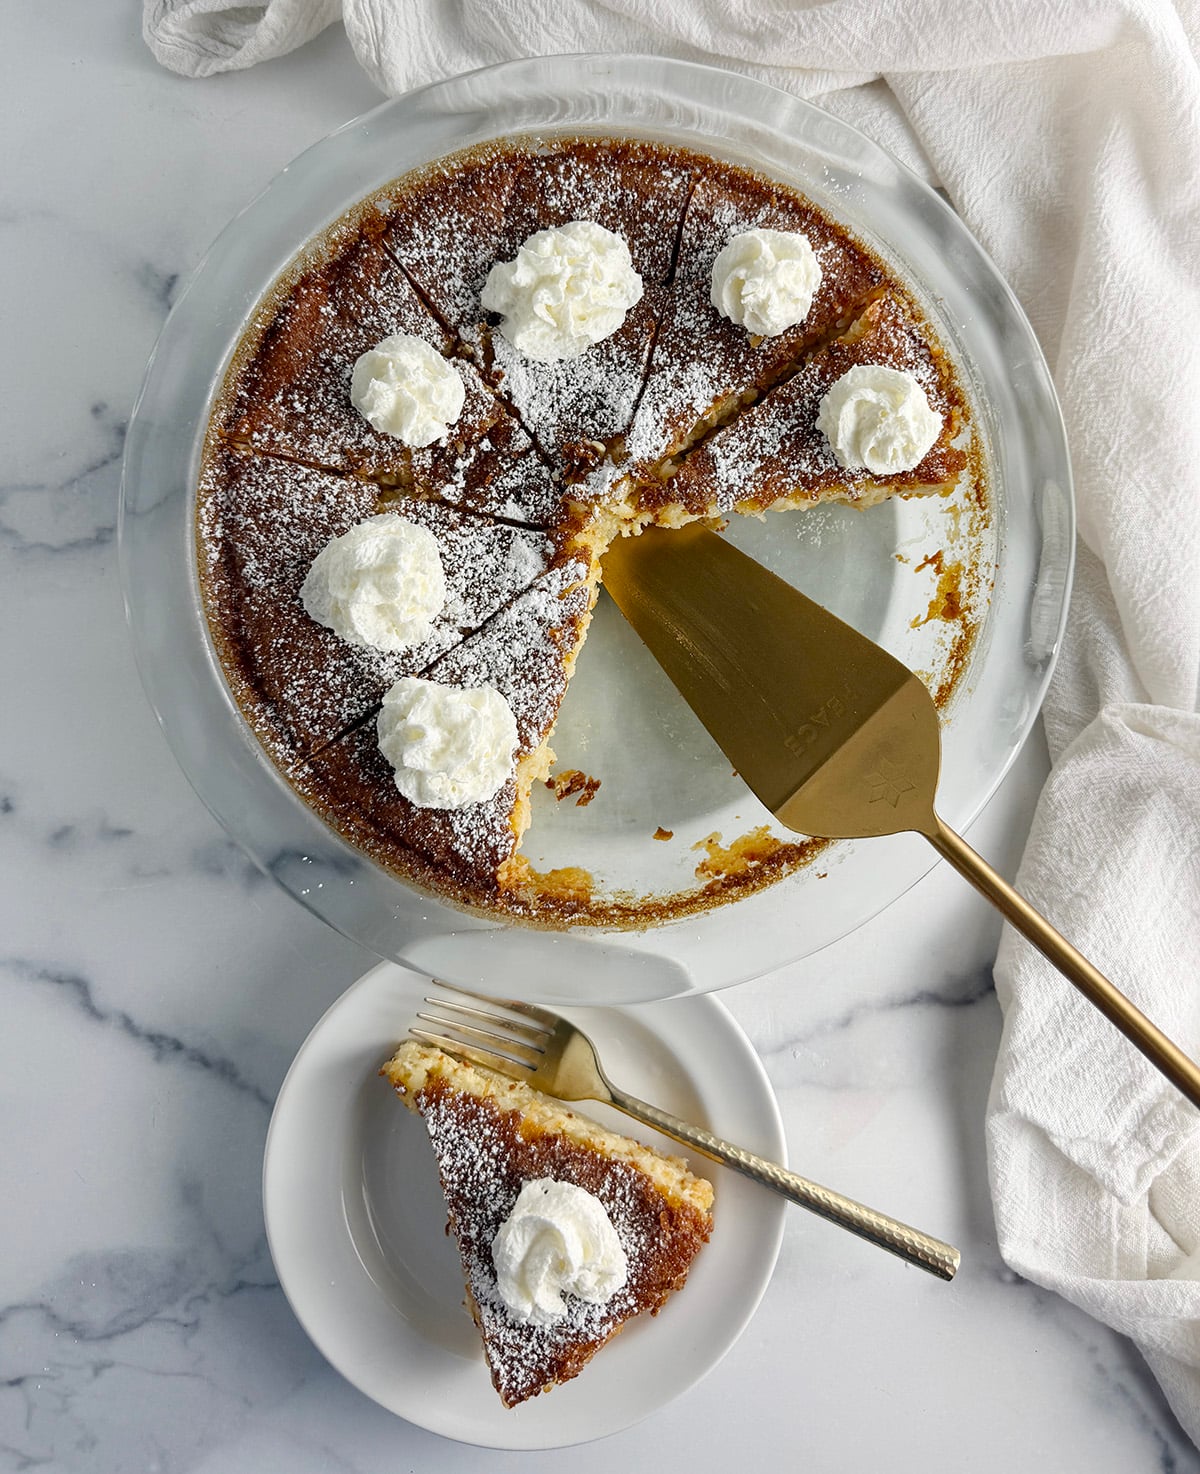
Why You’ll Love This Recipe
• No pie crust required. The pie forms its own crust as it bakes, hence the name “Impossible Pie!”
5 Days of Nostalgic Fall Treats!
FREE EMAIL BONUS: Retro treats that taste just like how FALL should.
• Simple ingredients. Everything in this recipe is an everyday baking staple.
• Quick to mix together. There’s no rolling, shaping, or complicated technique.
• Wonderful texture. You get a lightly golden top, sweet coconut, and a creamy, custardy center.
• It’s an old-fashioned favorite. This is the kind of simple, nostalgic dessert that deserves to be made again.
What You Need
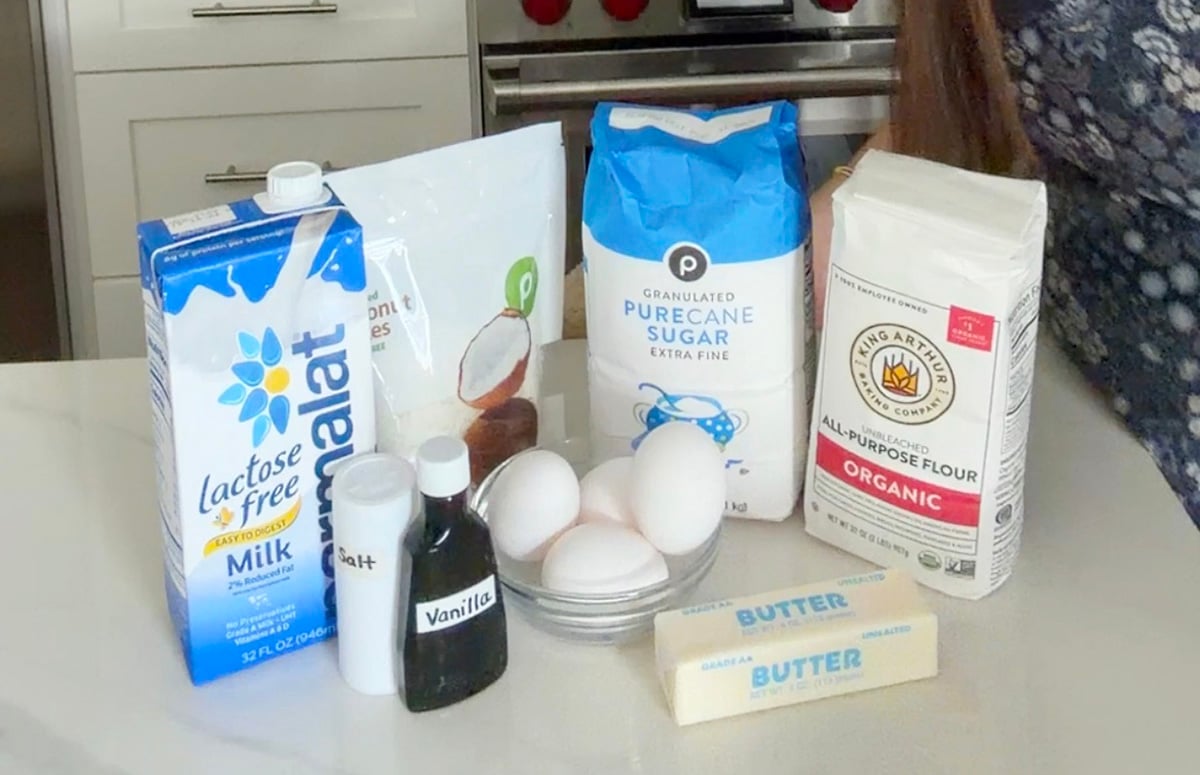
Ingredient Notes
• All-purpose flour: You only need ½ cup. As the pie bakes, the flour helps create the firmer bottom layer that acts almost like a crust. Grandmother said to use self-rising flour but I didn’t have any.
• Sugar: One cup sweetens the custard and coconut.
• Eggs: Four large eggs give the pie its rich, custardy texture. Beating them briefly with the sugar helps create a smooth filling.
• Butter: Use one stick (½ cup) of melted butter. I like salted butter for extra flavor. Let it cool slightly before adding it to the egg mixture.
• Shredded coconut: Coconut rises toward the top as the pie bakes, creating a sweet, lightly chewy golden layer.
• Milk: Two cups of milk make the batter quite thin. Don’t worry when you see how watery it looks, that’s exactly how it should be.
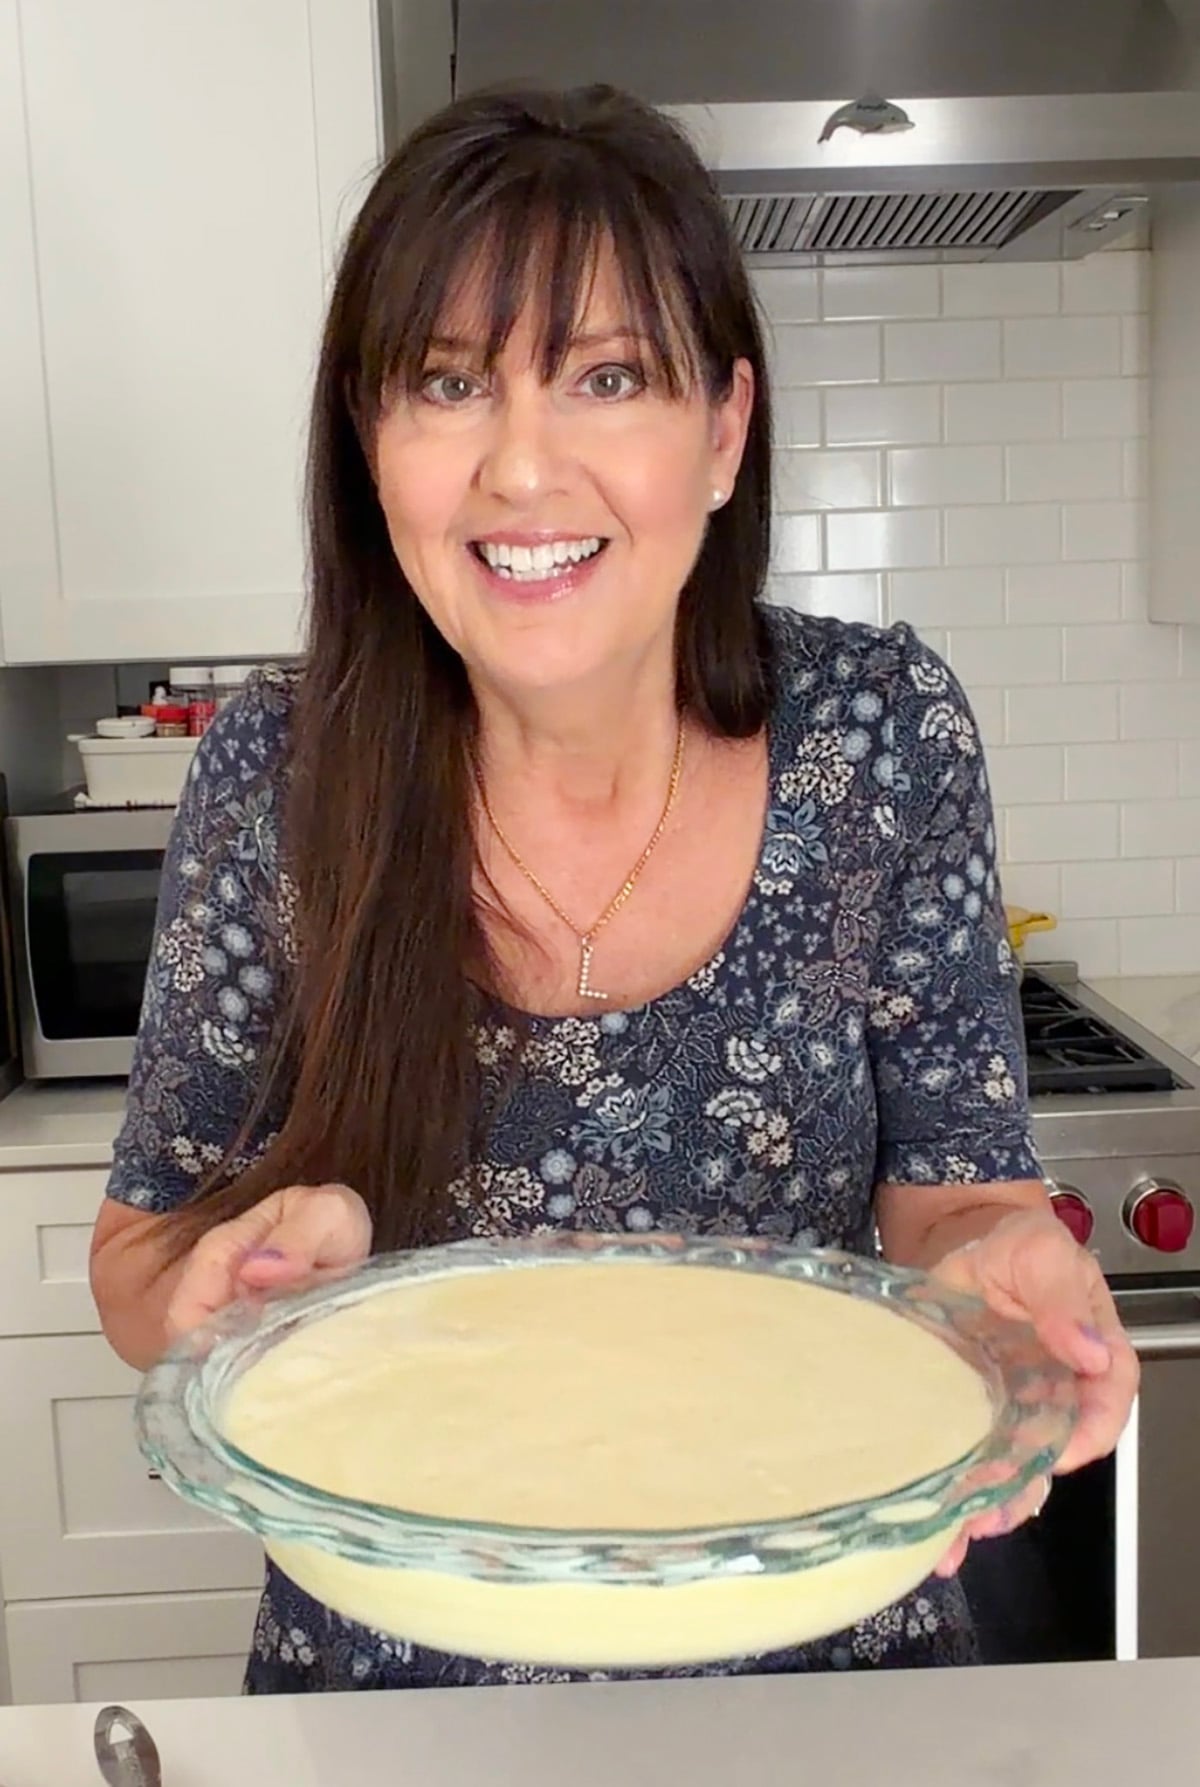
How to Make Impossible Pie
• Preheat the oven to 350°F. Thoroughly grease a 9.5-inch pie plate with butter.
• Beat the eggs and sugar in a large, deep mixing bowl. Using a hand mixer on medium speed, beat for 1 to 2 minutes.
• Add the remaining ingredients. Put the mixer away and stir in the melted butter and vanilla. Gradually stir in the flour until incorporated. Slowly add the milk, stirring until combined. Gently stir in the coconut.
• Pour batter into the prepared pie plate. Bake for 45 to 50 minutes, until the top is golden brown and the center is mostly set.
• Place the pie on a wire rack and let it cool for at least 2 hours. It may puff slightly while baking and then settle as it cools.
• You can serve Impossible Pie warm or at room temperature, but I recommend refrigerating it before serving.
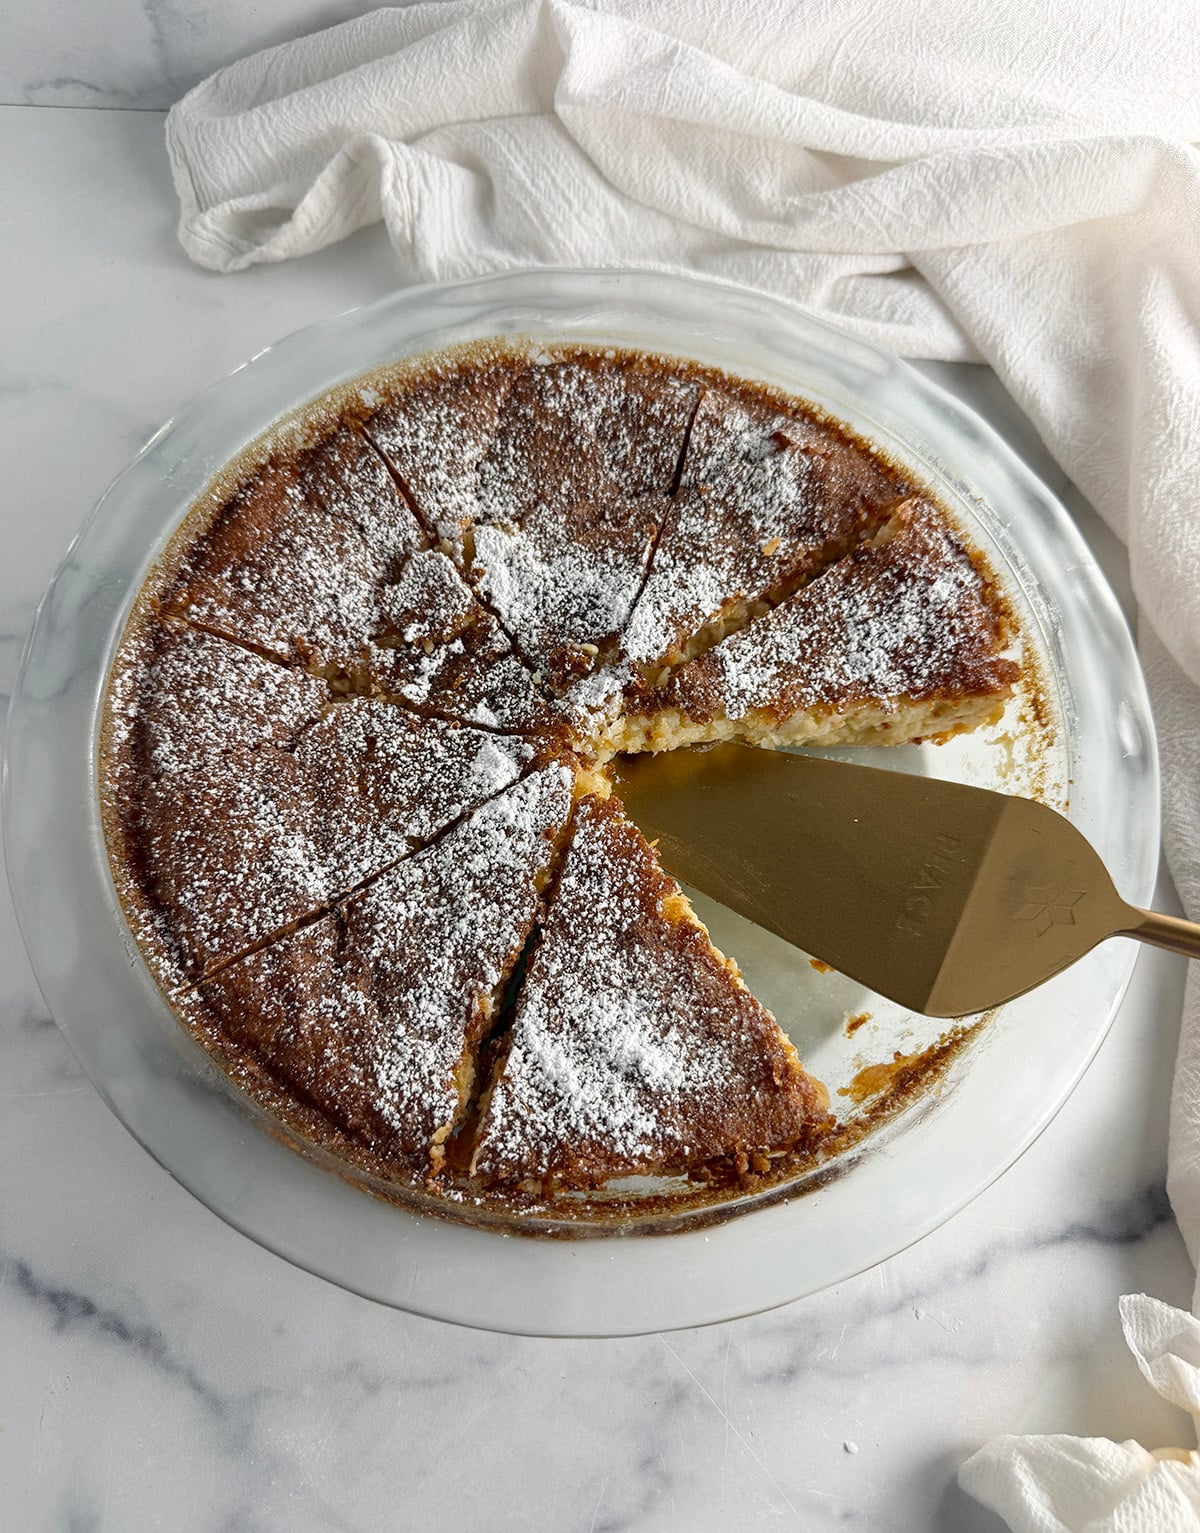
Quick Tips
• Don’t be alarmed by the thin batter. It will look almost too watery when you pour it into the pie plate. That’s exactly right.
• Grease the pie plate well. Since there’s no traditional pie crust, a generous coating of butter will help the slices release cleanly.
• Don’t overbake it. The center should be mostly set when you remove it from the oven. It will continue to firm as it cools.
• For the neatest slices, chill it first. I found the texture was even better after refrigeration.
• Expect it to settle. The pie may puff in the oven and sink slightly as it cools. That’s normal.
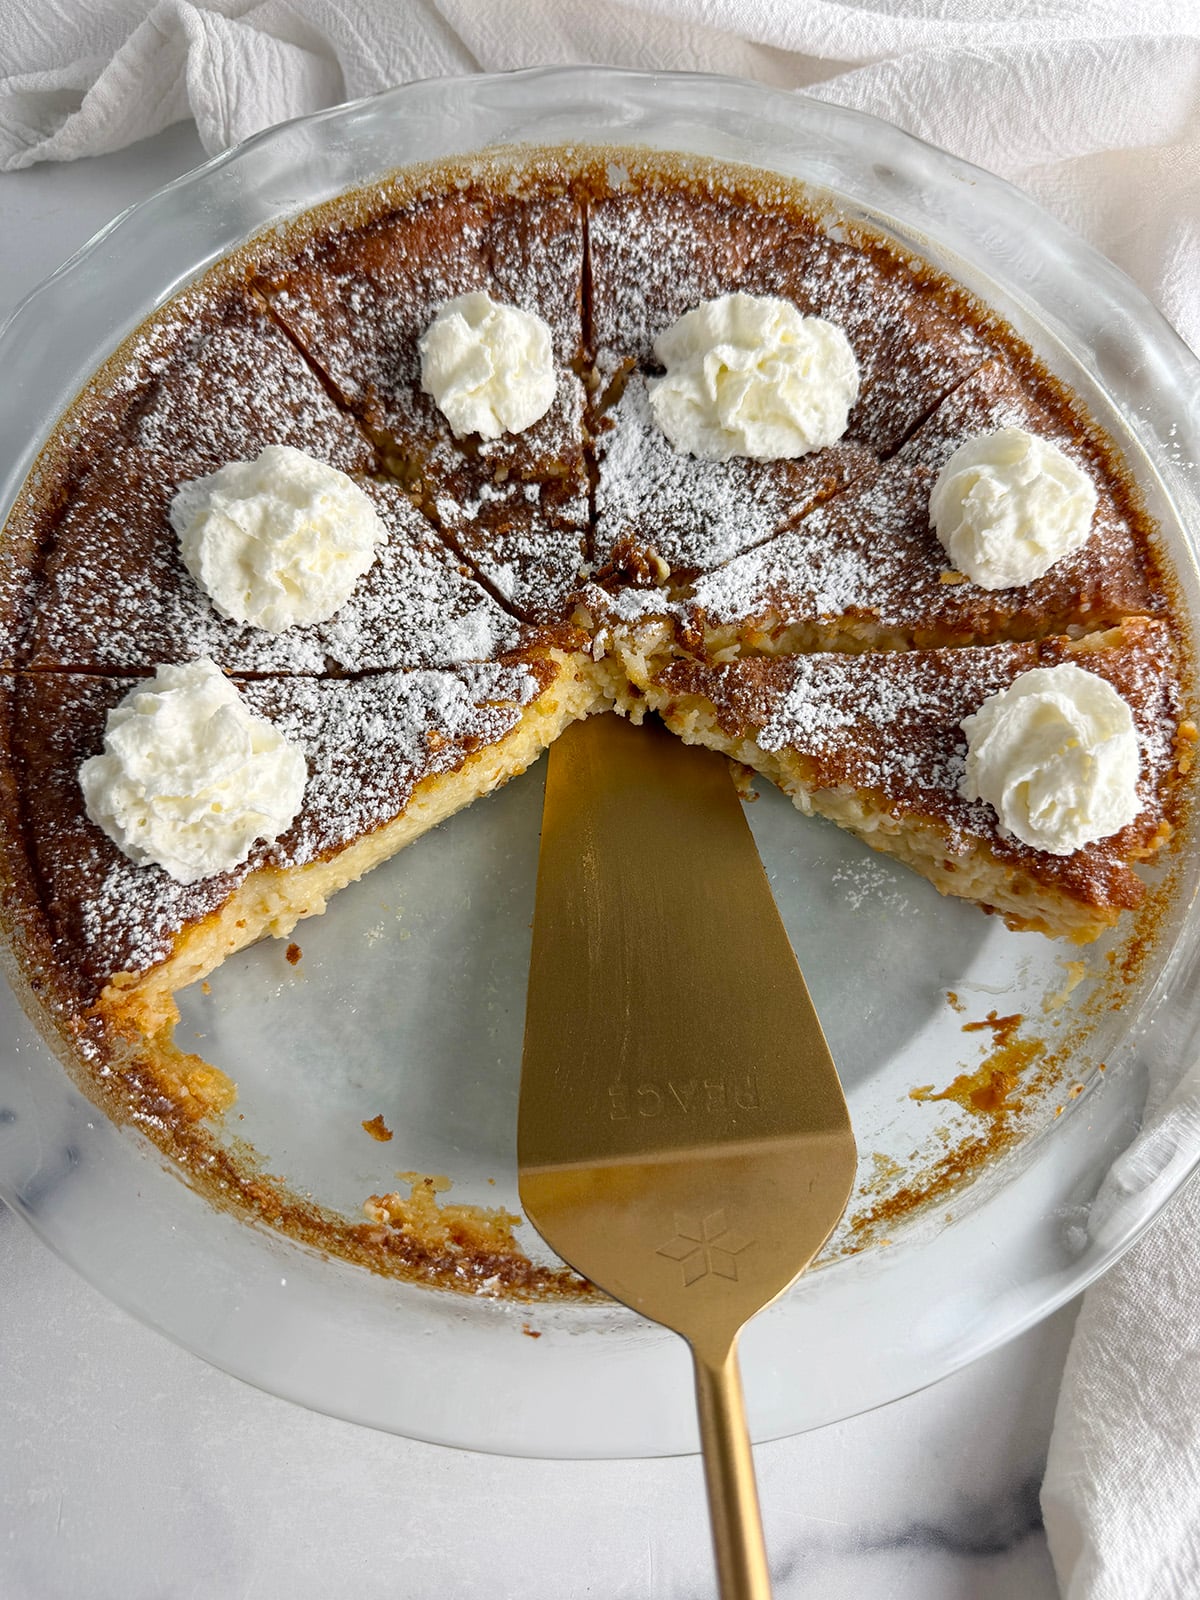
Frequently Asked Questions
• Why is it called Impossible Pie? The “impossible” part is that you don’t have to make a pie crust. The ingredients separate into layers as they bake, creating a firmer bottom, creamy custard-like middle, and coconut topping, all from one batter.
• Does Impossible Pie need to be refrigerated? Yes. Because the filling contains eggs and milk, leftovers should be covered and stored in the refrigerator.
• Can I eat Impossible Pie warm? Absolutely! If you like a softer, more custardy dessert, you can enjoy it warm after it has had some time to cool and set. For a firmer texture and cleaner slices, refrigerate it before serving.
• How long should I chill Impossible Pie? After letting it cool at room temperature, refrigerate it for at least a couple of hours or until thoroughly chilled. You can also make it a day ahead and refrigerate it overnight.
• Why is my Impossible Pie jiggly in the middle? A little movement in the center when it first comes out of the oven is fine. The custard continues to set as the pie cools and will become noticeably firmer once refrigerated.
• How do I know when Impossible Pie is done? The top should be golden brown and the center should look mostly set rather than liquid. Remember that the pie will continue to set as it cools.
• How should I store leftovers? Cover the pie tightly or transfer individual slices to an airtight container and refrigerate. I’d enjoy leftovers cold straight from the refrigerator, or let a slice sit at room temperature briefly before serving.
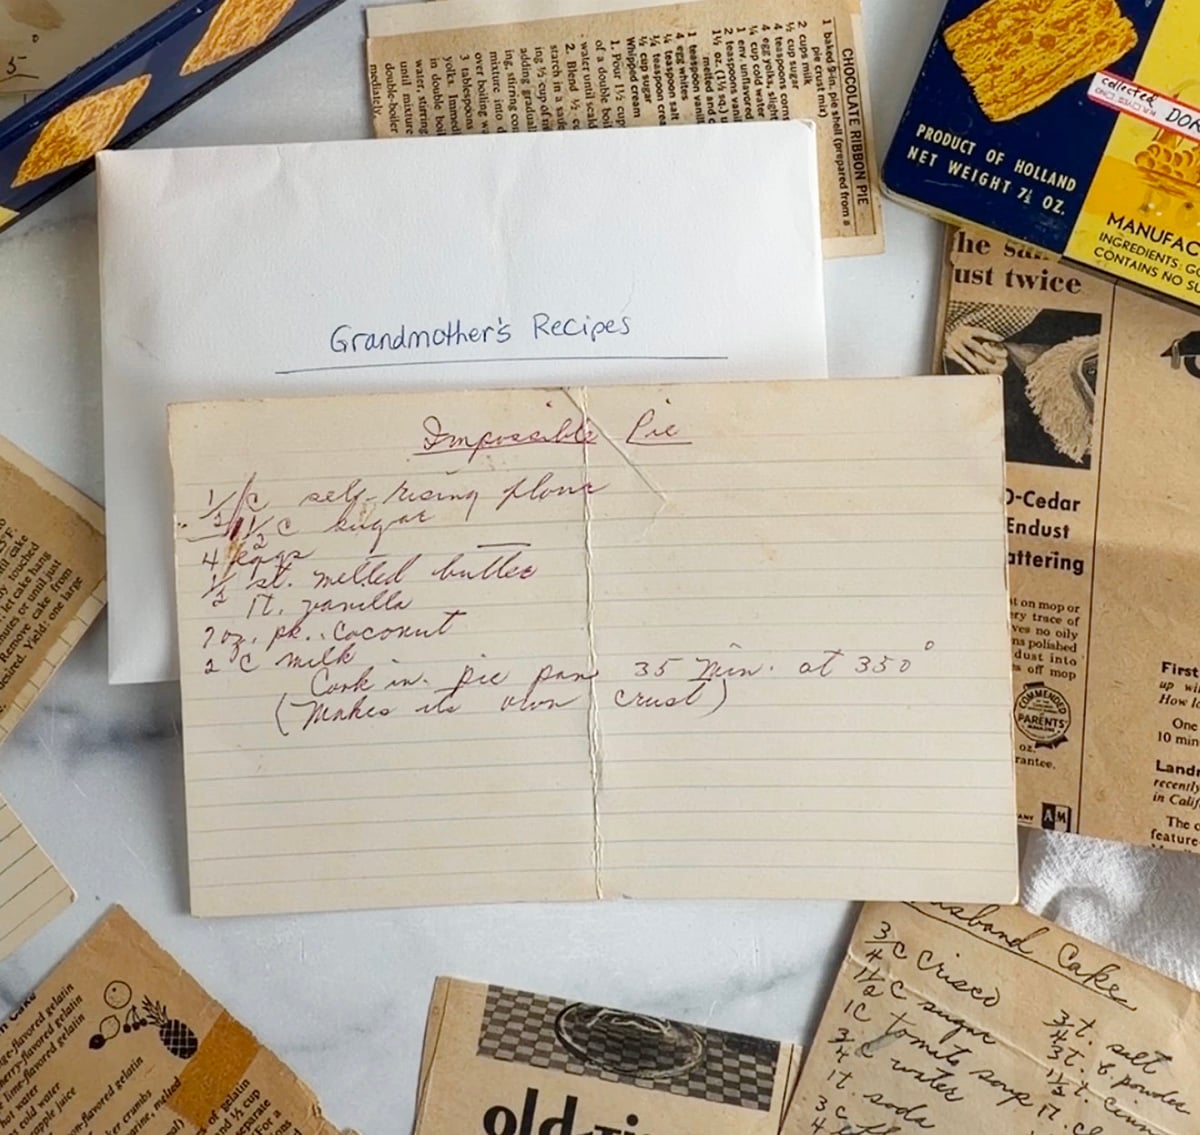
Stay tuned for more of my grandmother’s recipes coming soon! And be sure to follow along with my new Grandmother’s Recipes series on TikTok, Instagram, and Facebook, starting Monday, August 31. I can’t wait to share more of her recipes with you!

Impossible Pie
Ingredients
- 4 eggs
- 1 cup sugar
- 1/2 cup salted butter, melted
- 1 teaspoon vanilla
- ½ cup all-purpose flour
- 1/8 teaspoon salt
- 2 cups milk
- 1 cup shredded coconut
- Powdered sugar, for garnish (optional)
- Whipped cream, for serving (optional)
Equipment
Instructions
- Preheat oven to 350°F. Thoroughly grease a 9.5-inch pie plate with butter.
- Place the eggs and sugar in a large, deep mixing bowl. Using a hand mixer on medium speed, beat for 1 to 2 minutes, until the mixture is pale yellow, thickened, and slightly fluffy.
- Put the hand mixer away. Stir in the melted butter and vanilla until combined. Gradually stir in the flour and salt until incorporated. Slowly add the milk, stirring until combined. The batter will be very thin and watery; this is normal. Gently stir in the coconut.
- Give the batter one final stir from the bottom of the bowl, then pour it into the prepared pie plate. Bake for 45 to 50 minutes, until the top is golden brown and the center is mostly set.
- Place on a wire rack and let cool for at least 2 hours. The pie may puff slightly as it bakes and then settle as it cools, forming its own crust and layers. For the best texture, refrigerate for at least 1 hour before serving to allow the custardy center to firm up. If you prefer, you can also serve the pie warm. Garnish with powdered sugar and whipped cream, if desired.
- Store covered and refrigerate leftovers for up to 4 days.
Notes
Did you make this recipe?
Please let us know by leaving a star rating and review!