Homemade Pan Release or Goop (Cooking “Spray”)
This is an awesome recipe that I found on iambaker.net. It’s a great way to keep your cakes from sticking to the pan and it’s much cheaper than buying the non-stick cooking spray. It’s so easy to make and you can store it in the refrigerator for months.
![[pinterest]](https://www.momlovesbaking.com/wp-content/uploads/2014/03/7coolingRT.jpg)

This is the easiest recipe. It’s just 3 ingredients – equal parts shortening, vegetable oil and flour. I used my mixer to combine the ingredients but you could also mix them up by hand.
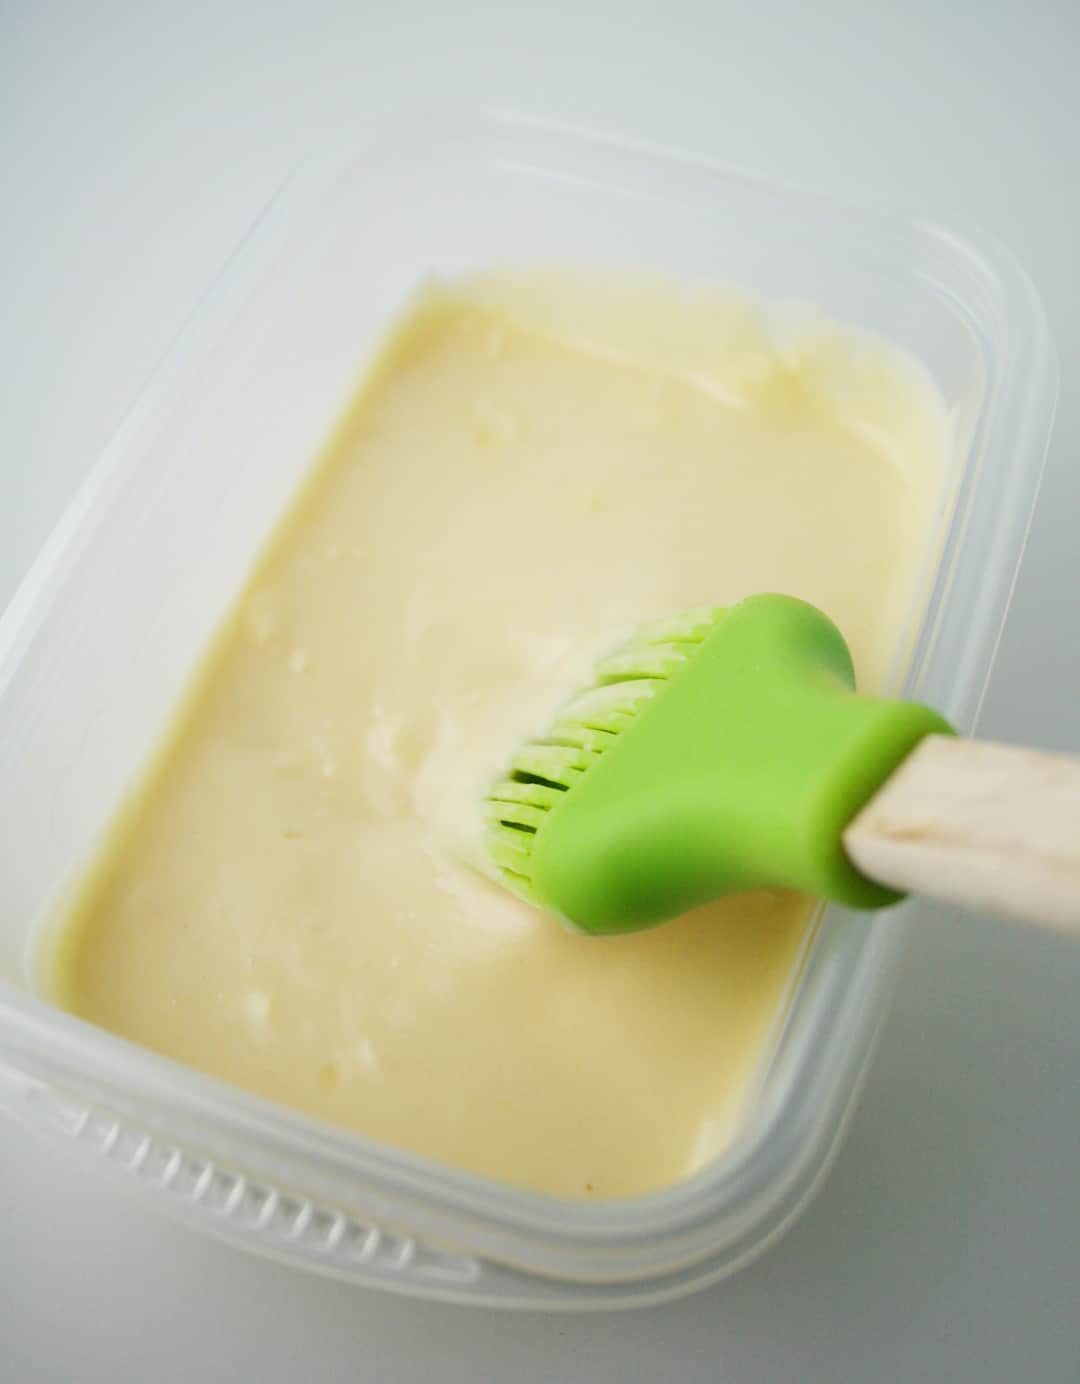
I used Butter-flavored Crisco because that’s what I had on hand. If you must know, it’s because I was testing some recipes for the Pillsbury Bake-Off and Crisco is one of the sponsors. Anyway, that’s why my “Goop” came out yellow. You can use any kind of vegetable shortening.
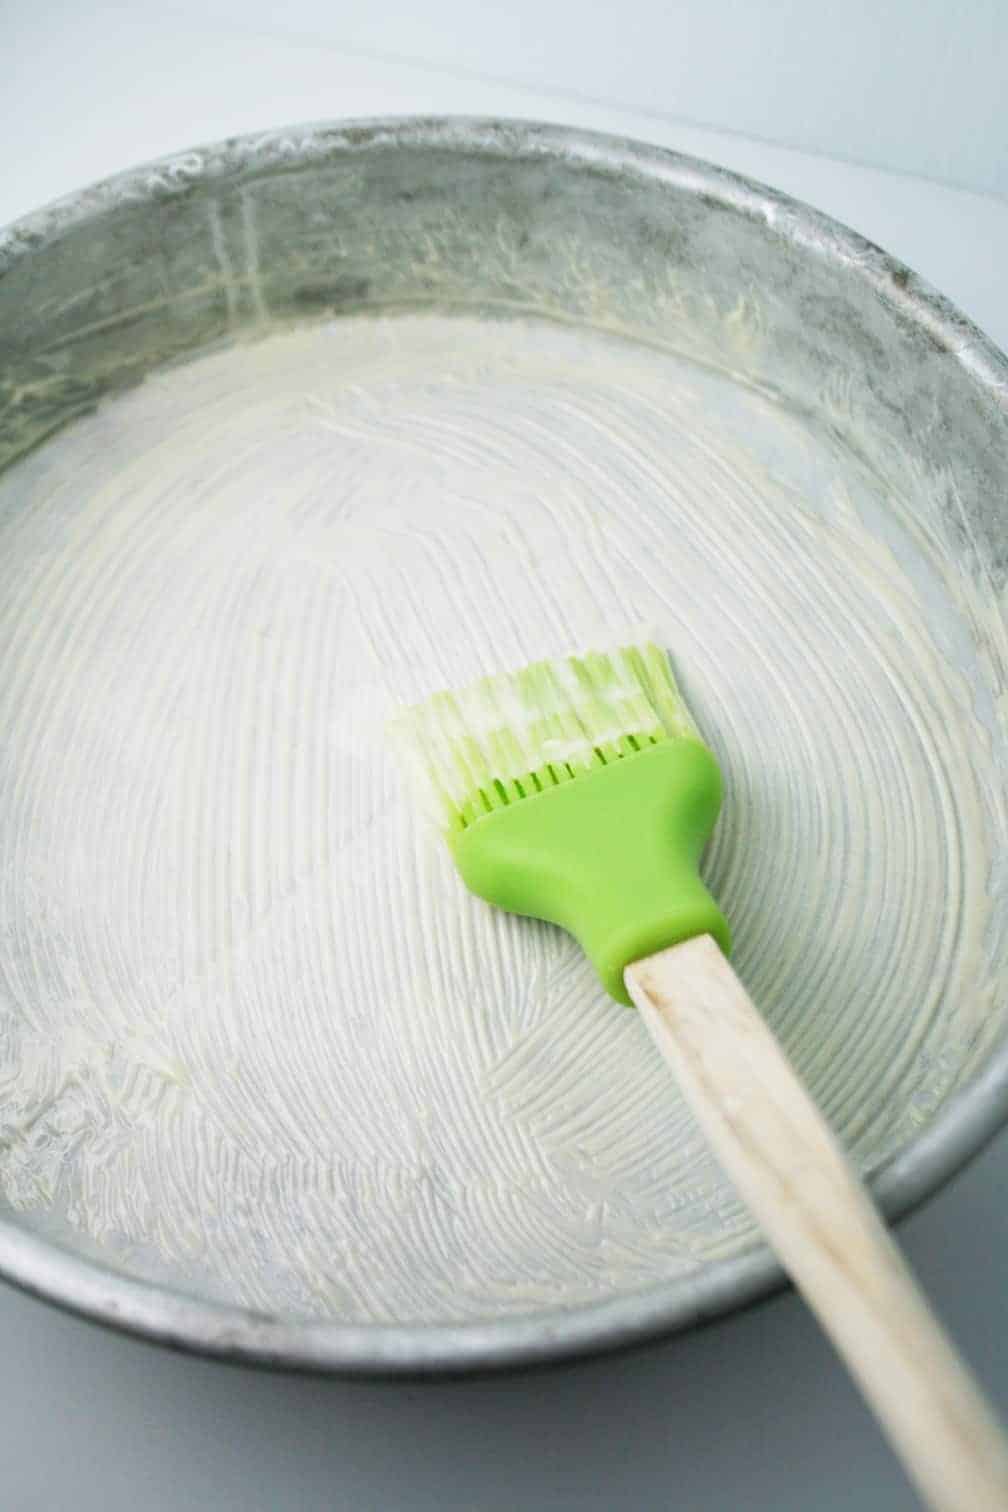
Brush the goop on you cake pan, then add your parchment paper (cut to fit the size of your pan). Then brush more goop on top of the parchment. You only need a thin layer. Don’t brush on too much or it will stick to your cake. That’s it! I love this stuff. I use it all the time and it works great. You’re going to love it too. You’re welcome! 🙂
Homemade Pan Release or Goop (Cooking “Spray”)
Ingredients
- 1 cup all purpose flour
- 1 cup vegetable shortening
- 1 cup vegetable oil
Instructions
- Place the shortening in a large mixing bowl. Beat with an electric mixer on medium high for about a minute. With the mixer on low, gradually add the oil and flour. Turn mixer up to medium high and mix for another minute or until smooth.
- Store in airtight container in refrigerator.
- When ready to use: Dip a pastry brush into mixture and spread over bottom and sides of cake pan.
Could you substitute corn starch for the flour to make it gluten-free?
I think brown rice flour would work better than corn starch. Or if whatever gluten-free flour you’re using for the batter.