Your family will love these adorable Royal Icing Daisy Sugar Cookies! The best sugar cookie you'll every taste with royal icing daisies on top.

I made these cookies because my 12 year old son absolutely loves frosted sugar cookies. It doesn't have to be Christmas to make them either. I thought these Royal Icing Daisy Sugar Cookies would be a perfect Summer treat.
The trick to making perfectly shaped sugar cookies
Once I tell you about this trick, you'll never make cookies the same way again. Here's what you do. Roll them out between two sheets of parchment paper, that way there's absolutely no sticking. Then cut out your shapes directly on the parchment paper and transfer the entire sheet (very carefully) ontp the cookie sheet. I love using the 13"x18" half sheet pan. Here's my favorite sheet pan on Amazon in case you want to check it out (affiliate):
Why I love this Sugar Cookie Recipe
I used to have a cake and cookie business years ago. This is the exact cookie recipe that I used for all my cookie orders, so it is tried and true. I've made literally thousands of cookies with this recipe. The cookies really don't expand much at all during the baking process, so they hold their shape well. Everyone that has tasted these cookies loves them!
Working with Royal Icing
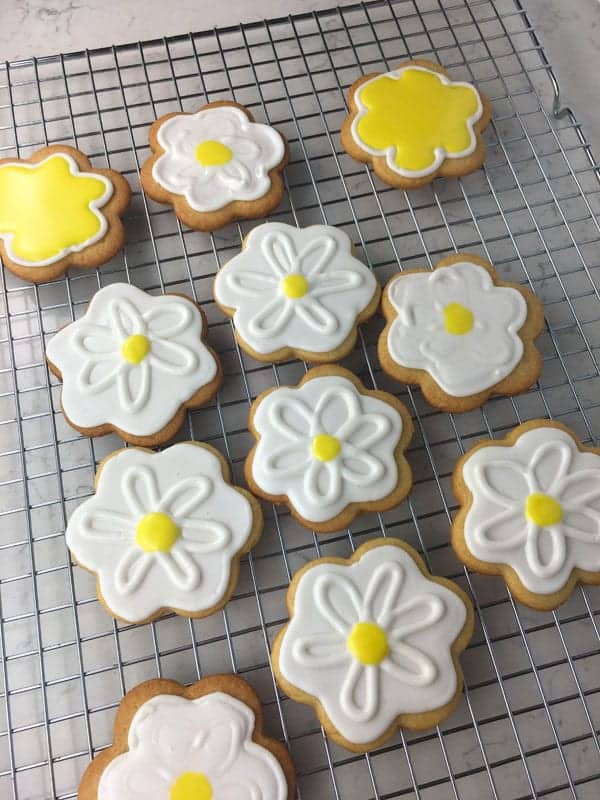
The Royal Icing Recipe I've included is also great! It's very thick at first, but once you add a few drops of water, it turns into the right consistency. You will need to divide the icing into two bowls because you will need two different consistencies to decorate these cookies. First you need a thicker consistency for the outline and decorations on top. Then you need a thinner consistency to "flood" the middle (you can achieve this by adding more drops of water to the icing until it's more soup than toothpaste). In other words, you'll make an outline with the thicker icing (like the consistency of toothpaste), then you will add the thinner icing to fill in or flood the rest of the cookie inside your outline. Let that DRY! That will take about 10-30 minutes. Then you can add your final decorations on top. If you look at the photo just above, you'll see the cookie on the bottom left is not quite right. That's because I didn't let it drive completely before I added the top decoration, so they melted into the flood icing. Oops! It still tasted good, but now you can see what I mean.
I hope you enjoy these Royal Icing Daisy Sugar Cookies!
Tools for success
Wilton 3-Inch Flower Cookie Cutter
Note: The above items are affiliate links.
Want even more? Subscribe to Mom Loves Baking to get new recipes and a newsletter delivered to your inbox. And stay in touch on Facebook, Pinterest, Twitter, and Instagram for all my latest updates. If you make this recipe, share a photo on social media tagging @momlovesbaking and using the hashtag #momlovesbaking.

Royal Icing Sugar Cookies
Ingredients
For the Sugar Cookies
- 3 cups all purpose flour 1 pound
- 1 teaspoon baking powder
- 1 cup unsalted butter, softened 2 sticks
- 1 cup granulated sugar
- 1 large egg room temperature
- 1 teaspoon vanilla extract
- 1 teaspoon salt
For the Royal Icing
- 16 ounces powdered sugar 1 pound
- ¼ cup plus 1 tablespoon meringue powder
- ⅓ cup water
Instructions
For the Sugar Cookies
- Preheat oven to 350°F.
- In a medium bowl, stir together flour, baking powder and salt. Set aside. You can weigh the flour on a scale for exact measurement, if desired.
- In a large bowl, add the butter and sugar. With an electric mixer, beat on medium for 3 minutes or until light and fluffy. Add the egg and vanilla. Beat on medium for another minute.
- Gradually add the flour with the mixer on low. Once it's combined. Turn the mixer up to medium and blend until the dough begins to pull away from the sides of the bowl. Take the dough out of the mixer and place on a piece of parchment paper. Knead the dough with your hands for about a minute. Wrap the dough in the parchment paper and refrigerate for one hour.
- Once it's chilled, unwrap the parchment and place on counter (you'll have the dough on the parchment paper). Place another sheet of parchment on top of the dough. Use your body to lean against the counter and hold down the two sheets of parchment on one side. Roll the dough through the parchment paper (so you don't need any extra flour). Roll the dough to about ⅛-inch thick (but slightly thicker, not ¼-inch though). Using a 3-inch flower cookie cutter, cut them right on the parchment paper, then slide the parchment paper right onto a 13"x18" half sheet pan with raised edges.
- Bake the cookies for 8-10 minutes or until just turning golden brown on the edges. Let cool.
For the Royal Icing
- Place all ingredients in mixer bowl. Turn mixer on low and let it mix for 6 minutes. Immediately transfer to an airtight container. Do not let it sit out for any amount of time or it will dry out. Store at room temperature for up to 3 weeks.Note: When ready to use for piping, you must add some water to it before putting it into pastry bag. Add a few drops of water at a time until it is of desired consistency which is like toothpaste. Not too thick and not too thin. Use this consistency to pipe the outline of your design, then use a thinned out version of the icing to flood the center. Let that dry on the cookie, then use more of the thicker consistency to pipe more decorations on top.
For the Daisy Cookies
- Color about a ½ cup of royal icing with yellow food coloring. Place in a pastry bag with a #4 round tip. Place in a sealed plastic bag and set aside. Take the remaining white icing and divide in half. Keep half of it in the thicker consistency and add some water to the other half to make it of flooding consistency. Place some of the thicker white icing into a pastry bag fitted with a #4 round tip. Pipe the outline of the cookie. Then place some of the flooding consistency royal icing in another pastry bag (I use the disposable plastic ones), cut a small tip off the end to pipe the thinner icing into the center of your flower until it floods the entire inside of the outline. Let dry completely (about 30 minutes). Then pipe your flower design on top with your thicker white icing. Pipe a yellow center. Note: Keep your pastry bags under a damp towel or sealed in a plastic bag while you're not using them, so the tip doesn't dry out while your decorating the cookies.
Nutrition
You might also like these Swedish Fish Heart Cookies
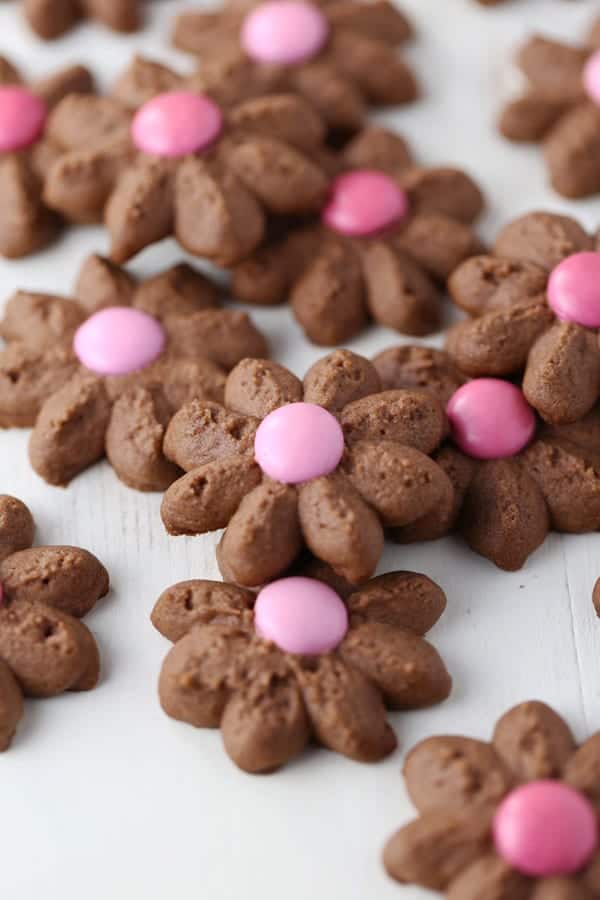
Or these Chocolate Spritz Cookies
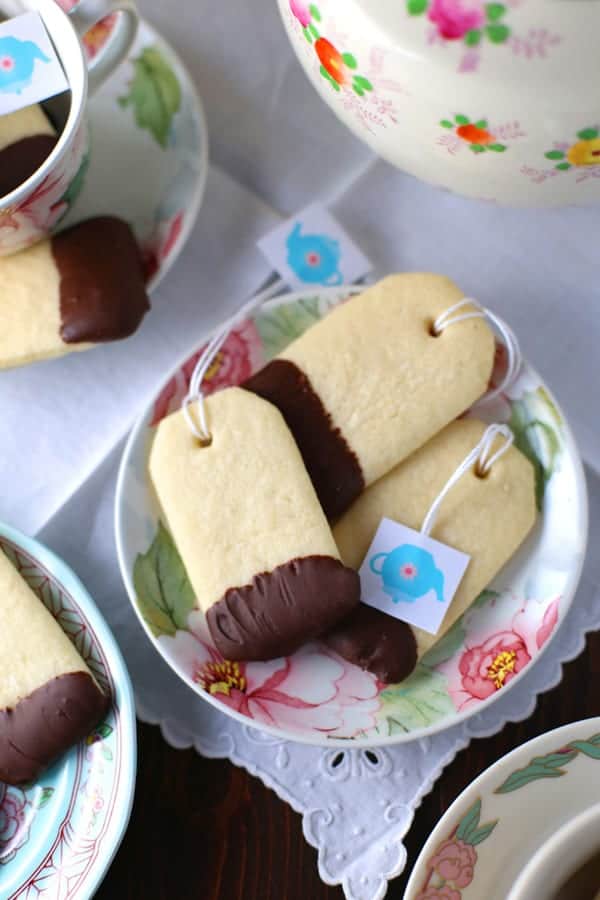
These Teabag Cookies are super cute too!
All text and images © Lise Ode for Mom Loves Baking. Please do not use my images without prior permission. If you want to republish this recipe, please re-write the recipe in your own words, or link back to this post for the recipe. Disclaimer: Nutrition information shown is not guaranteed to be accurate. This post may contain affiliate links.





Debbie says
Just an fyi....I'm not seeing where you've added the salt into your cookie dough.
Mom Loves Baking says
Debbie - It's updated now. Thank you for letting me know. The salt is added with the dry ingredients.