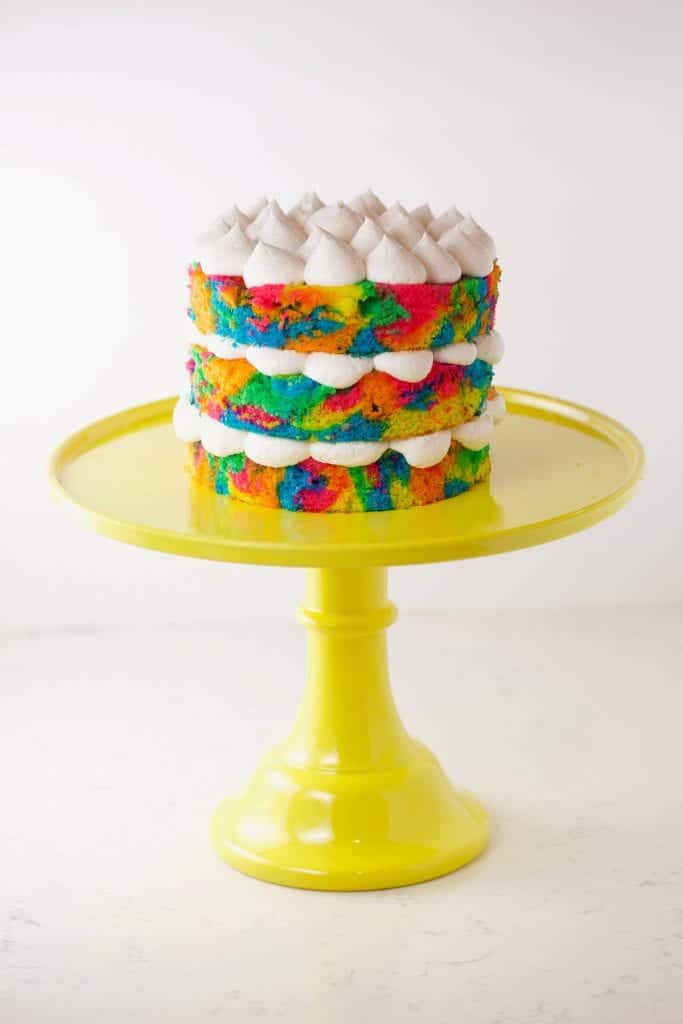
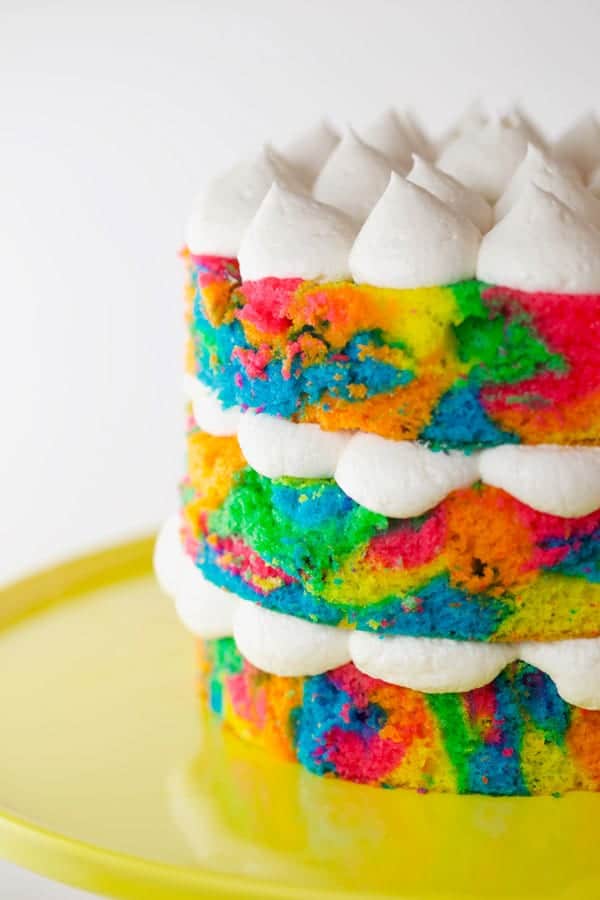
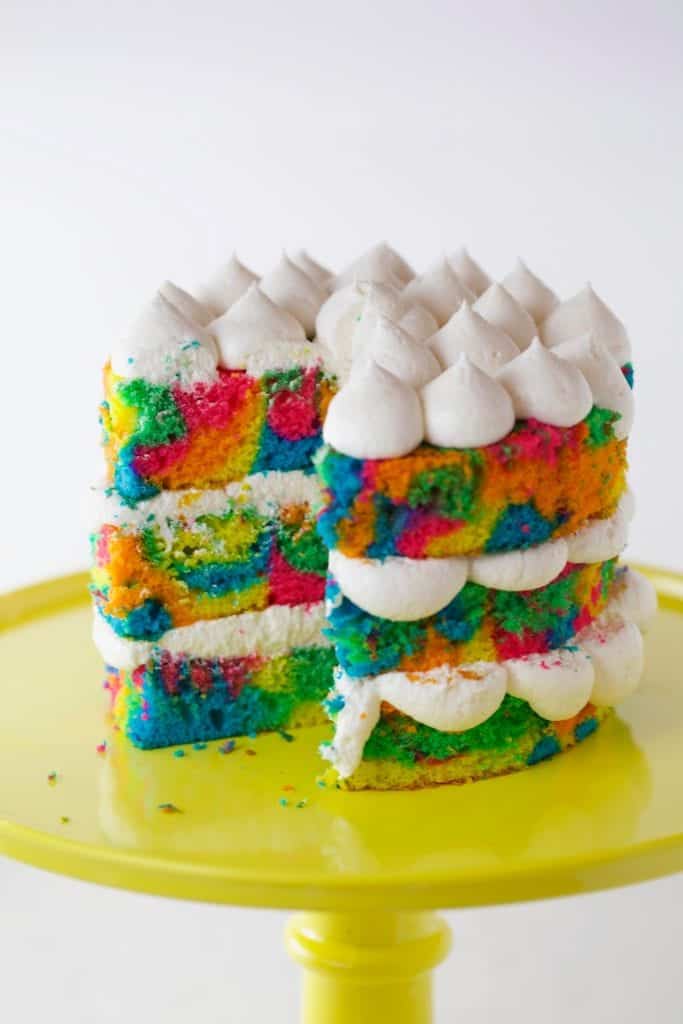
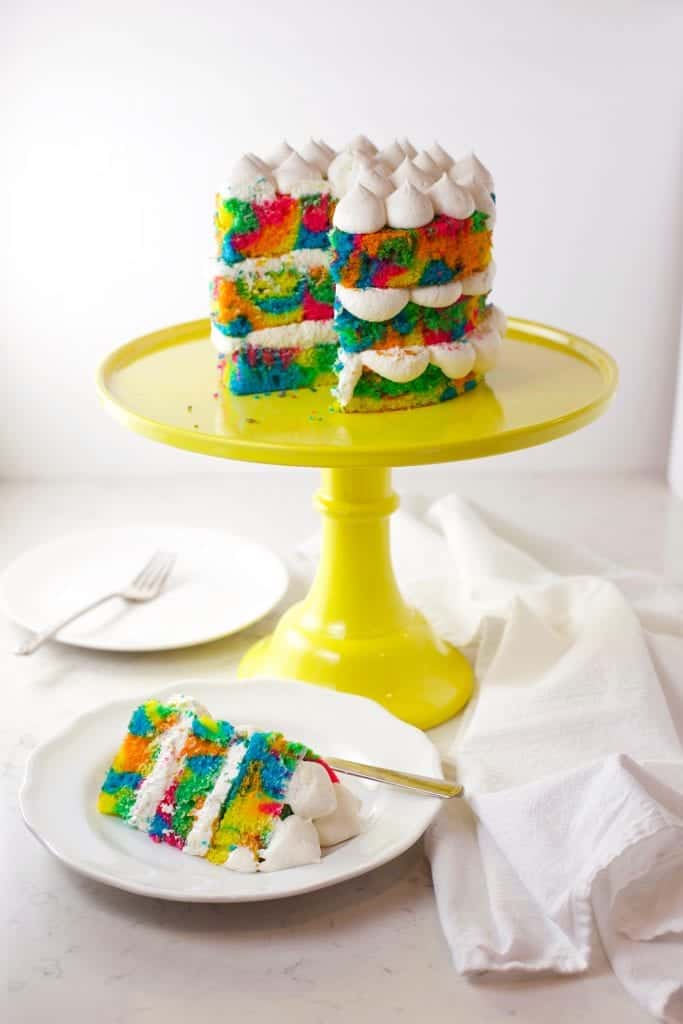
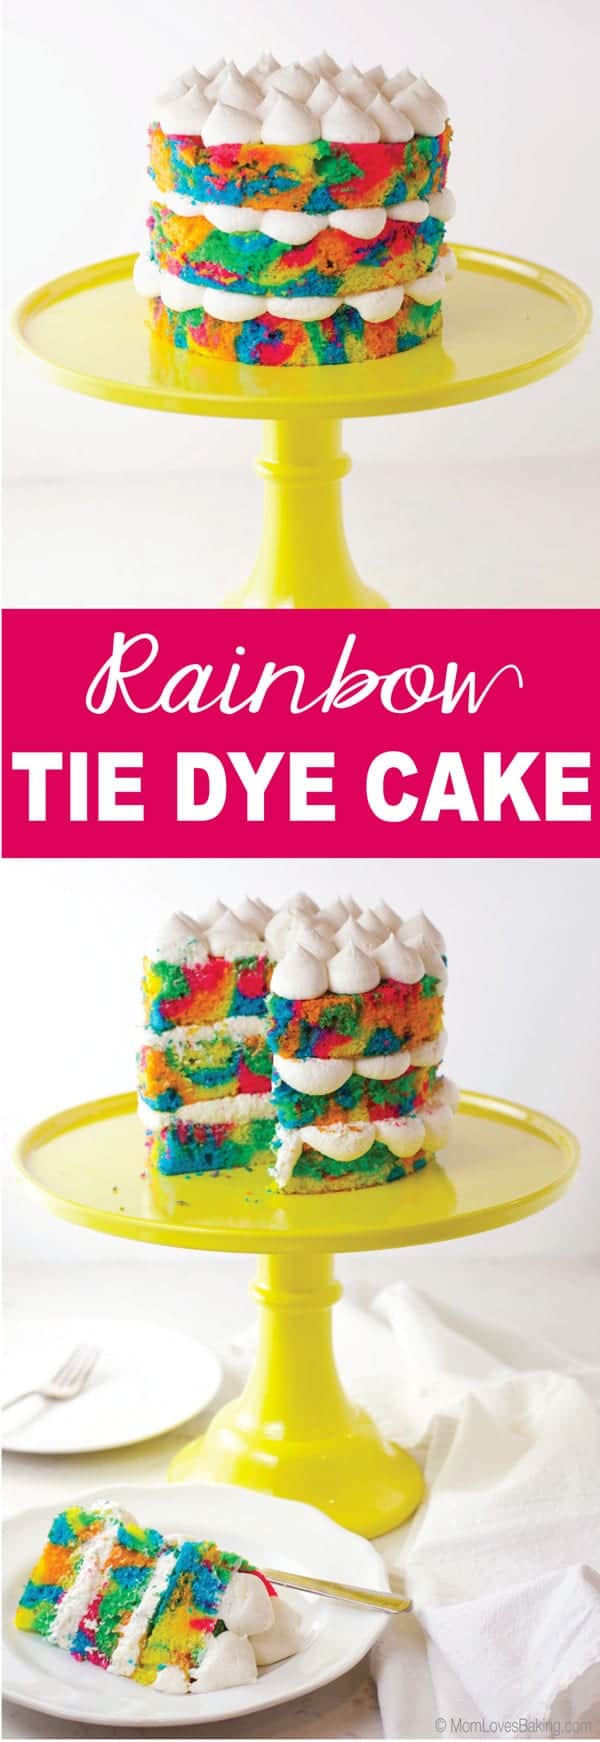
Rainbow Tie Dye Cake is a brightly colored vanilla cake with a tie dye pattern and dollops of buttercream frosting in between naked layers as well as on top. Super cute cake for a birthday party!
PIN IT NOW TO SAVE FOR LATER
Happy September! It's hard to believe Summer has come and gone. I'm excited to get back into the school routine again. My kids probably don't agree with me on that one. My son is an eighth grader this year and my daughter is in eleventh grade. She's doing homeschool for the first time and guess who her teacher is, me! I'm also a first time homeschooling mom and I'm terrified. But doing my best to rise to the challenge. My daughter has Hashimotos which is causing her to have stomach aches every day. We are working with her doctor to figure out the best solution, but in the mean time, it makes it hard to go to public school.
Being a homeschool mom AND a full time food blogger is going to be hard but I'm taking one day at a time. Juggling this blog, homeschooling, doctor visits, my son's basketball schedule, grocery shopping, laundry, meals, family finances, housework, exercise and pets (3 cats and a dog) is not easy. I'm trying to figure it all out.
I'll keep you posted! Thank you for listening. Now on to the cake...
Baking and cake making is like therapy to me. Do you agree? I love how colorful this Rainbow Tie Dye Cake is and making it reminded me of finger painting in kindergarten. I'm also totally in love with this bright yellow cake stand because I'm currently obsessed with all things yellow. It's the "it" color of 2019. Have you noticed?
How to Make a Rainbow Tie Dye Cake
1) Prepare two store bought white cake mixes according to the package instructions.
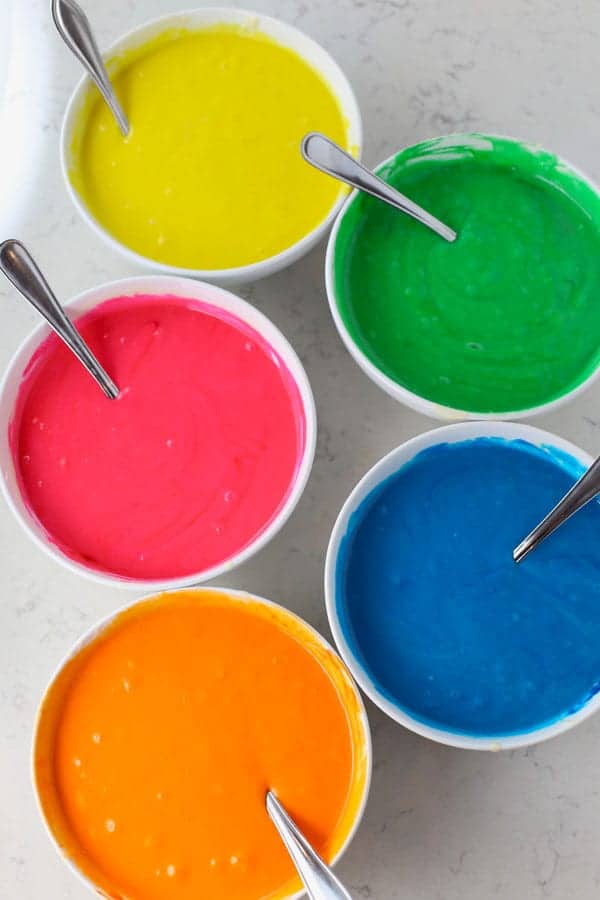
2) Divide batter equally into five bowls. Color each with bowl of batter with color of your choice.
3) Pour each bowl of batter into a large pastry bag.
4) Line a 13"x18" half sheet pan with parchment paper.
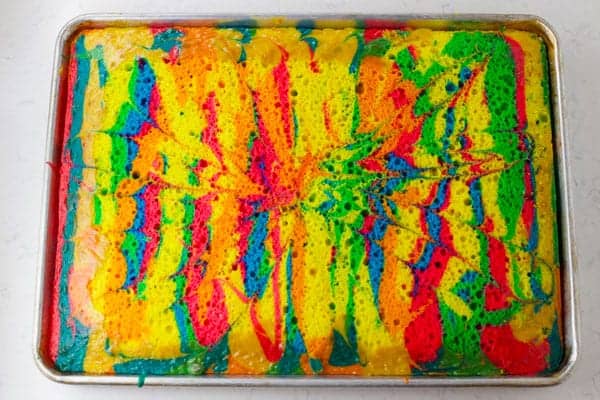
5) Pipe batter onto prepared pans in straight lines up and down with alternating colors.
6) Use a toothpick to drag across the batter to create a pattern, starting from the middle on going outwards.
Bake the cake for 25 minutes at 350°F.
Cutting the Cake
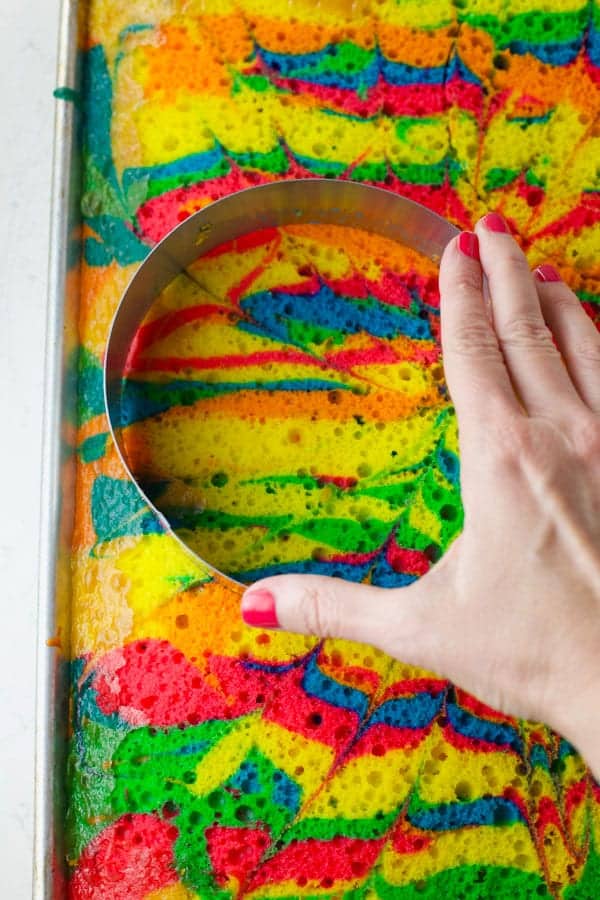
Use 6-inch round cake cutters to cut 3 cakes
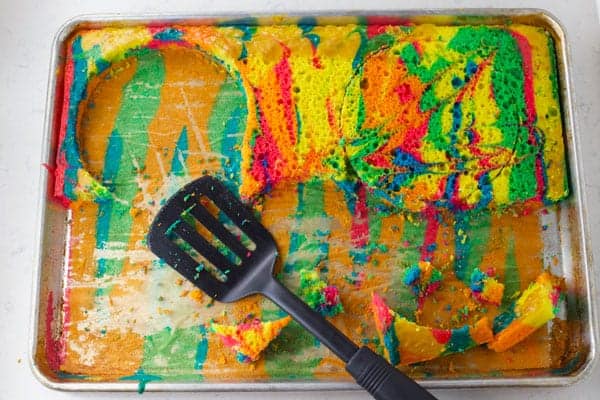
Remove cake circles with a spatula
Note: It's easier to remove the cake circles if you remove the outer cake first.
Cut the extra cake into mini squares or small circles to serve separately.
Frosting the Cake
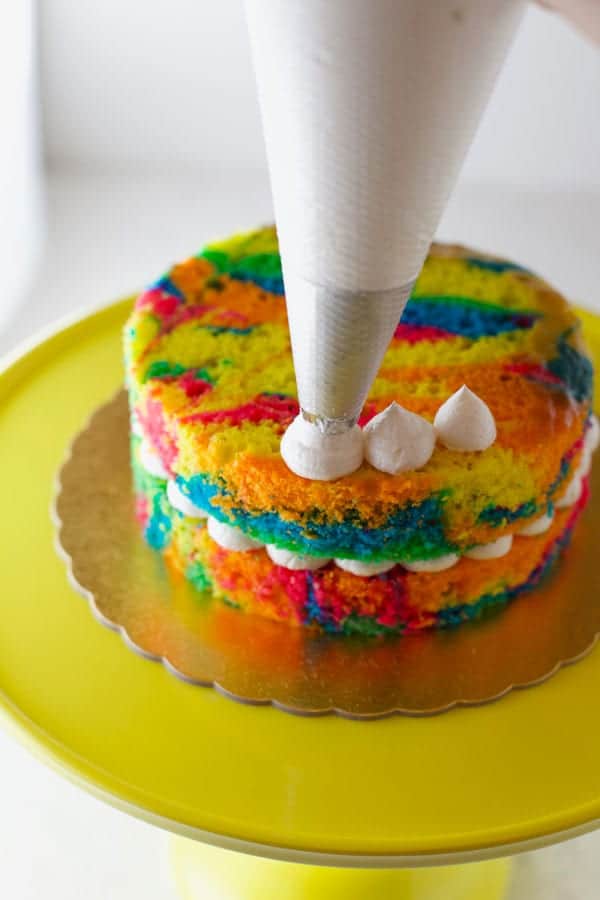
Pour frosting into a large pastry bag fitted with a large round pastry tip.
Pipe dollops of frosting on the first layer of cake.
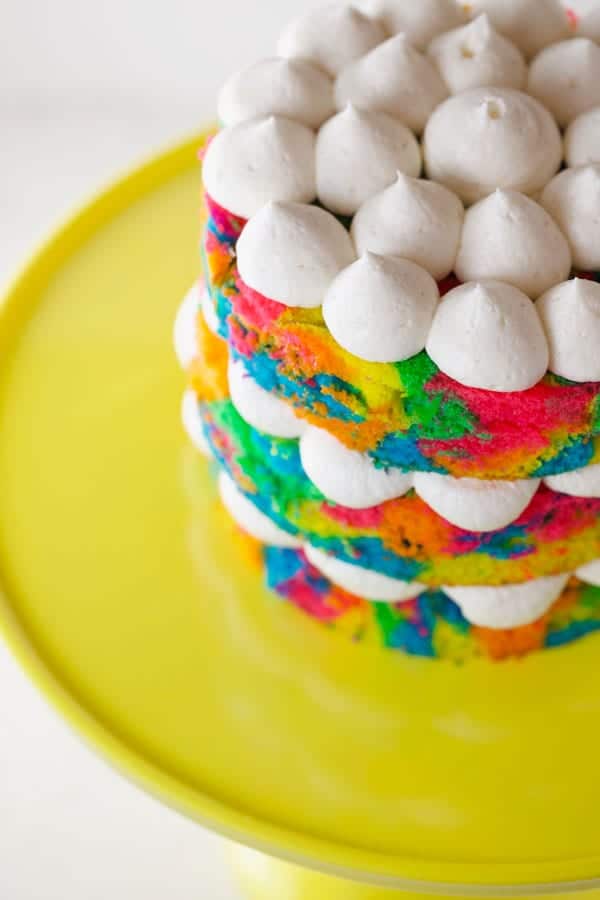
Add second layer on top and frost with dollops of piped buttercream.
Repeat process with remaining third layer of cake.
Note: The sides of the cake remain "naked".
Slice and serve this cheery Rainbow Tie Dye Cake at your next BBQ or dinner party! It's sure to bring smiles from all your guests, young and old!
Tools for success
Want even more? Subscribe to Mom Loves Baking to get new recipes and a newsletter delivered to your inbox. And stay in touch on Facebook, Pinterest, Twitter, and Instagram for all my latest updates. If you make this recipe, share a photo on social media tagging @momlovesbaking and using the hashtag #momlovesbaking.
Rainbow Tie Dye Cake
Ingredients
For the cake
- 2 boxes white cake mix I used Pillsbury
- 6 large eggs, at room temperature
- 1 cup oil
- 2 cups water
- food coloring
For the frosting
- 1 cup unsalted butter softened to room temperature
- 4 cups powdered sugar 16 ounces
- ¼ cup heavy whipping cream
- 1 teaspoon pure vanilla extract
Instructions
For the cake
- Preheat oven to 350°F. Line a 13"x18" half sheet pan with parchment paper. Set aside.
- Prepare cake mixes according to package instructions. I included the ingredients that I added to my cake mixes which were 6 eggs, 1 cup oil and 2 cups water.
- Divide batter equally into 5 bowls. Color each bowl of batter with food coloring of your choice. I used pink, orange, yellow, green and blue. Pour each bowl of batter into a large pastry bag.
- Cut the tips off of each pastry bag and pipe batter onto prepared pan in straight lines going up and down (line will be 13 inches long) in alternating colors. Once you've piped all of the batter onto the pan, take a toothpick, insert into the middle of the batter and drag it to the outer edge, then back to the middle. Create a pattern as if you were drawing the spokes of a bicycle tire. This will create a tie dye pattern effect.
- Bake cake for 25 minutes. Let cool. Refrigerate for 2 hours. Then cut 3 round 6-inch cakes using a cake cutter. Place first layer on cake plate, pipe dollops of frosting to cover the layer. Repeat with remaing two layers. Do not frost the sides. The cake is ready to serve.
For the frosting
- Beat softened butter on medium speed with an electric or stand mixer. Beat for 3 minutes until smooth and creamy.
- Add powdered sugar, cream, and vanilla extract with the mixer running on low. Increase to high speed and beat for 3 minutes. Pour frosting into a large pastry bag fitted with a large round pastry tip.
- Note: If the frosting is too thick, you can add a little more cream. Just add one tablespoon at a time, then mix thoroughly until you get the consistency you like.
What to do with leftover cake
- You will have extra cake and extra frosting left over after making this cake. You can cut the remaining cake into small squares or small circles then pipe frosting on top to create mini cakes. You should be able to make about 12 mini square or circle cakes.
Nutrition
You might also like these...
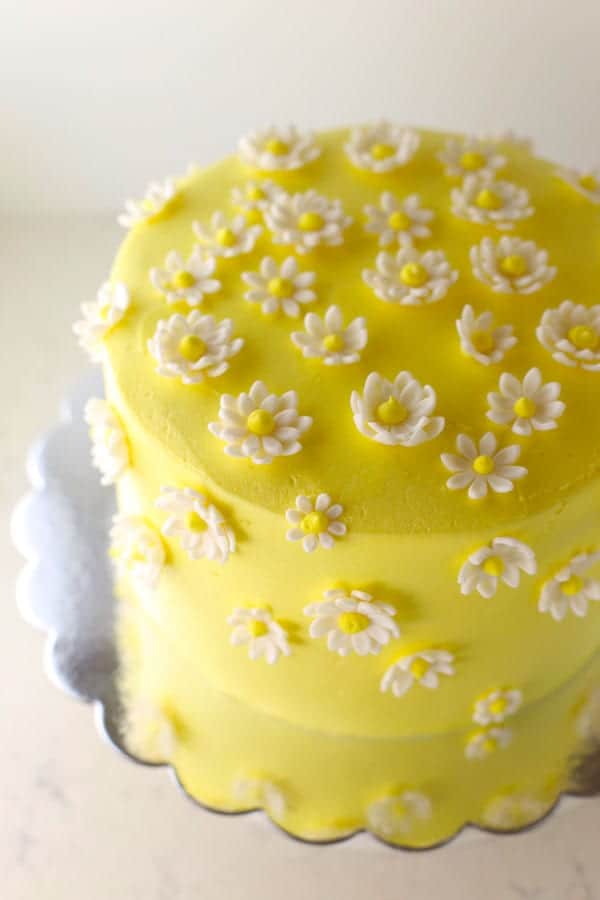
Rainbow Tie Dye Surprise Daisy Cake
Rainbow Sprinkles Polka Dot Surprise Cake
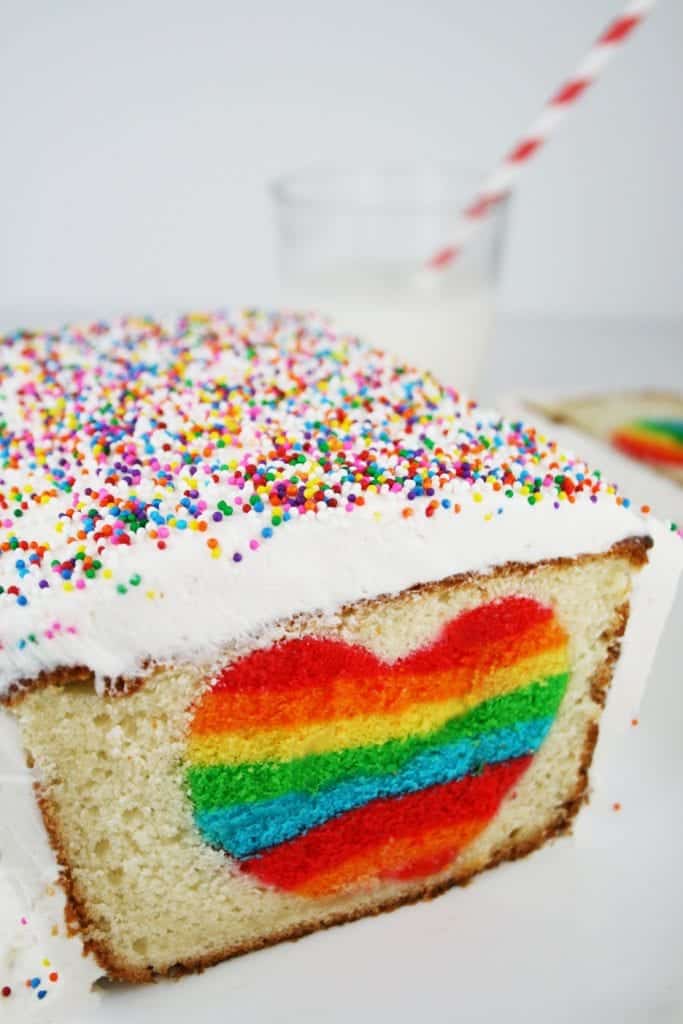
Rainbow Heart Surprise Inside Cake
All text and images © Lise Ode for Mom Loves Baking. Please do not use my images without prior permission. If you want to republish this recipe, please re-write the recipe in your own words, or link back to this post for the recipe. Disclaimer: Nutrition information shown is not guaranteed to be accurate. This post may contain affiliate links.

Megan says
Hi there! I love this cake design and would love to make it for a friend’s birthday! I gave it a test run, but my colors ran together, getting muddy as opposed to the amazing layers and variation your cake has! I used americolor soft gel paste, would you have any tips for how to preserve your distinct colors?
Thank you!
Lise Ode says
Hi Megan, It sounds like maybe you mixed it too much? If you swirl the colored batters together just a little bit, then the colors won't blend together. Let me know if that makes sense. There's a video too.
Rachel says
Hi! I would love to try and make this for my daughter's party. I wonder - if I have a larger sheet pan (15 x21), would I bee able to make a 3 tiered 8" cake instead of a 6"? (We are having quite a few people at the party)
Would I just make 3 boxes of cake mix instead of 2 and make more buttercream? Just trying to work out the logistics.
Thanks so much!