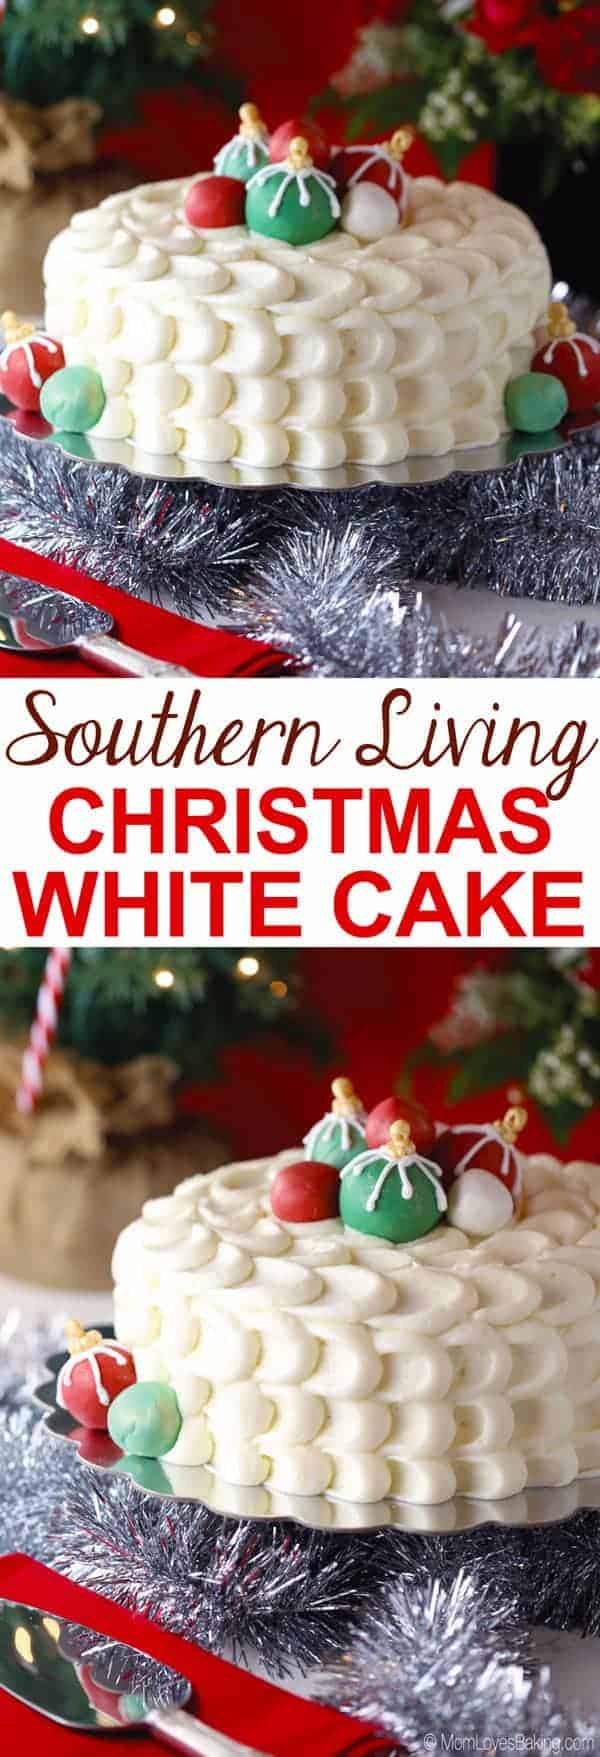
Southern Living Christmas White Cake is a classic vanilla cake with cream cheese frosting and edible ornaments. Impress your guests this holiday season with the most gorgeous cake, The decorations look difficult but they're totally do-able! Looking for more Christmas cakes? Try my Simple Christmas Cake or the classic Yule Log Cake (Buche de Noel).
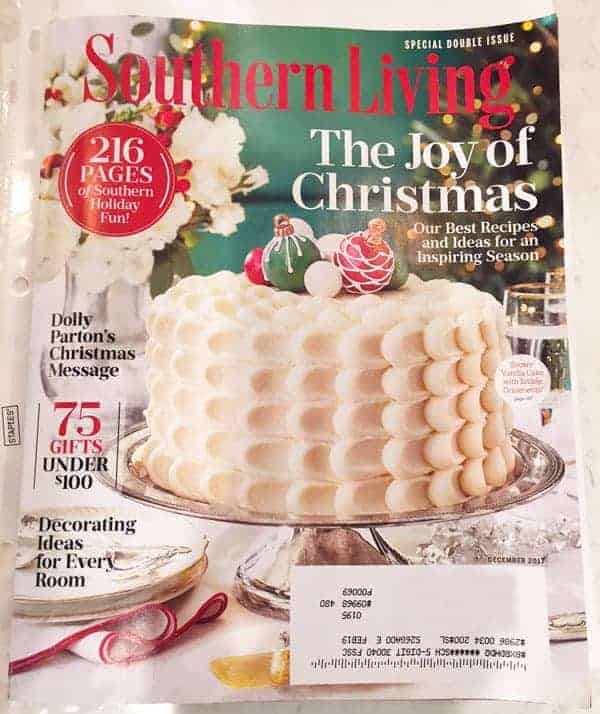
If you're a fan of Southern Living magazine like I am, you know that every year they have a beautiful Christmas cake on the cover. I've always loved seeing the creative cakes they come up with each year and even though I've made many cakes in my life, I've never made THE Southern Living Christmas Cake. Until now.
Why I love this Southern Living Christmas White Cake
When I saw this year's cake, I thought, I have GOT TO MAKE IT! It's just SO beautiful, right?!
I've seen this piping technique before but have never tried it. (Note: it's much easier than it looks!)
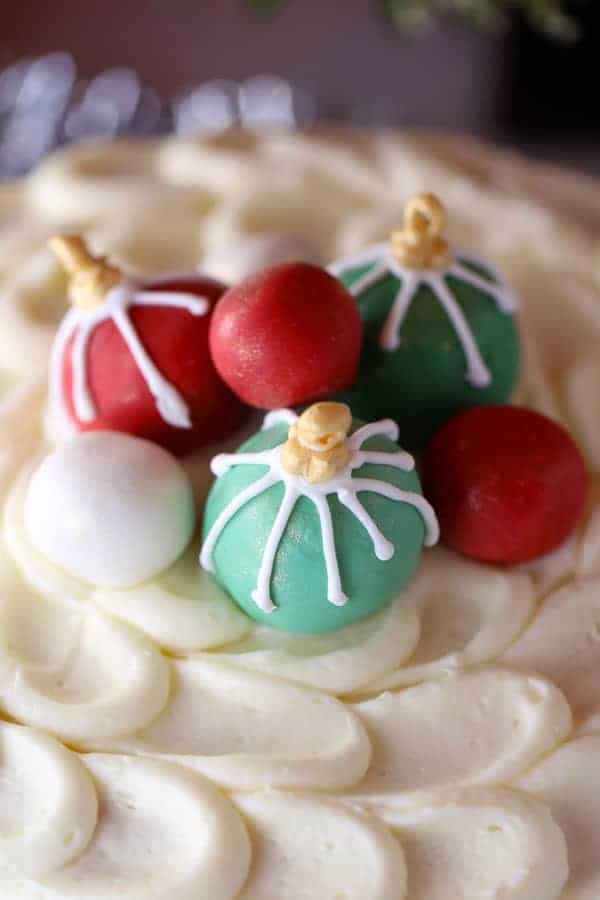
And these edible ornaments are so awesome too. I just had to try my hand at making them. I have to admit they were a bit time consuming, but so worth it! They are totally the "icing on the cake!"
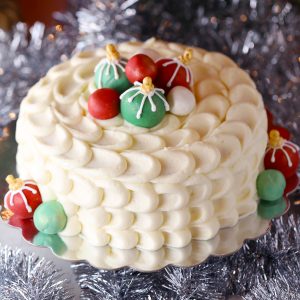
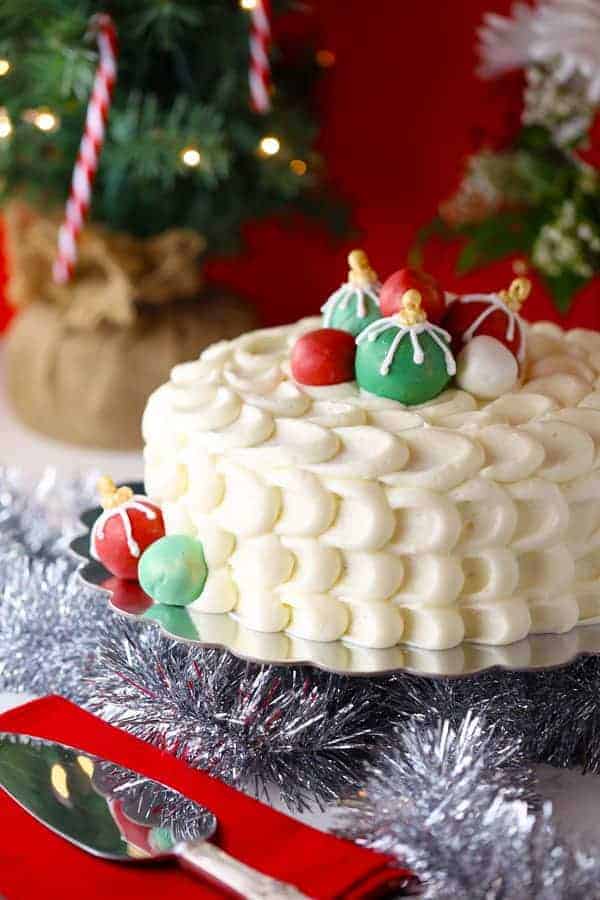
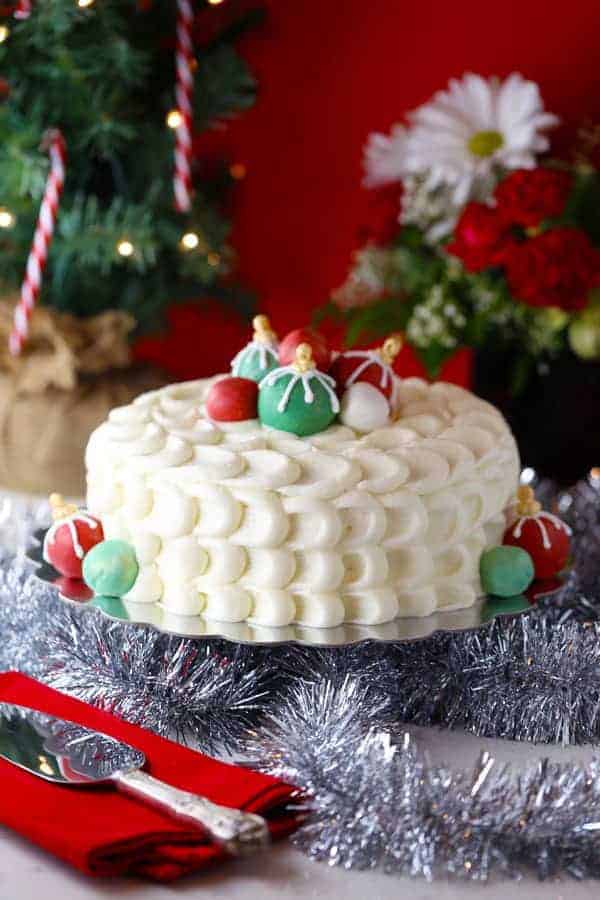
Here's the cover shot. How did I do? I was so pleased with how it turned out. I took it to a Christmas party in my neighborhood and got lots of oohs and ahs when I brought the cake in. One of the guests said, "IS IT REAL???" Lol! Isn't that funny! And definitely a compliment which I very much appreciated after spending countless hours on this baby!
How to decorate this cake
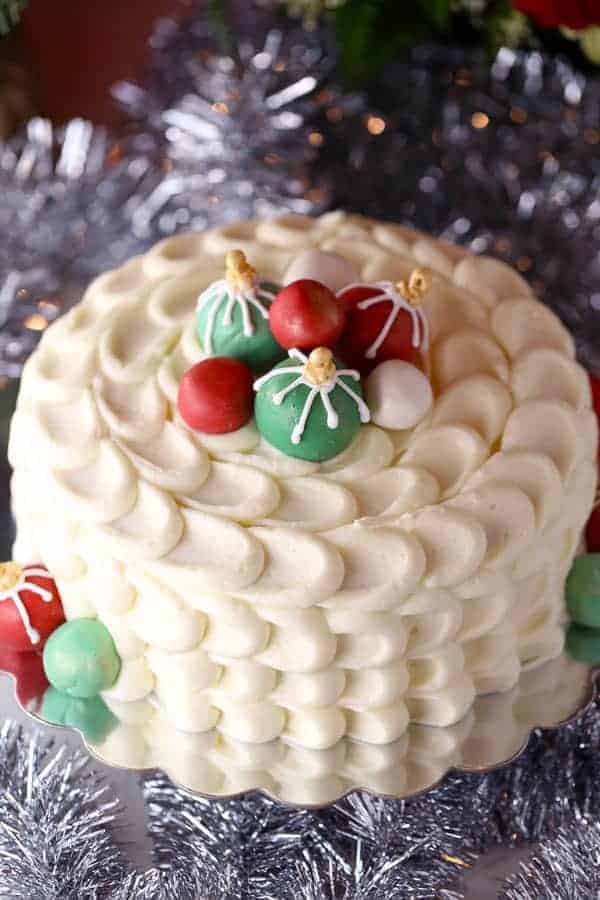
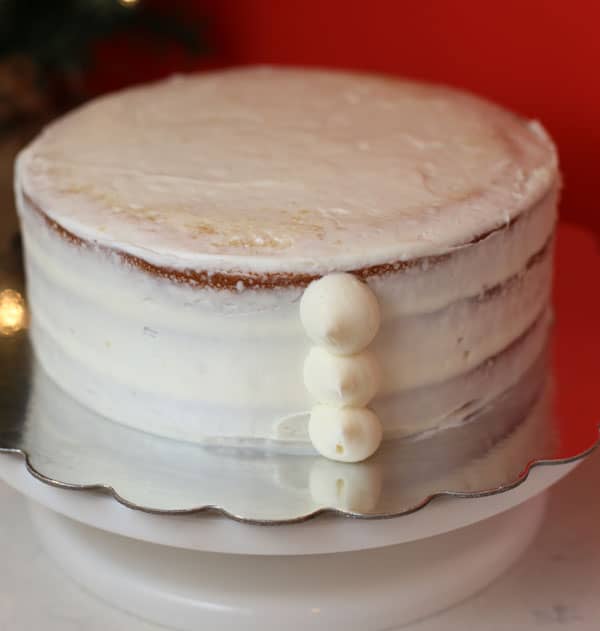
After you fill and frost the cake with a thin layer of icing, then you pipe 3 balls or dollops of icing like so. I used a ½" round pastry tip for the job.
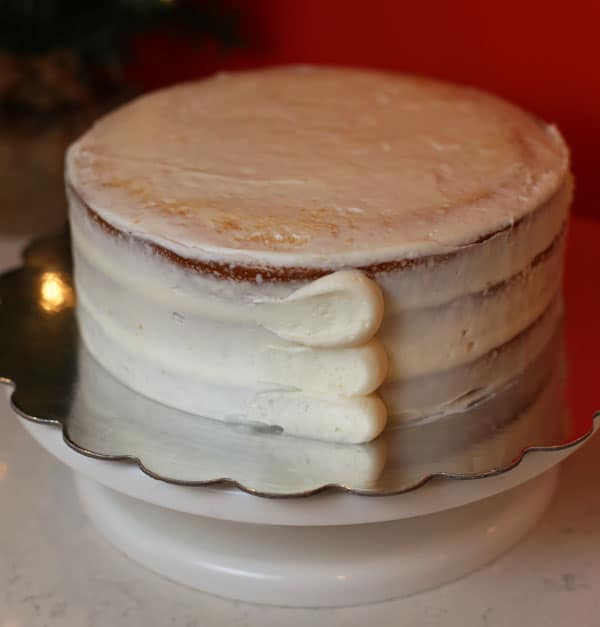
Then use a ½" offset spatula to slightly flatten the dome of icing you've created and swipe to the side.
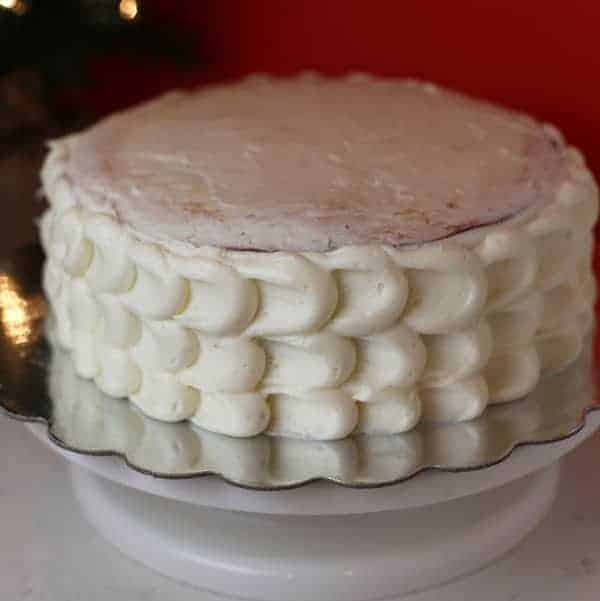
Continue making your rows of three balls and three swipes until you've covered all sides of the cake. Continue the same pattern on the top of the cake.
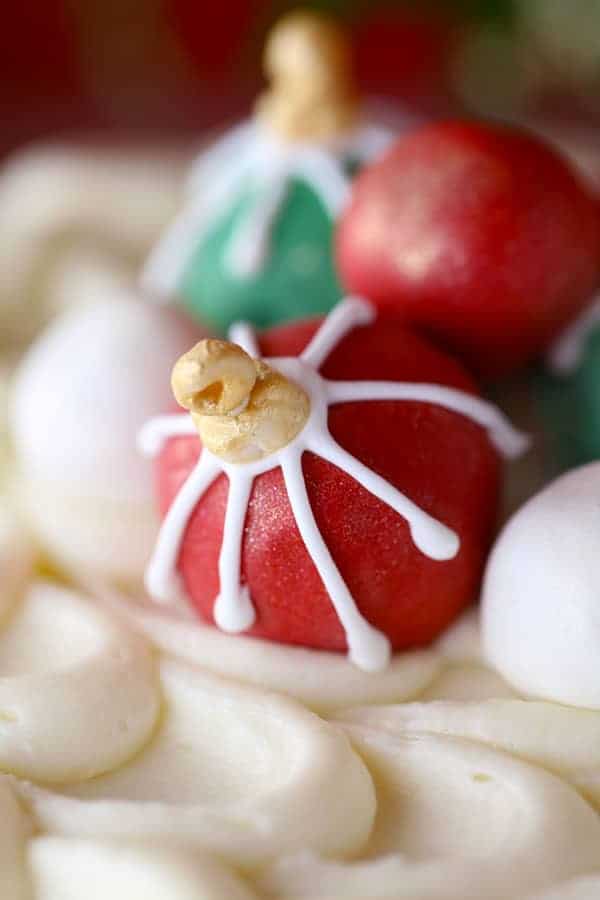
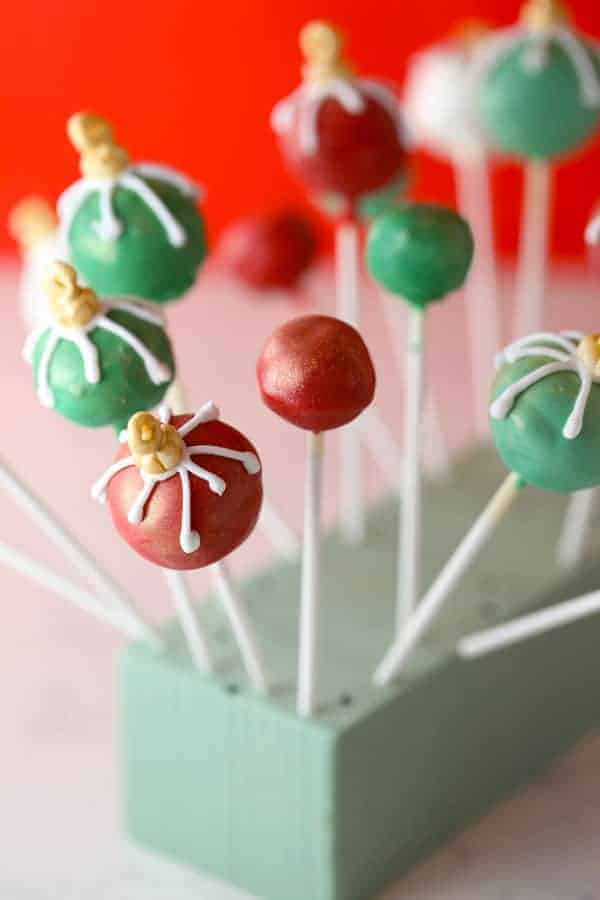
The cake pops are made in the traditional way. Crumble up a baked 13x9 yellow cake which you've made from a cake mix, then mix with 1 cup of cream cheese frosting (store bought). Form into balls and refrigerate for 2 hours. Dip the balls in melted candy melts of various colors such as green, red and white. Let them set. Dust with edible gold luster dust. Then pipe a design on top with white royal icing. Create the top of the ornament with fondant. Roll pieces of white fondant into little balls the size of a pea. Flatten slightly. Use a toothpick to punch a hole in half of them. Let them dry. Then "paint" with a mixture of edible gold luster dust and a little lemon extract. "Glue" the round piece with a hole on top of the slightly flattened pea sized piece with a little bit of royal icing. "Glue" on top of your ornament cake pop with a little more royal icing. See below for recipes and check out more detailed instructions on the Southern Living website.
Once your edible ornaments are done, then you can place them on the cake in a decorative way.
You will have plenty to decorate with and also some left over. My son was a huge fan of the edible ornament cake pops. He's been asking me every day this week when I'll be making them again.
For the actual cake part of my Southern Living Christmas Cake, I used one of my own tried and true recipes for a Classic Vanilla Cake. I used to have a cake business and this was my most popular recipe for wedding cakes and party cakes!
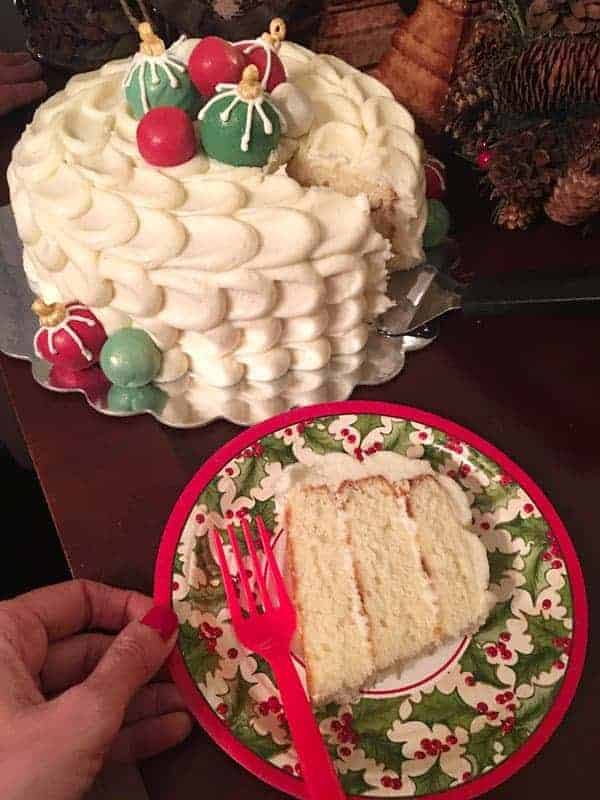
I took this photo at the Christmas party with my iPhone. I had to get a shot of the cake slice. Believe it or not, I've been trying to diet during the holidays but I HAD to try this Southern Living Christmas White Cake! And I'm so glad I did! It was just as delicious as I thought it would be! Two days after the party, after my husband and I had eaten dinner, we wondered if it would be wrong to knock on our neighbors' door for just one more slice. I don't think Emily Post would approve of that, but we were seriously considering it. 🙂
What are you making for your special Christmas dessert?
Southern Living Christmas White Cake
Ingredients
For the Classic Vanilla Cake:
- 1 box white cake mix I used Pillsbury Moist Supreme Classic White
- 1 cup all-purpose flour
- 1 cup granulated sugar
- ¾ teaspoon salt
- 3 eggs room temperature
- 1 ⅓ cups water
- 2 tablespoons vegetable oil
- 8 ounces sour cream room temperature
- 2 teaspoons pure vanilla extract
- ½-1 teaspoon almond extract depending how much almond flavor you want
For the Edible Ornament cake pops:
- 1 box white cake mix prepared according to package instructions
- 1 cup store bought cream cheese frosting I used Pillsbury
- 1 ½ lbs. white red or green candy coating (I used Wilton Candy Melts)
- Edible Gold Luster Dust I used Wilton
- Lemon extract
- 4 oz. white fondant
- 20 4-inch skewers
- 1 6-inch thick block of styrofoam (available at the craft store)
For the Royal Icing
- 2 cups powdered sugar
- 2 tablespoons plus 1 ½ teaspoons meringue powder I used Wilton
- 2 tablespoons plus 2 teaspoons water
For the Cream Cheese Frosting:
- 8 ounces cream cheese softened
- 1 cup unsalted butter 2 sticks, softened
- 7 ½ cups powdered sugar 32 oz bag
- 2 tablespoons milk
- 2 teaspoons vanilla extract
Instructions
For the cake:
- Preheat oven to 350°F. Grease 3 (9-inch) round cake pans and line with parchment paper. Grease again or spray with non-stick cooking spray. Set aside. Place all ingredients in a large bowl. With an electric mixer, stir on low speed to combine (30 seconds). Then turn mixer up to medium and beat for 2 minutes. Pour into prepared pans and bake in preheated oven for 25-30 minutes or until a toothpick stuck in the middle of cake comes out clean. Let cool.
For the Edible Ornament cake pops:
- Crumble cooled cake into a large bowl. Add 1 cup prepared cream cheese frosting. Mix well. Shape into 20 (1-inch) balls and place on a cookie sheet lined with parchment or waxed paper. Chill in refrigerator for 2 hours or overnight. Melt candy melts according to package instructions in 3 separate bowls. Starting with white, dip a skewer in the melted candy melts, then stick into middle of a cake ball, going down about halfway. Repeat with remaining skewers, making about 6 white, 7 red and 7 green. Now dip 6 cake balls into the melted white candy melts and place skewer into styrofoam. Repeat with remaining balls and colors. Make sure the dipped balls don't touch. Let set. Then brush with gold luster dust.
- For Gold ornament tops: Meanwhile, make the ornament tops with fondant. Pinch off bits of fondant and roll in hands to create 40 little pea sized balls. Take 20 of them and flatten slightly with your fingers. Use a toothpick to make little lines on the side to look like the top of an ornament. Take the remaining 20 balls and stick a toothpick through them to make a hole. Let the fondant dry completely, about 1 hour. Then mix together about 1 teaspoon of lemon extract and ½ teaspoon of gold luster dust, stirred together to make a gold paint. Adjust amounts to get the perfect consistency. Paint the fondant pieces gold. Set aside.
For the Royal Icing:
- Place all royal icing ingredients in a large bowl. With an electric mixer, mix on low for 6 minutes. As soon as it is done, transfer to an airtight container (icing dries out easily). When ready to use, stir it well and add a few drops of water to make it easier to stir and the consistency of toothpaste. Pour about ½ cup of royal icing into a pastry bag fitted with a #3 tip. Pipe decorative lines on the edible ornament cake pops. Use photo as a guide. Then use royal icing to "glue" the gold ornament tops onto the cake pops. Let dry.
To assemble cake:
- Place one layer on serving plate, add a small amount of frosting, then top with another layer. Add a small amount of frosting and add the last layer. Frost the cake with a very thin layer of cream cheese frosting. (You'll need most of it for the decoration). Pour the remaining frosting into a large pastry bag fitted with a ½" round pastry tip. Pipe three dollops of frosting in a row going down the side of cake. Slightly flatten each dollop with a ½" offset spatula and swipe to the left. Use photo on blog as a guide. Continue with this pattern all the way around the cake and on the top as well. Decorate with edible ornament cake pops (after removing the skewers).
- Serve immediately or store at room temperature (covered) for 24 hours. Then store covered in the refrigerator for up to 5 days.

David Streich says
Lise, thank you!
driving directions says
Very impressive at the same time, i'm going to be making - was stupendous! Thanks so much.