Looking for Valentine's Day Sugar Cookies you can make at home? This classic sugar cookie recipe is the best! Even better when heart shaped and decorated with royal icing in ten fantastic designs.
Valentine's day is almost here, do you know what you're baking?
In some ways, I think it's more fun to bake for Valentine's Day than Christmas because you don't have the whole hustle bustle thing going on. You can actually relax and enjoy some creative baking projects. Anyone else agree with me on this one?
Keep scrolling to learn some great tips on how to decorate cookies with royal icing.
Why I love this Sugar Cookie Recipe
Starting with a firm cookie is crucial to your design. I love that these classic sugar cookies are sturdy enough to hold the royal icing yet soft in the middle. They have a lovely flavor with the addition of vanilla as well as almond extract which gives it that extra special something. I've been making this same exact cut-out sugar cookie recipe for over ten years. I used it to make THOUSANDS of cookies in all kinds of shapes when I used to have a wedding cake & cookie business. I'll never forget making 250 "high heel shoe" cookies for a client years ago. I got behind on the order and only had one night to finish them. I ended up recruiting my neighbor to help me make them until 3 am in the morning! Good times. Thanks, Susan Edwards!
Today I'm sharing 10 different Valentine themed designs, but I think this one is my favorite. White "flood" royal icing with pink polka dots added. I let it dry, then added mini rosettes and tiny green leaves with medium consistence royal icing. Which one do you like the best?
Pro Tips for Perfectly Cut-Out Cookies
- Roll out chilled dough between two sheets of parchment paper.
- Cut shapes and remove excess dough.
- Do NOT move the shape from paper (this is important because it can break or get warped if you move it).
- Transfer paper with cut-out shapes to a half-sheet pan and bake as directed.
Tips on decorating heart cookies with royal icing
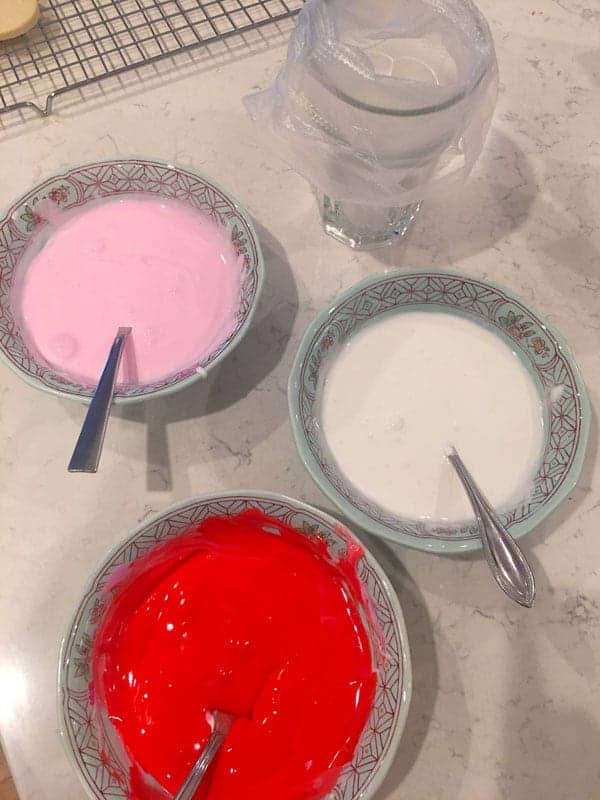
- You will need two different consistencies: medium and flood.
- Medium consistency icing is similar to the consistency of toothpaste.
- Flood consistency icing is like the consistency of Elmer's glue.
- You can achieve these consistencies by adding water to the prepared icing.
- Add a little bit of water for medium and a bit more for flood. See recipe below.
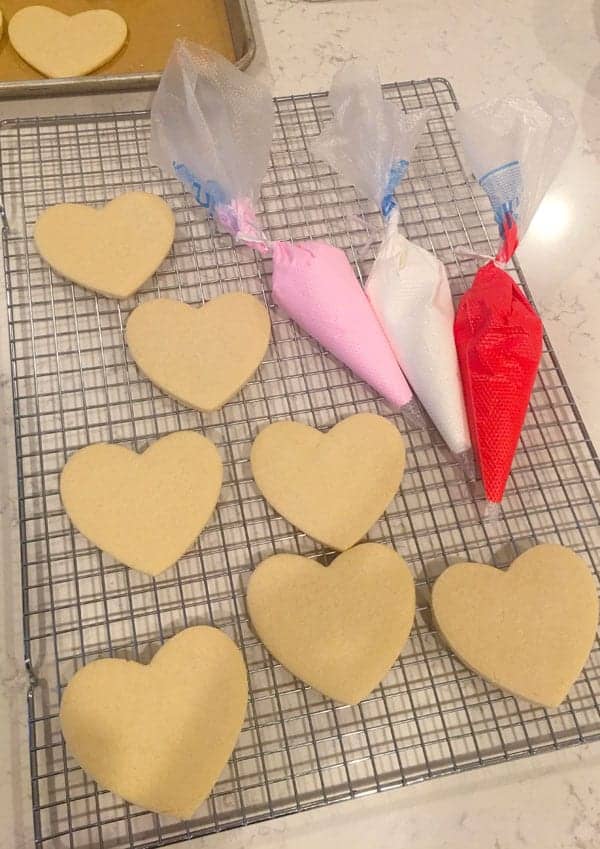
To make it easier, I used flood consistency frosting to pipe the borders of the hearts and then filled in with more flood icing. I used tipless pastry bags which are my absolute favorite!
What is a Tipless Pastry Bag?
1) You don't need a pastry tip with a tipless pastry bag.
2) No coupler or pastry tip needed.
3) Simply fill the bag, snip off the tip and start piping.
4) Easy peazy!
10 Fabulous Valentine Cookie Designs
Click here to see me demonstrating how to decorate the cookies in two of these designs.
Polka Dot - add dots of flood icing while first coat is still wet.
Hot Lips - pipe red flood icing ovals onto white flood (still wet). Use toothpick to shape into lips.
Love - pipe medium consistency white icing onto dried red icing cookie.
Gold splatter - on a dried white icing background, splatter with edible gold luster dust "paint". See below for recipe.
Heart beat - "flood on flood design". Pipe stripes, then drag toothpick in alternating directions.
Chain of hearts - "flood on flood". Pipe red dots onto white. Drag toothpick to form chain of hearts.
Heart Polka Dots - same as above but pipe more dots and drag toothpick to create hearts (not connected to each other).
Mini rosettes - pipe rosettes with medium consistency royal icing and a #16 tip. Let harden overnight. "Glue" on with more icing.
Polka dots with mini rosettes - same as above, pipe leaves with #352 tip and green medium icing.
Gold painted love - pipe the word "love" onto dried icing with medium and #3 tip. Let love dry. Then brush with edible gold luster dust paint.
Create gold paint by mixing edible gold luster dust with a little bit of vodka or lemon extract. Use a non-toxic or food grade paint brush to brush the gold paint onto cookie.
I hope you love making these cookies as much as I did. They're a perfect gift for your sweetheart. What a perfect way to say I love you!
Happy Valentine's Day!
Lise
xoxo
Tools for success
Wilton Heart Cookie Cutter Set
Note: The above items are affiliate links.
Want even more? Subscribe to Mom Loves Baking to get new recipes and a newsletter delivered to your inbox. And stay in touch on Facebook, Pinterest, Twitter, and Instagram for all my latest updates. If you make this recipe, share a photo on social media tagging @momlovesbaking and using the hashtag #momlovesbaking.

Valentine's Day Sugar Cookies
Ingredients
For the sugar cookies
- 3 cups all purpose flour or 1 lb, if you are weighing your flour
- 1 teaspoon baking powder
- 1 teaspoon salt
- 2 sticks unsalted butter, softened 8 ounces total
- 1 cup granulated sugar
- 1 large egg
- 1 teaspoon vanilla extract or vanilla bean paste
- ½ teaspoon almond extract
For the royal icing
- 16 ounces powdered sugar
- ¼ cup plus 1 tablespoon meringue powder
- ⅓ cup water, plus more if too thick see below
Instructions
For the cookies
- Preheat oven to 350°F. In a medium bowl, add flour, baking powder & salt (measuring the flour with a scale is the most accurate). Using a whisk, stir to combine and get the lumps out. Set aside.
- In a large bowl, add butter and beat with an electric mixer for 1 minute on medium. Turn to low and gradually add sugar. Turn to medium and beat 3 minutes. Add the egg and vanilla and beat another minute. With the mixer on low, gradually add the flour mixture.
- Blend until the dough begins to pull away from the sides of the bowl. Take the dough out of the bowl and place on a large piece of parchment paper. Use your hands to knead the dough for a few minutes. Divide the dough into two sections and wrap with parchment paper. Let chill in the refrigerator for about 30 minutes.
- To roll dough, place another piece of parchment paper on top of dough and roll with a rolling pin until the dough is between ⅛" and ¼" thick. Cut into 3" hearts and remove the excess dough. Don't move the hearts, leave them where they are and place on a cookie sheet. Bake for 10-13 minutes or until slightly golden brown around the edges. Let them cool and decorate with royal icing (or you can freeze them before decorating and keep them for several months). Makes 20 heart cookies.
For the icing
- Place all ingredients in a large bowl and beat with an electric mixer on low for 6 minutes. It will be very thick and fluffy. Add 2 tablespoons of water and mix to combine. That's your medium consistency (it should be like toothpaste). Take half the icing and put in another bowl. Add another tablespoon of water to remaining icing. It should run off the spoon like Elmer's glue. That is your flood consistency. (If it seems too thick, add a little more water. Make sure you only at ¼ teaspoon at a time until it runs easily off the spoon but you don't want it too liquidy either.) Divide and color as desired to decorate the cookies.
- For these cookies, I divided the icing as follows. Medium consistency: one third of the icing pink, one third red, and the remaining third I split into two bowls (half green and half remained white). Flood icing: I divided equally into 3 bowls - red, pink and white. Note: I used Americolor food coloring.
Decorating the cookies
- First create your mini rosette hearts. Add medium red icing in a pastry bag fitted with a #16 tip. Repeat with pink. Pipe tiny swirls onto a parchment lined sheet pan. Let dry completely - at least one hour or overnight.
- Meanwhile do the designs with dried icing. I made 3 red, 2 white and 2 pink. Add the flood icings to 3 different tipless bags (one white, one pink and one red). Cut a small amount off tip (a little less than ⅛ inch). You don't want to cut off too much or your piping line will be too thick. Pipe a border around the cookie, then fill in with more icing and use a toothpick to fill in any holes. Let them dry for about at least an hour.
- Next, do the wet icing designs. You will work on these one at a time. See the blog post for more specific instructions. For example, to make a red heart with white polka dots, pipe the border with red flood and fill in with red flood. Use white flood to immediately pipe the dots before the red dries.
- Add details to dried icing cookies such as mini rosettes and piped lettering. Use extra medium consistency icing to "glue" rosettes. After letting dries, you can use edible gold luster dust paint to brush onto lettering. To make "paint" mix edible luster dust with a little bit of vodka or lemon extract. Stir until smooth. Edible luster dust is available online or at any store with a cake decorating section.
Nutrition
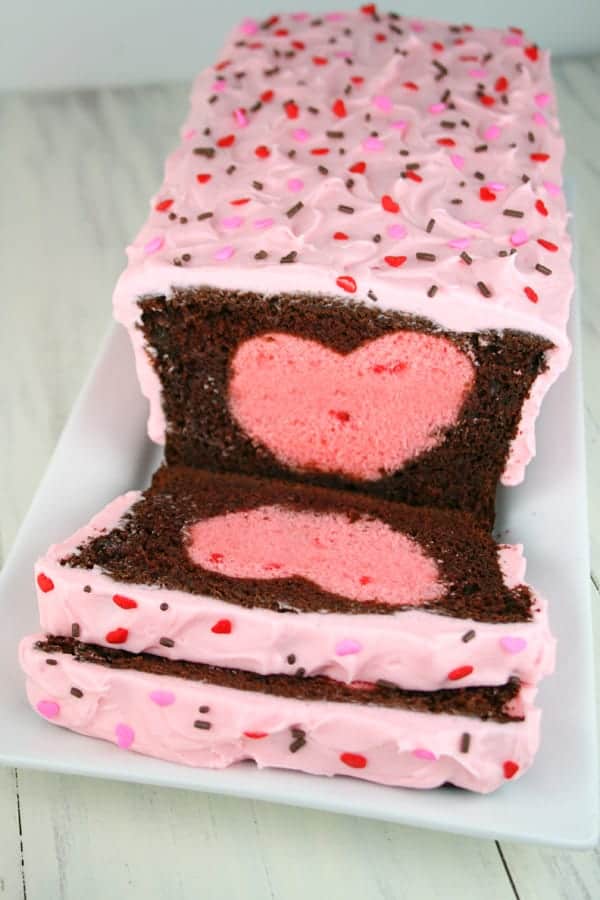
You might also like this Hidden Heart Valentine's Cake (also called a Chocolate Covered Strawberry Heart Cake)...
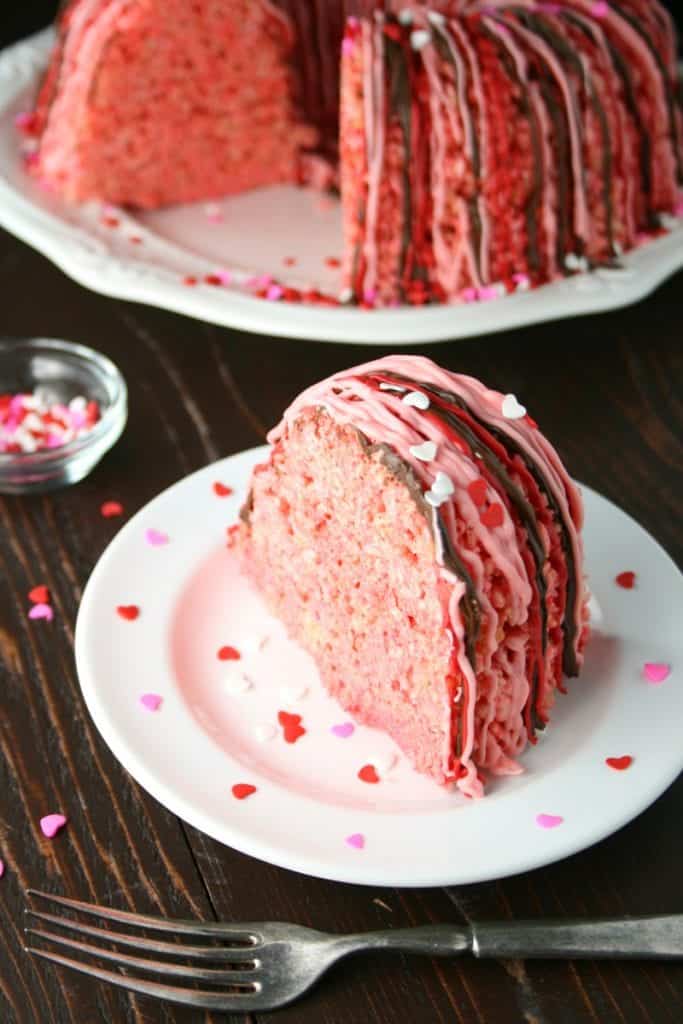
Or you might like this Strawberry Rice Krispies Cake...
Try Swedish Fish Heart Cookies for your sweetheart...
All text and images © Lise Ode for Mom Loves Baking. Please do not use my images without prior permission. If you want to republish this recipe, please re-write the recipe in your own words, or link back to this post for the recipe. Disclaimer: Nutrition information shown is not guaranteed to be accurate. This post may contain affiliate links.








Andrea says
I just wrapped them to put in the fridge and they are dry as saw dust. So hard to get it to stick together.
Lise Ode says
How much butter did you use? Did you add the egg? Do you think you might have left something out? I just made this recipe again for Valentine's Day and it came out perfectly. I'm sorry you had issues.
Kelly says
How far ahead could I make and freeze these cookies?
Lise Ode says
You could freeze the cookies BEFORE frosting them. Place in airtight container or sealed bag for up to a month.
Heather says
These are beautiful!
Katrina says
These cookies are practically perfect in every way!