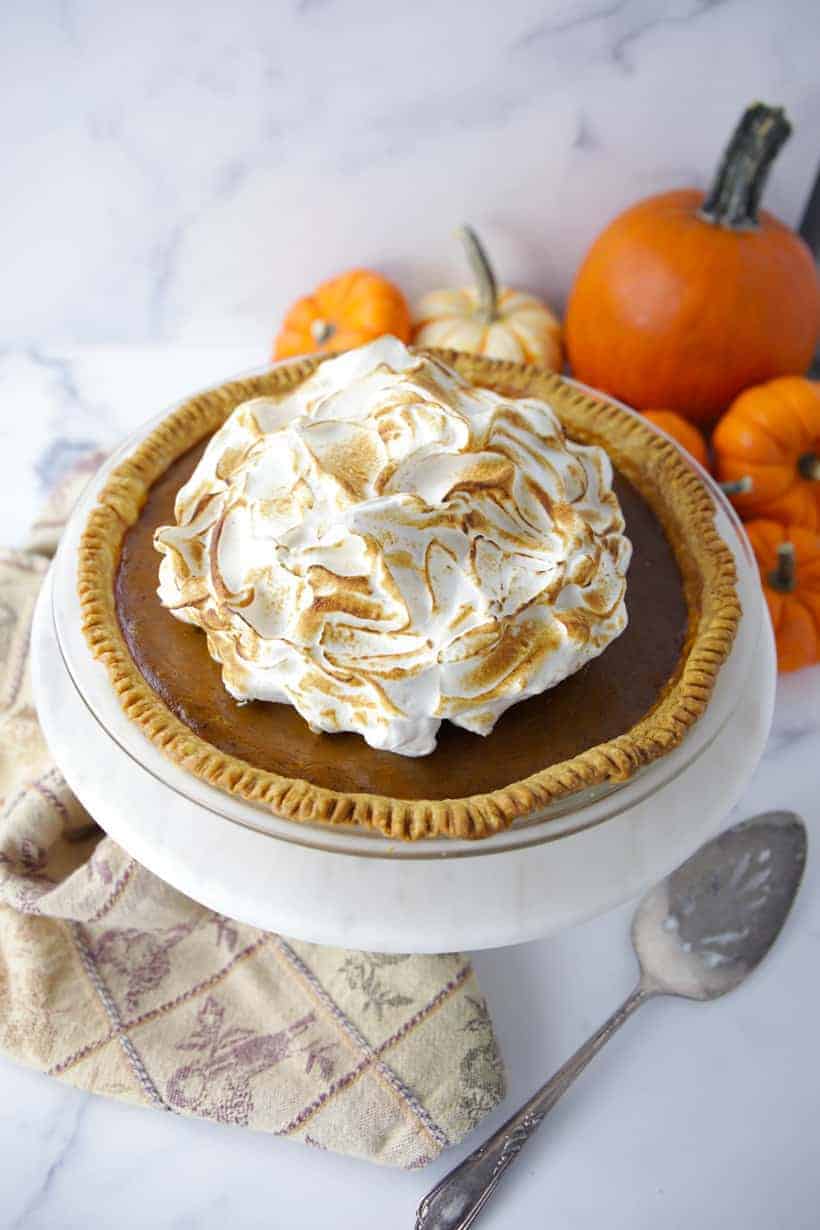
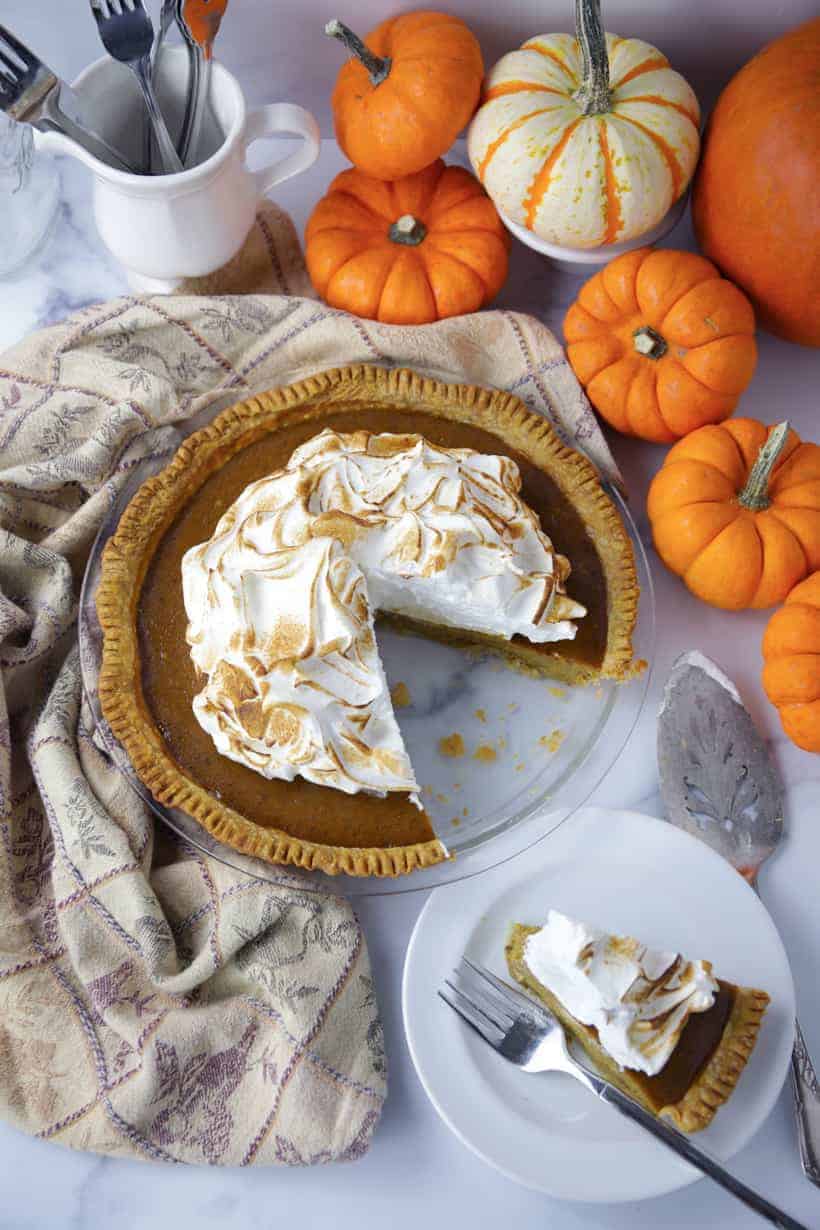
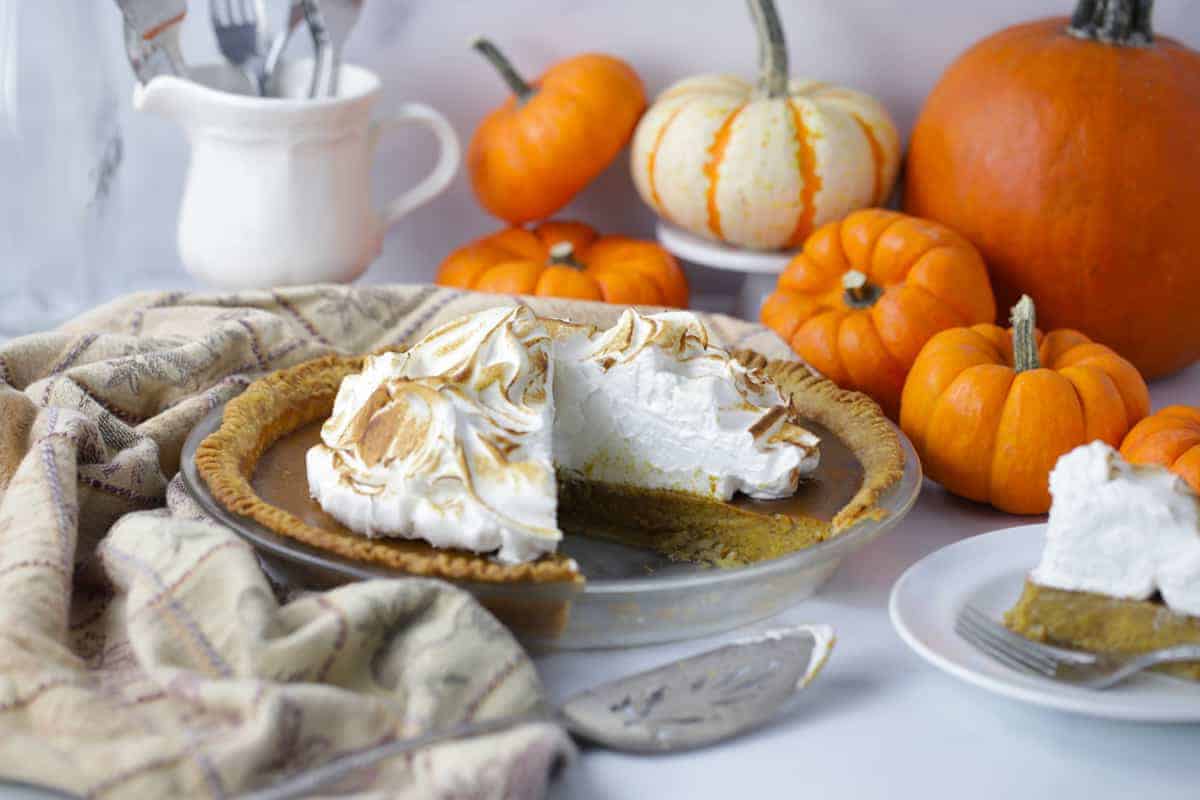
Pumpkin Pie with Toasted Meringue - it's a traditional pumpkin pie with a giant pillow of marshmallow meringue on top that's toasted with a kitchen torch. Yum!
Want to try a pumpkin pie this year that's just a little different. It's all the same cozy flavors but it's dressed up with some light and airy meringue piled high on top of the pie. You're going to love it! If it's whipped cream you prefer paired with your pumpkin dessert, try my Turtle Pumpkin Tart with Whipped Cream.
Easy Pumpkin Pie with Toasted Meringue
It's early November and the holiday season is under way. Are you excited but also have the tiniest feeling of dread because you know it can be stressful? I'm all about enjoying all the Fall flavors and special family time while doing my best to keep it simple. This pie is perfect for your Thanksgiving meal because it's extremely delicious yet also EASY to make! You can use a store bought crust to save time, then whip up all the filling ingredients in one big bowl. Bake it and pile on the meringue!
If you prefer a homemade crust for your pumpkin meringue pie, try my How to Make the Perfect Homemade Pie Crust recipe.
ingredients you'll need for Pumpkin meringue pie
Pie Crust - I used refrigerated premade pie crust. You can substitute a gluten free crust, if desired.
Eggs - Separated (yolks are for the filling, whites are for the meringue).
Pumpkin Puree - I used canned pumpkin puree.
Light Brown Sugar
Spices - Ground cinnamon, ginger, nutmeg, and cloves.
Salt - I used iodized table salt.
Evaporated Milk - Substitute unsweetened coconut milk (in a can) if you can't have milk.
Vanilla Extract
Granulated Sugar
How to make this pumpkin pie recipe
Note: This is just an overview, scroll down for full recipe
Line 9-inch pie plate with pastry crust, crimping edges with a fork. Set aside.
Important step: Separate the eggs and reserve the egg whites for later (cover and refrigerate them).
Add all the filling ingrdients (egg yolks, pumpkin, brown sugar, spices & salt) to a large bowl and whisk by hand until completely combined.
Pour filling into prepared crust and bake until set (see recipe below).
Let cool, then refrigerate until ready to serve.
How to make toasted meringue
Note: There are two ways to do this, depending on whether you want to heat the egg whites or not.
If you're ok with eating raw eggs, you can just beat the egg whites, sugar and vanilla in a large bowl until stiff peaks form. (Super quick & easy.)
Otherwise, you will beat the egg whites, sugar and vanilla in a pan over a double boiler with simmering water for 7 minutes.
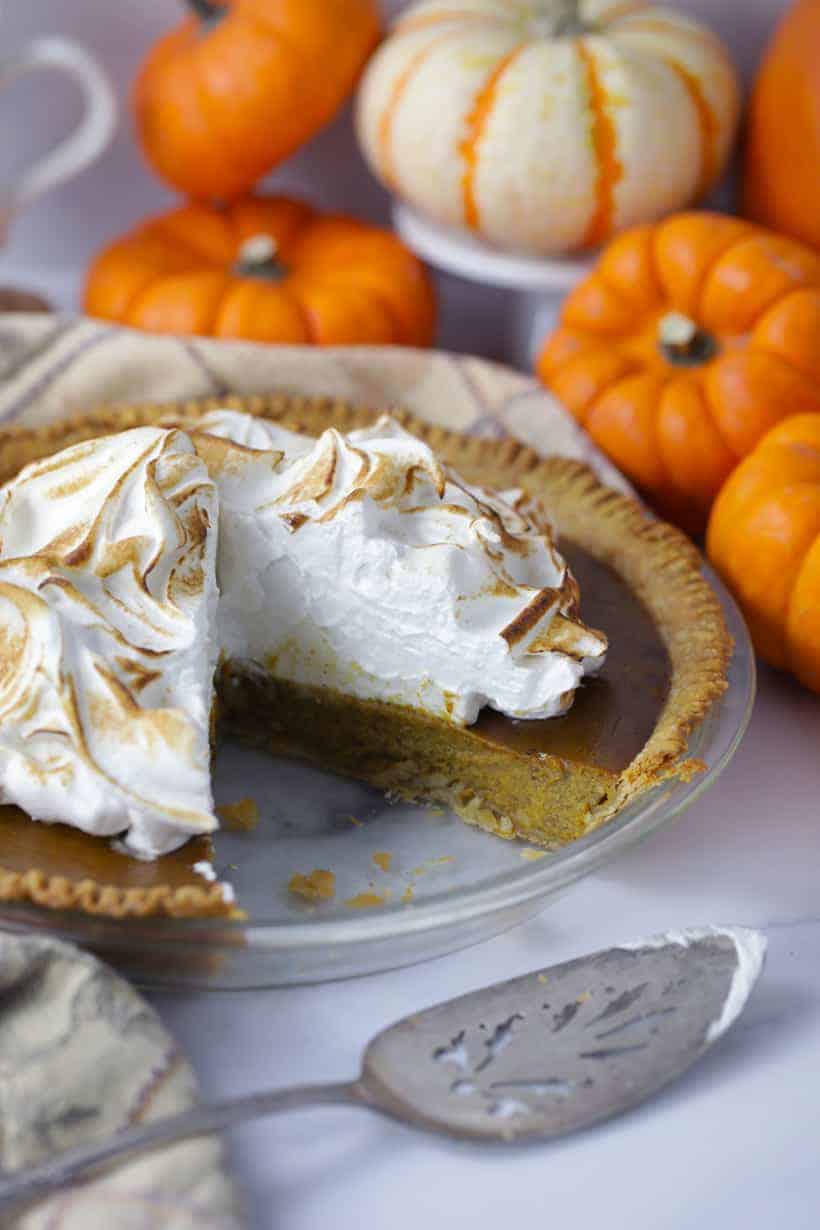
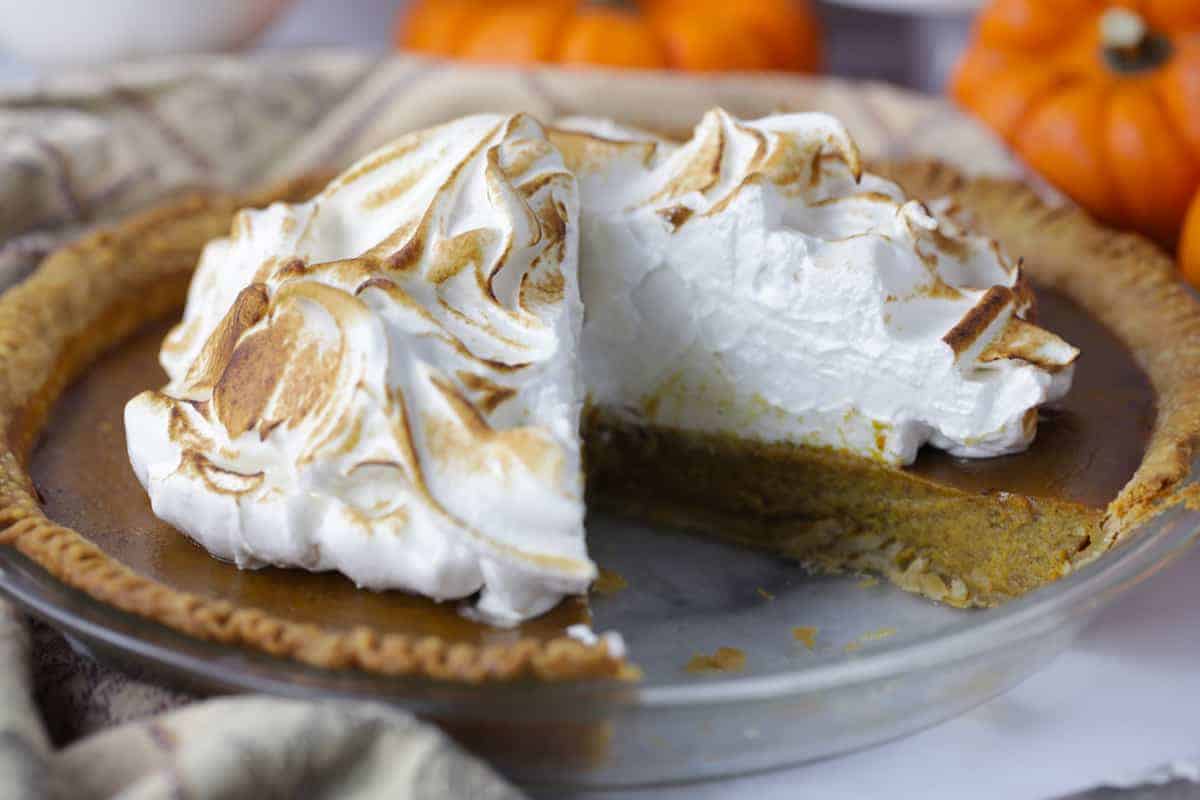
Scoop all of the meringue onto pie. Use a kitchen torch to toast meringue until desired you've achieved amount of toastiness.
If you don't have a kitchen torch, you can put it under the broiler just a few minutes. Make sure to watch it CAREFULLY, so it doesn't burn. I found my kitchen torch on Amazon.
What's your Thanksgiving Pie plan of action?
This Pumpkin Pie with Toasted Meringue is perfect for your Thanksgiving dessert table. Planning ahead always makes me feel less stressed. Here are some tips for you...
• Make sure to print out the recipe and save for later.
• Check your spice cabinet to see if you have the vanilla, cinnamon, ginger, nutmeg and cloves you'll need for the pie.
• Buy your pumpkin puree and evaporated milk cans NOW so you'll be one step ahead of the game.
• Then all you'll need to get is the crust and eggs a few days before the holiday.
Happy baking and happy November everyone!
xo,
Lise
You might also like...
Thankful Pumpkin Pie - Made with fresh pumpkin puree and a homemade crust.
Apple Pie with Pumpkin Caramel Sauce - Dress up a frozen apple pie with homemade pumpkin caramel sauce.
Gluten Free Dairy Free Pumpkin Cheesecake
Lowfat Chocolate Pumpkin Cheescake
Want even more? Stay in touch on Facebook, Pinterest, Twitter, and Instagram for all my latest updates. If you make this recipe, share a photo on social media tagging @momlovesbaking and using the hashtag #momlovesbaking.
Here's the kitchen torch I used...
Pumpkin Pie with Toasted Meringue
Ingredients
- 1 recipe for single pie crust or store bought crust
For the pie filling
- 4 large eggs at room temperature, separated (reserve whites for meringue)
- 1 can pumpkin or 15 ounces
- ¾ cup light brown sugar, loosely packed
- 1 teaspoon ground cinnamon
- ½ teaspoon ground ginger
- ½ teaspoon ground nutmeg
- ⅛ teaspoon ground cloves
- ¼ teaspoon salt
- 1 cup evaporated milk
For the meringue
- 4 egg whites (from the eggs you separated for the filling)
- ¾ cup granulated sugar
- ½ teaspoon vanilla extract
Instructions
For the crust
- Preheat oven to 425°F. Line a 9-inch pie plate with store bought pastry circle (or if making homemade, roll out to fit). Trim and flute edges or crimp edges with a fork. Set aside.
For the filling
- Separate egg yolks from egg whites. Cover and chill egg whites. For filling, in a medium bowl whisk together egg yolks, pumpkin, brown sugar, salt and spices. Whisk in milk and pour into prepared crust. Bake on middle rack of oven for 10 minutes, then reduce heat to 350°F and bake for 35-40 minutes more or until center is set (just a slight jiggle). Cool for 1 hour, then cover and chill for 2 hours.
For the meringue
- Take egg whites out of the refrigerator 30 minutes before making meringue.Note: There are two ways to do this, depending on whether you want to heat the egg whites or not.If you're ok with eating raw eggs, you can just beat the egg whites, sugar and vanilla in a large bowl until stiff peaks form. (This way is super fast and EASY.)Otherwise, place egg whites, ¾ cup sugar and vanilla in the top of a double boiler placed over a pan of simmering water. Beat with a mixer on high for 7 minutes or until stiff peaks form, scraping sides of pan frequently.
Serving the pie
- Once you're ready to serve, scoop mounds of meringue on the center of chilled pie. Toast meringue with a kitchen torch or under the broiler in the oven for a few minutes (watch it closely to make sure it doesn't burn). Serve immediately. Store leftover pie in ther refrigerator for up to 3 days. Note: The meringue will shrink once it's refrigerated and not look as pretty but it still tastes amazing!
Video
Notes
Nutrition
All text and images © Lise Ode for Mom Loves Baking. Please do not use my images without prior permission. If you want to republish this recipe, please re-write the recipe in your own words, or link back to this post for the recipe. Disclaimer: Nutrition information shown is not guaranteed to be accurate. This post may contain affiliate links.

Leave a Reply