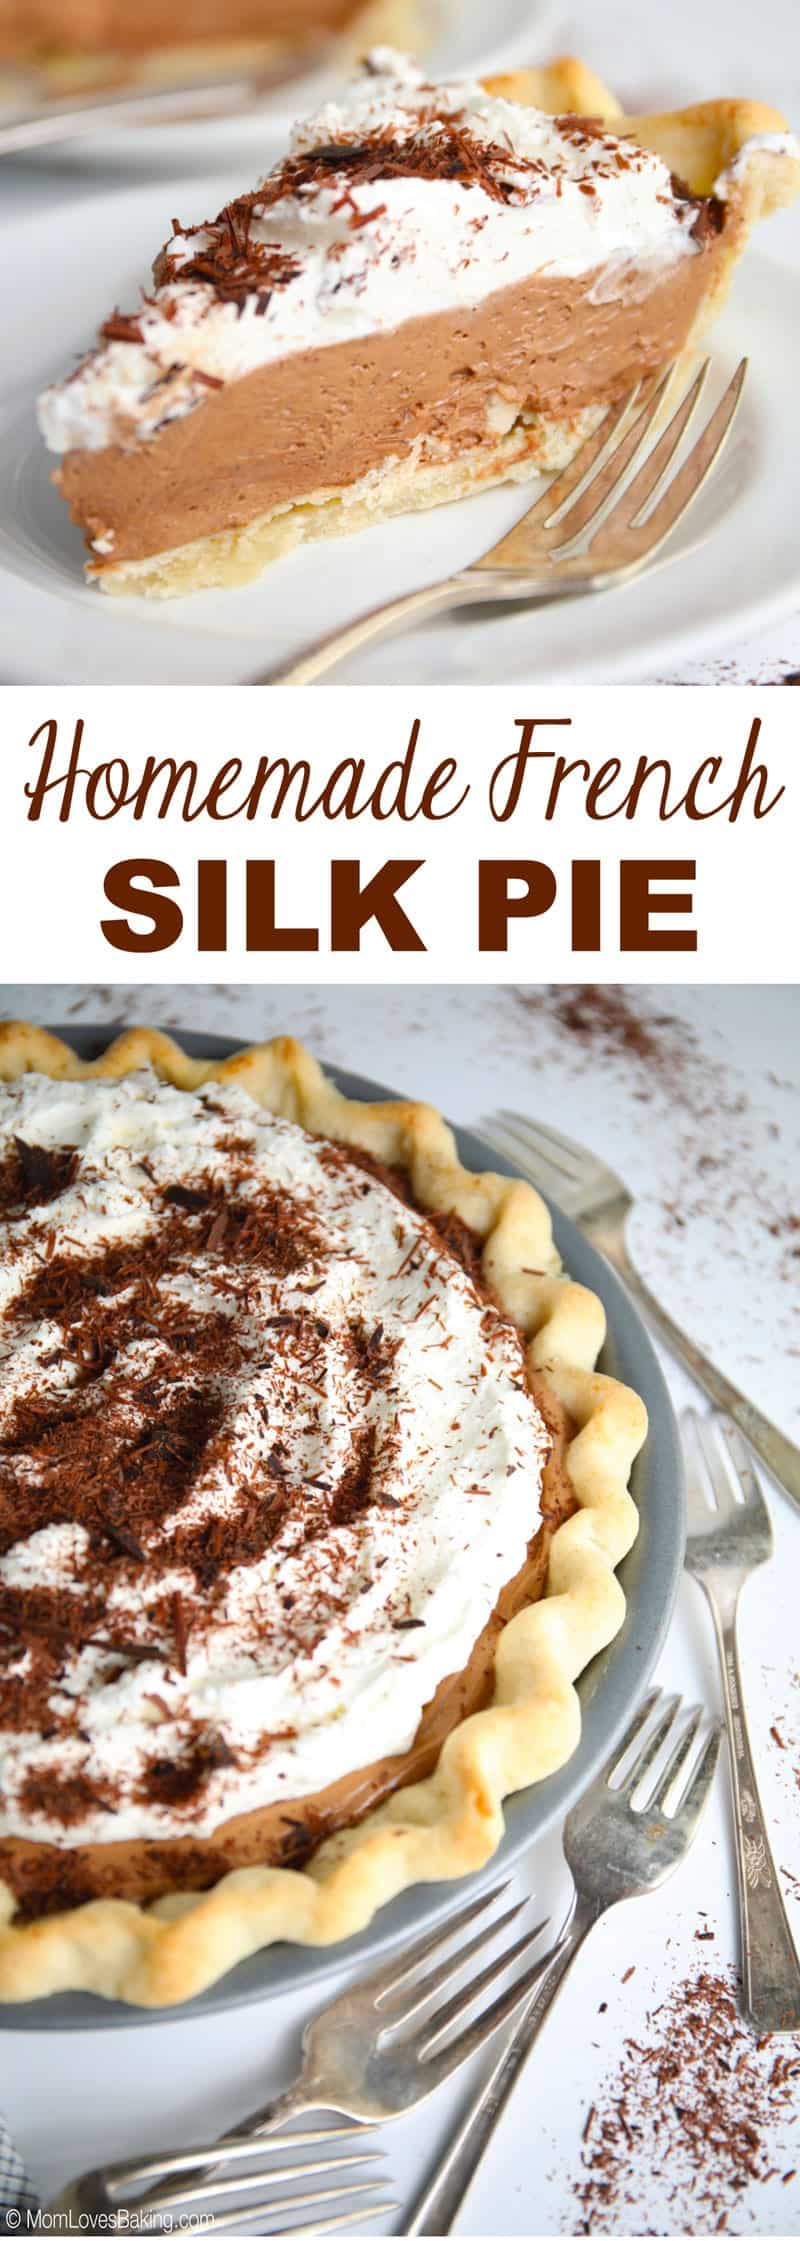
Homemade French Silk Pie
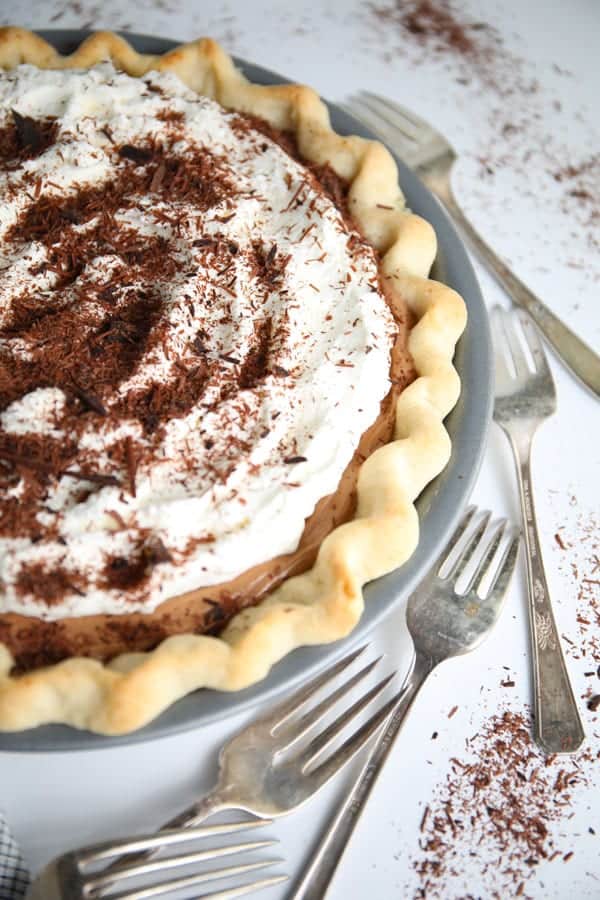
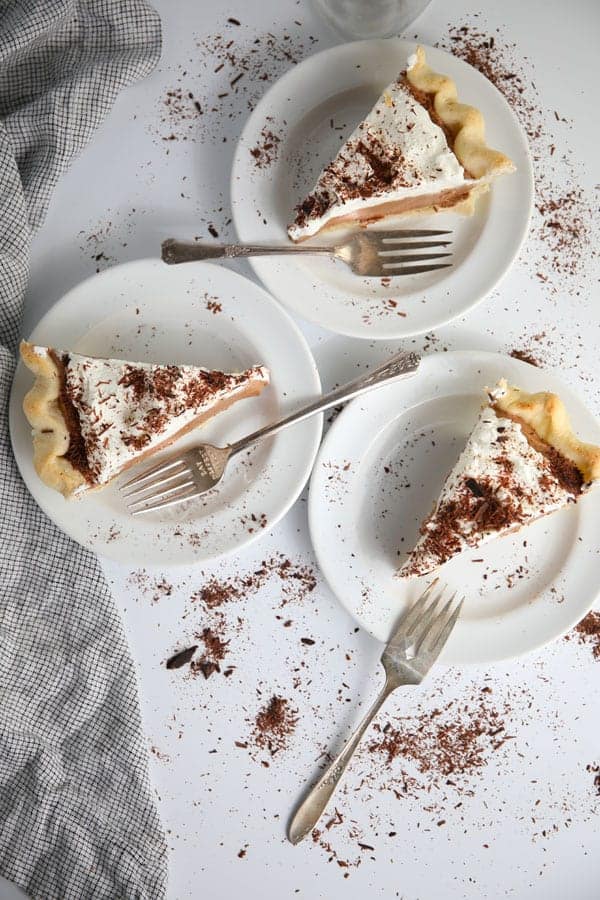
This Homemade French Silk Pie is absolutely to die for with a flaky crust made from scratch, silky chocolate filling, fresh whipped cream topping, and chocolate shavings.
I recently took a poll over on my Facebook page, asking my friends, “what’s your favorite pie?” The number one answer was French Silk Pie. When I say number one, I mean it was the first answer I received. I got so many different pie suggestions and lots of great ideas. I’ve decided to do a mini pie-series on the blog. I’ve never made a French Silk Pie before, so I was excited to try it. It took me a few tries, experimenting with different ingredients and methods, but I finally mastered this incredible dessert and you can too.
Why this Homemade French Silk Pie is my Favorite
I might have been guilty of claiming a lot of my recipes to be my favorite, well here I go again. This Homemade French Silk Pie is totally my new favorite pie of all time! Here’s why:
1) The main ingredient is chocolate, duh!
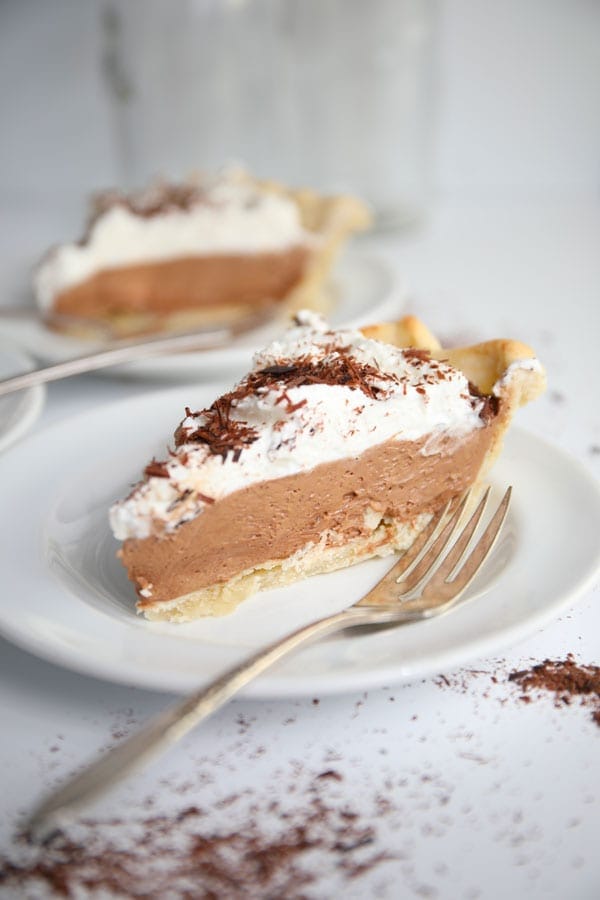
2) It’s just as silky in texture as the name describes.
3) The creamiest, dreamiest filling ever!
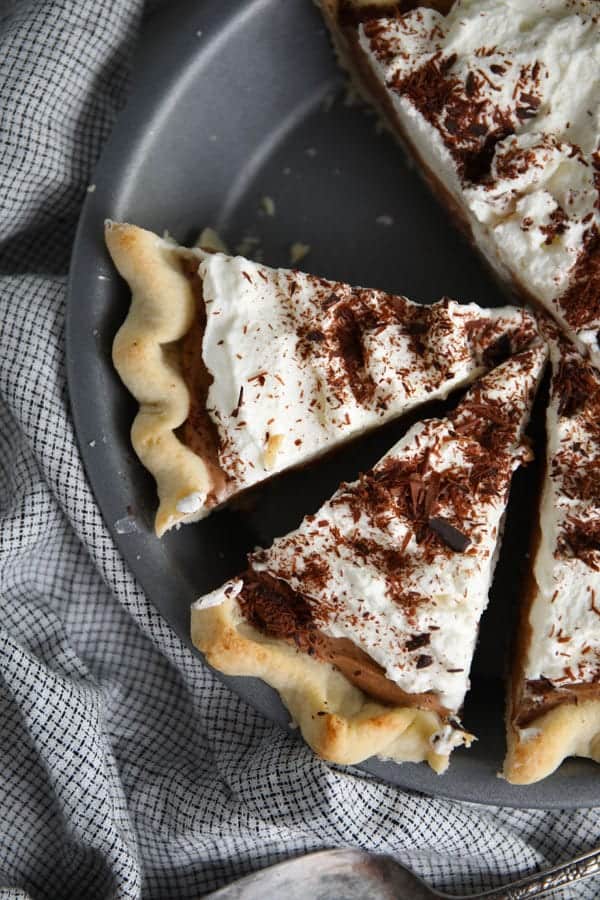
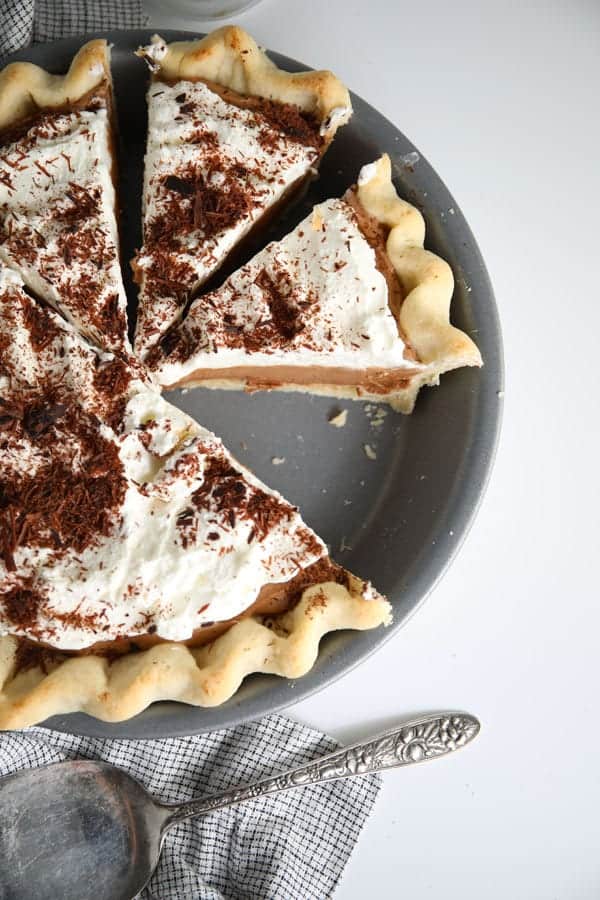
4) Chocolate silk filling sandwiched between fresh whipped cream and flaky crust (as I kiss my fingers like an Italian chef)!
5) All topped off with chocolate shavings. Al bacio!
How to Make a Flaky Crust from Scratch
1) Use a food processor to make it easy.
2) Add flour, sugar and salt to food processor and pulse a few times.
3) With food processor on, add cold, cubed butter. Then add 4-5 tablespoons ice water.
4) Stop processing once a dough ball forms. Roll out on a lightly floured surface.
Scroll down for full recipe.
Tips for Making the Perfect French Silk Chocolate Filling
1) Start by cooking eggs and sugar over low heat, stirring constantly as to not make scrambled eggs.
2) Melt unsweetened chocolate in microwave to save time, then add to hot egg mixture. Stir well. Let cool.
3) Cream butter, then add cooled chocolate mixture and beat until fluffy.
4) Fold in sweetened whipped cream and you should have a silky smooth filling ready to pour into your crust.
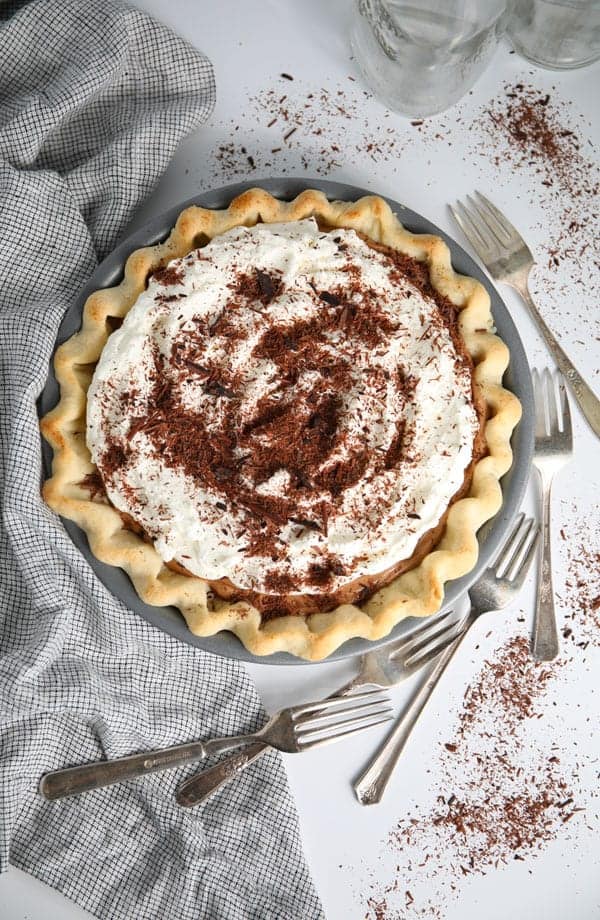
5) Let it chill for a few hours or overnight. Top with more whipped cream, plus chocolate shavings.
A note about these photos…
I have a new camera – Canon EOS 5D Mark IV with EF 24-70mm f/4L IS USM Lens Kit – and I’m super excited about it. If you’ve been following my blog for awhile, can you see the difference? I’m still learning how to use it, but I’m quite pleased with the results already. I’ve also been taking a wonderful food photography course called Foodtography School. I highly recommend it!
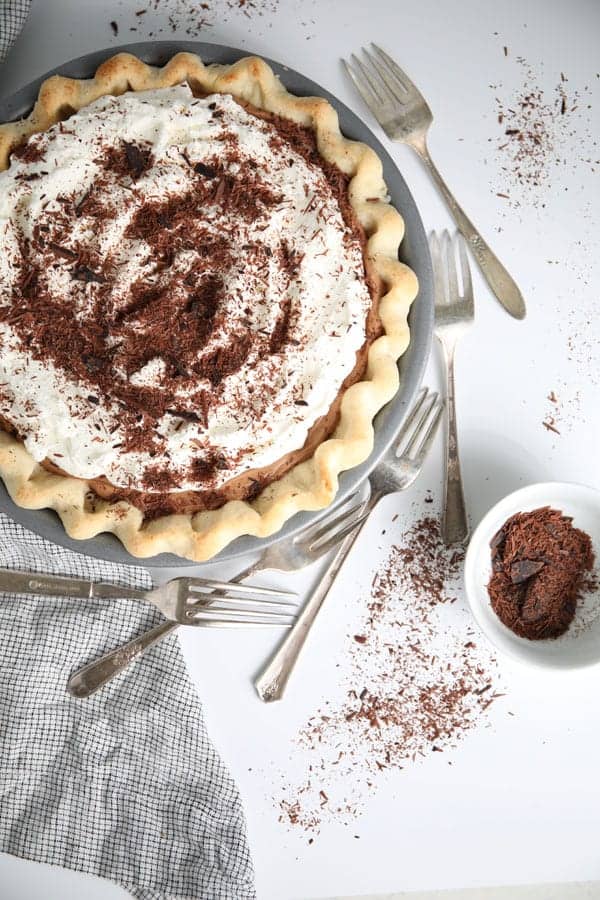
I’m also working on staging my photos. How do you like my “forks design” in this shot? Seems about right to me. If we weren’t in the middle of a pandemic, wouldn’t it be great to just sit down with a handful of friends, everyone grab a fork and dig in.
Oh well, it’s still just as good sliced up as per usual and served at a proper social distance. Who else will be glad to never hear those words again? I like being socially close and also giving lots of hugs!
In the meantime, we’ll eat pie.
xo,
Lise
Tools for success
Le Creuset 3.5 Quart Dutch Oven – I used this for heating the egg and sugar mixture on low heat
Glass Mixing Bowls – Set of 10 (I used the medium sized bowl to melt the chocolate in the microwave)
Note: The above items are affiliate links.
Want even more? Subscribe to Mom Loves Baking to get new recipes and a newsletter delivered to your inbox. And stay in touch on Facebook, Pinterest, Twitter, and Instagram for all my latest updates. If you make this recipe, share a photo on social media tagging @momlovesbaking and using the hashtag #momlovesbaking.

Homemade French Silk Pie
Ingredients
For the pie crust
- 1 1/2 cups all purpose flour, I used King Arthur unbleached
- 1/2 teaspoon salt
- 1 tablespoon granulated sugar
- 1/2 cup unsalted butter, cold and cubed
- 4-5 tablespoons ice water
For the French silk filling
- 2 ounces unsweetened chocolate
- 2 large eggs
- 2/3 cup granulated sugar
- 1/3 cup unsalted butter, softened
- 1 teaspoon pure vanilla extract
- 1/8 teaspoon salt
- 2/3 cup heavy whipping cream
- 1/4 cup powdered sugar
For the whipped cream topping
- 1 cup heavy whipping cream
- 2 tablespoons powdered sugar
For the garnish
- 2 tablespoons chocolate shavings
Instructions
For the pie crust
- Preheat oven to 450°F. Add flour, salt and sugar to a food processor. Pulse a few times to combine. Turn processor on a gradually add your cubes of butter, then water. Turn it off when a ball of dough has formed.
- Roll dough on a lightly floured surface to about 1/8" thickness. You should have a disk shape that's about 11" in diameter. Gently lift dough and place in a 9" pie pan or glass dish. Press down in the middle and up sides. Fold edges under, then crimp edges with fingers or use a fork, pressing down all around the edge. Use a fork to prick the bottom and sides of dough. Bake in preheated oven for 10-12 minutes or until light golden brown on edges. Let cool.
For the French silk filling
- Heat chocolate in a small microwave safe bowl in the microwave on high for 30 seconds. Stir until smooth. Heat another 30 seconds, if needed. Set aside.
- In a saucepan, heat the eggs and sugar on low while stirring constantly until the sugar is dissolved and mixture is slightly thicken. This should take about 5-7 minutes. Remove from heat and immediately stir in the melted chocolate. Let cool slightly.
- Meanwhile, cream the butter with an electric mixer until light and fluffy. Add the cooled chocolate mixture and beat on high for 5 minutes or until fluffy. Stir in vanilla and salt. Set aside.
- In a large bowl, beat 2/3 cup cream until it starts to thicken. Add powdered sugar and beat until stiff peaks form. Fold the whipped cream into the chocolate mixture. It should be silky smooth and have a slight sheen to it. Pour into prepared crust and let it chill in the refrigerator for 2- 4 hours or until set. Beat the remaining 1 cup of heavy cream with 2 tablespoons powdered sugar and spread on top of filling. Top with chocolate shavings and serve. Store covered in refrigerator for 3 days or in the freezer for up to a month.
Did you make this recipe?
Please let us know by leaving a star rating and review!In the mood for a savory pie? Try this delicious Tomato Pie

Need a gluten free, dairy free pie? Try my mom’s favorite No Bake Key Lime Yogurt Pie

Or maybe you would like Aunt Nancy’s Peach Pie with Streusel Topping

All text and images © Lise Ode for Mom Loves Baking. Please do not use my images without prior permission. If you want to republish this recipe, please re-write the recipe in your own words, or link back to this post for the recipe. Disclaimer: Nutrition information shown is not guaranteed to be accurate. This post may contain affiliate links.